Assembly
Let’s start the assembly with the PCB.
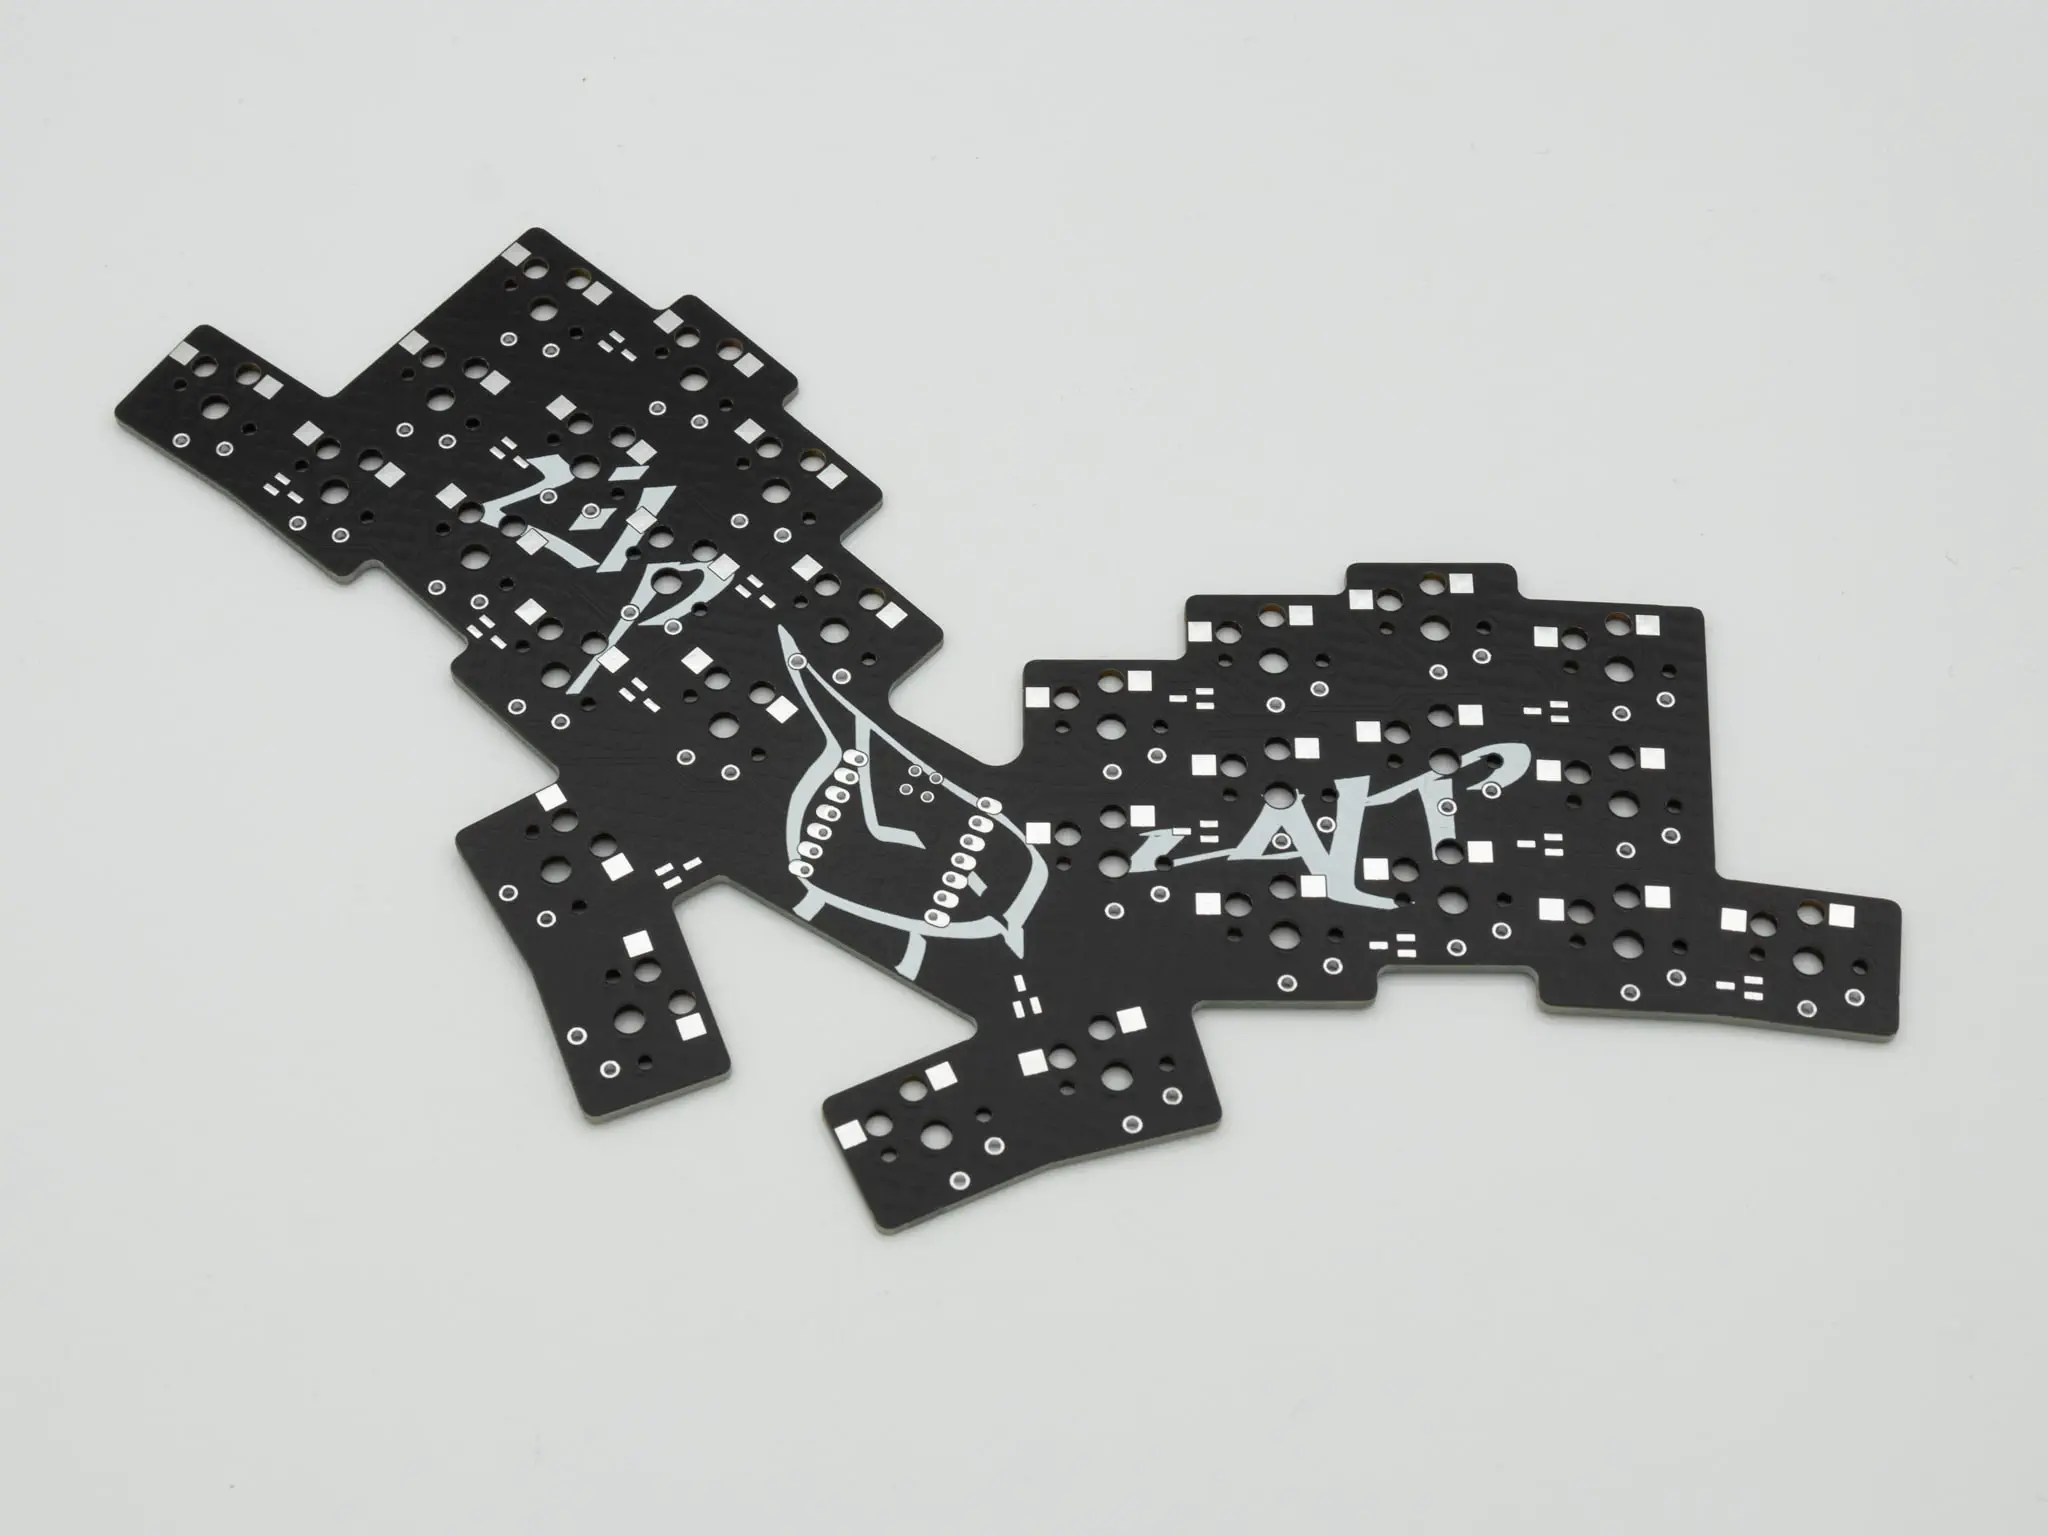
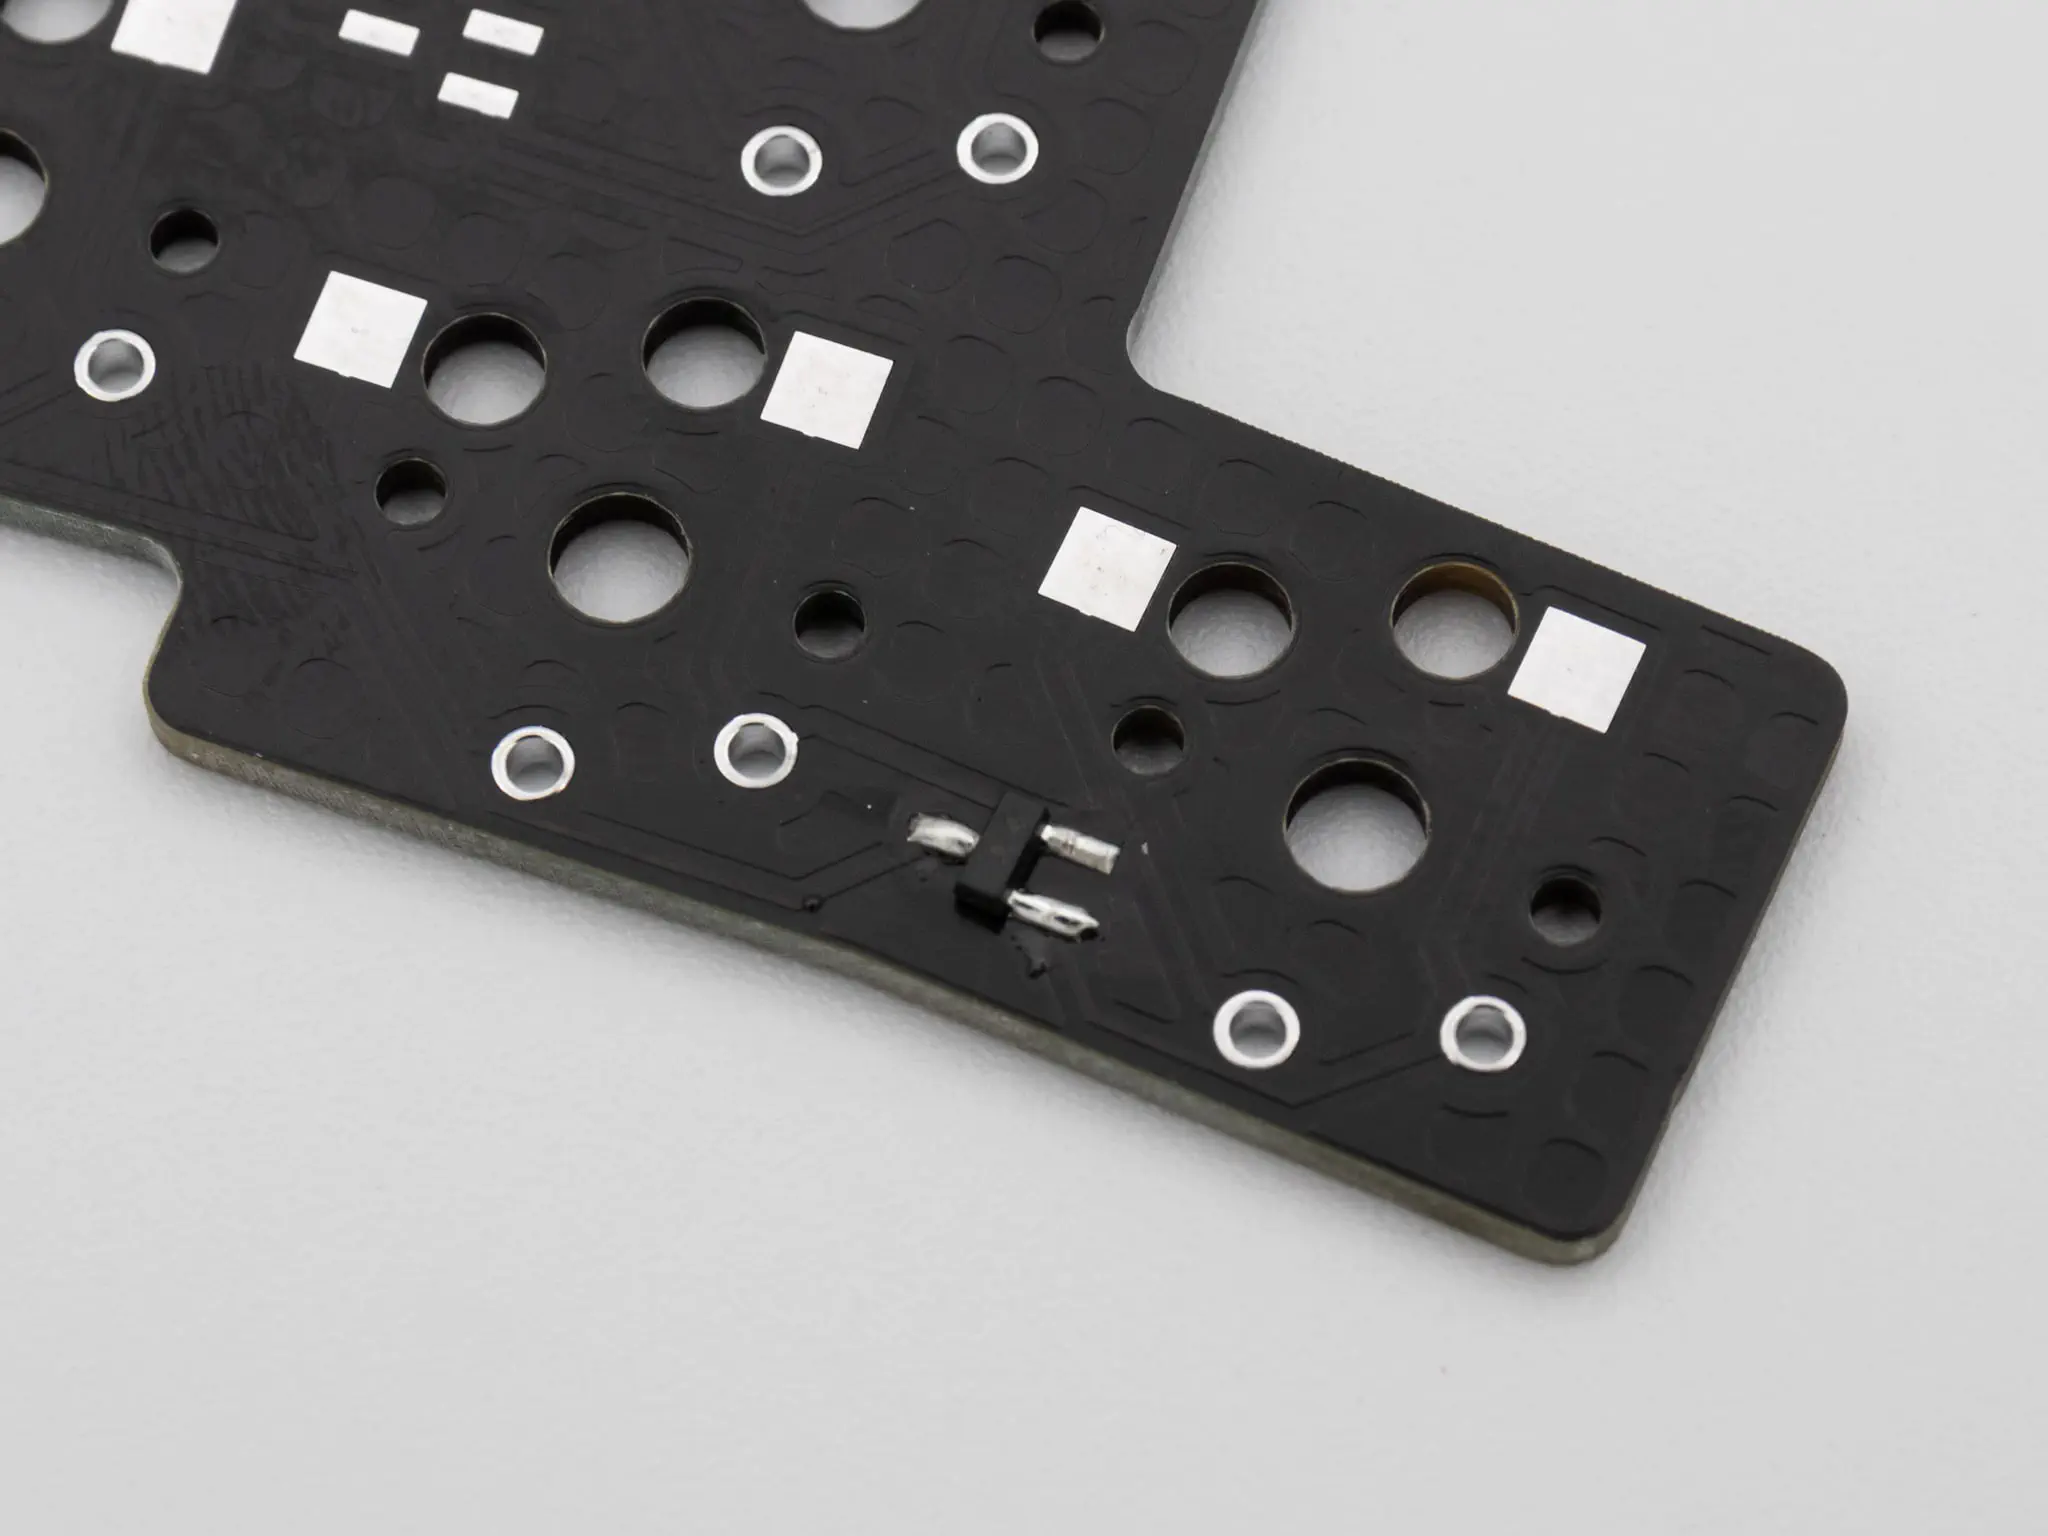
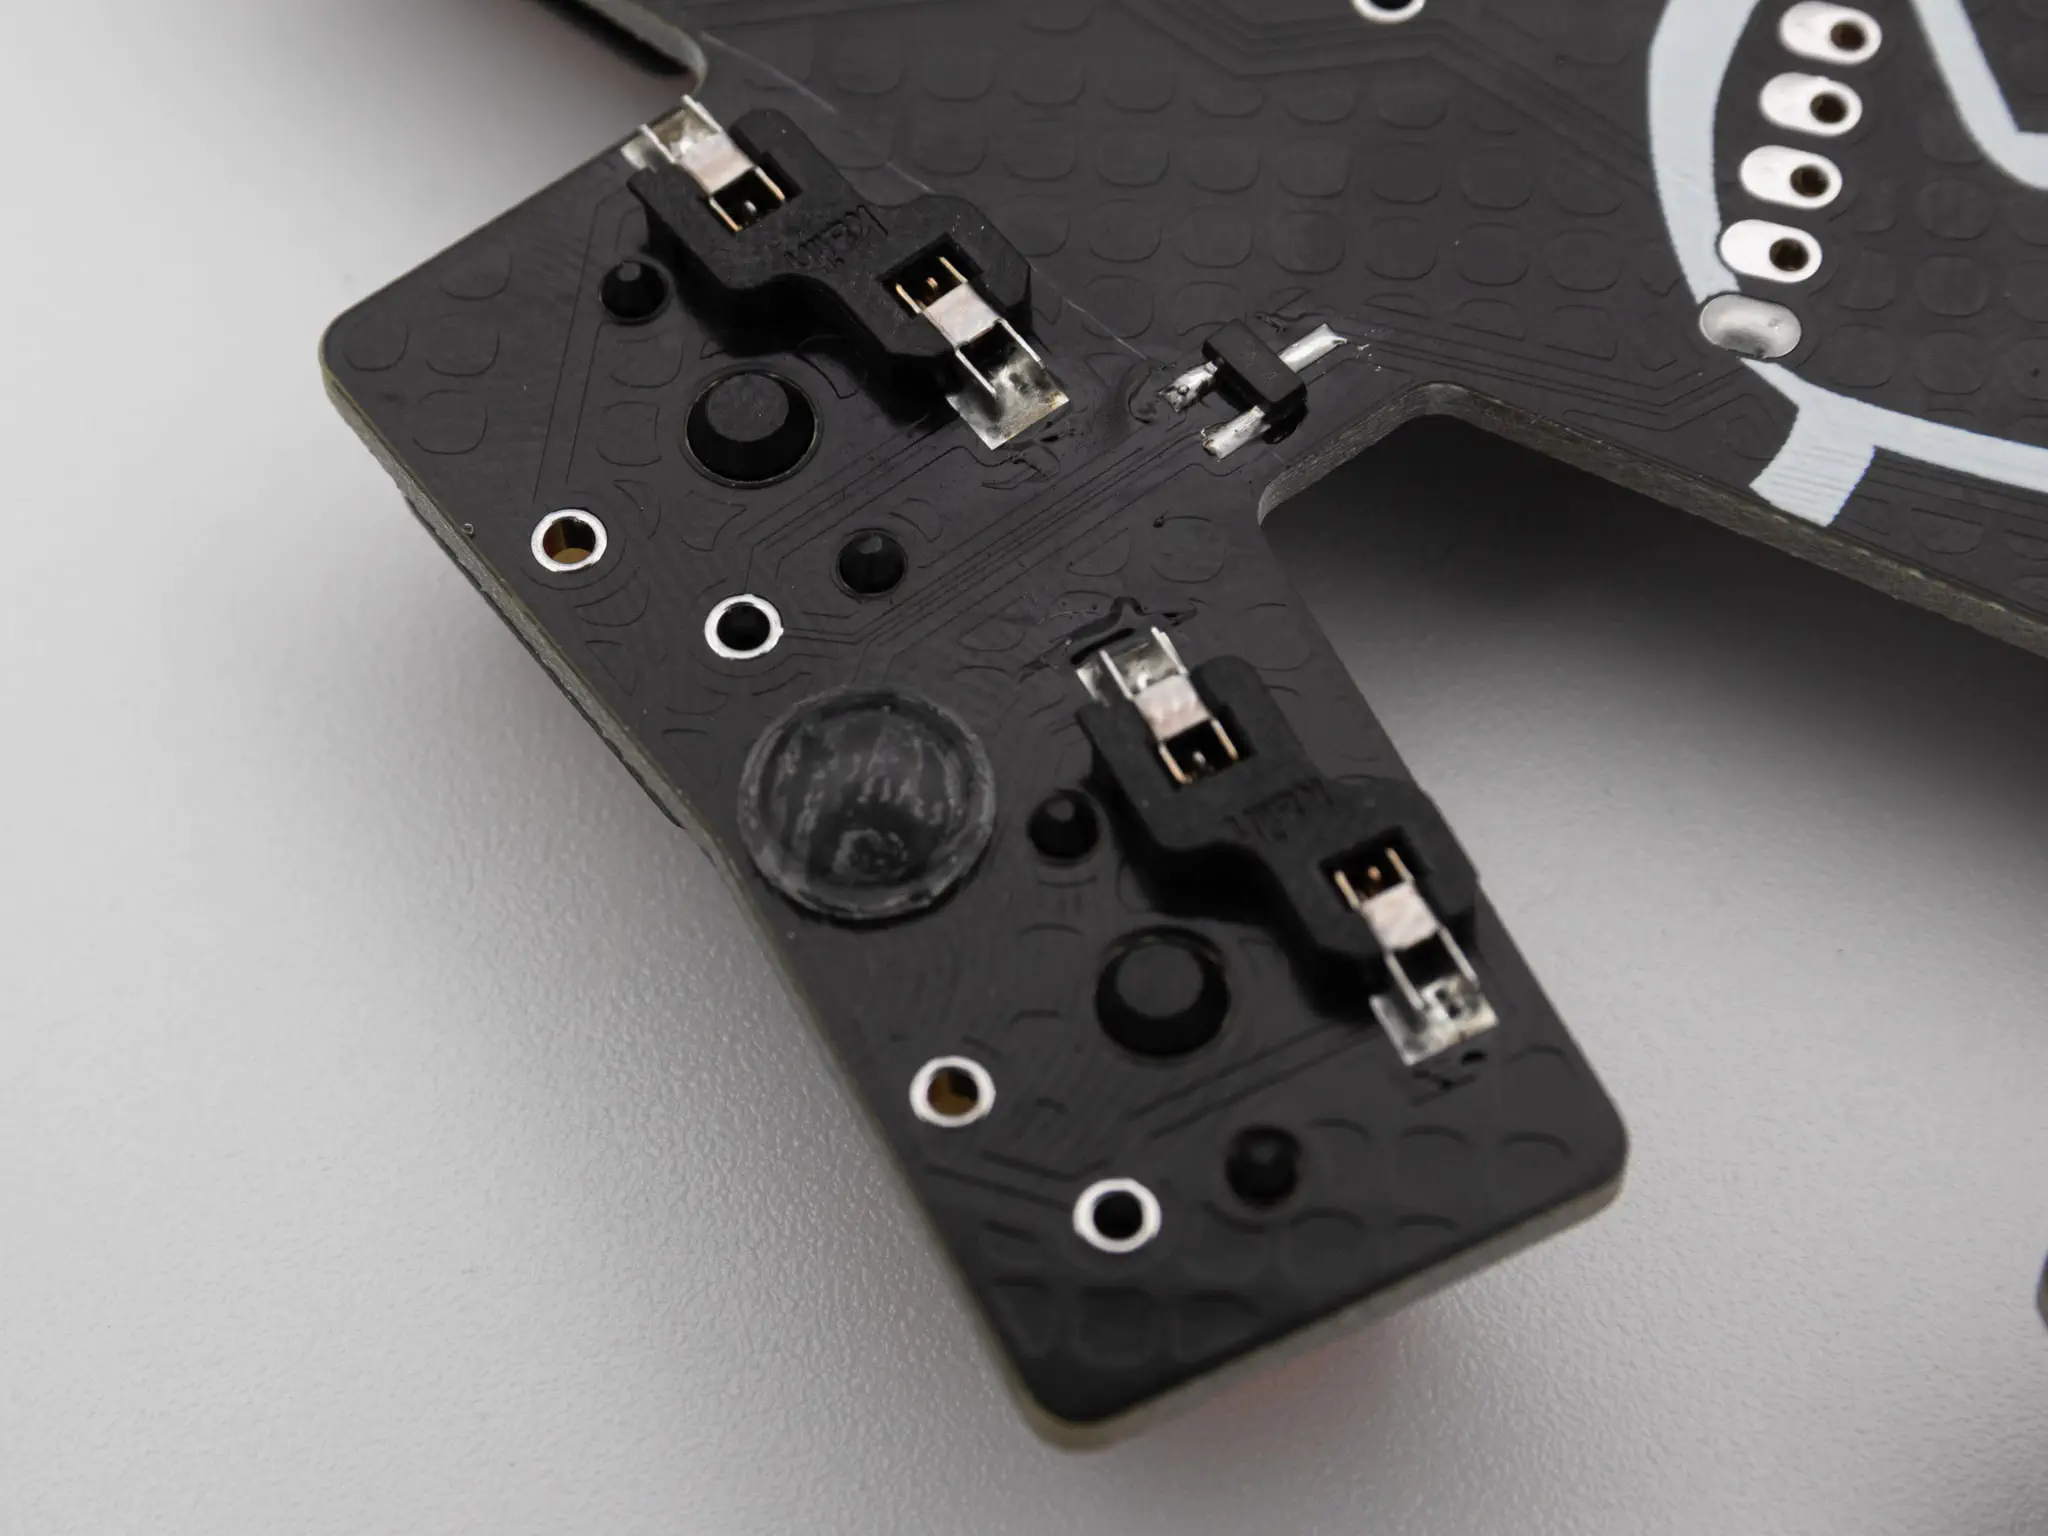
You can start by soldering on your diodes. You can find Instructions on how to solder diodes here.
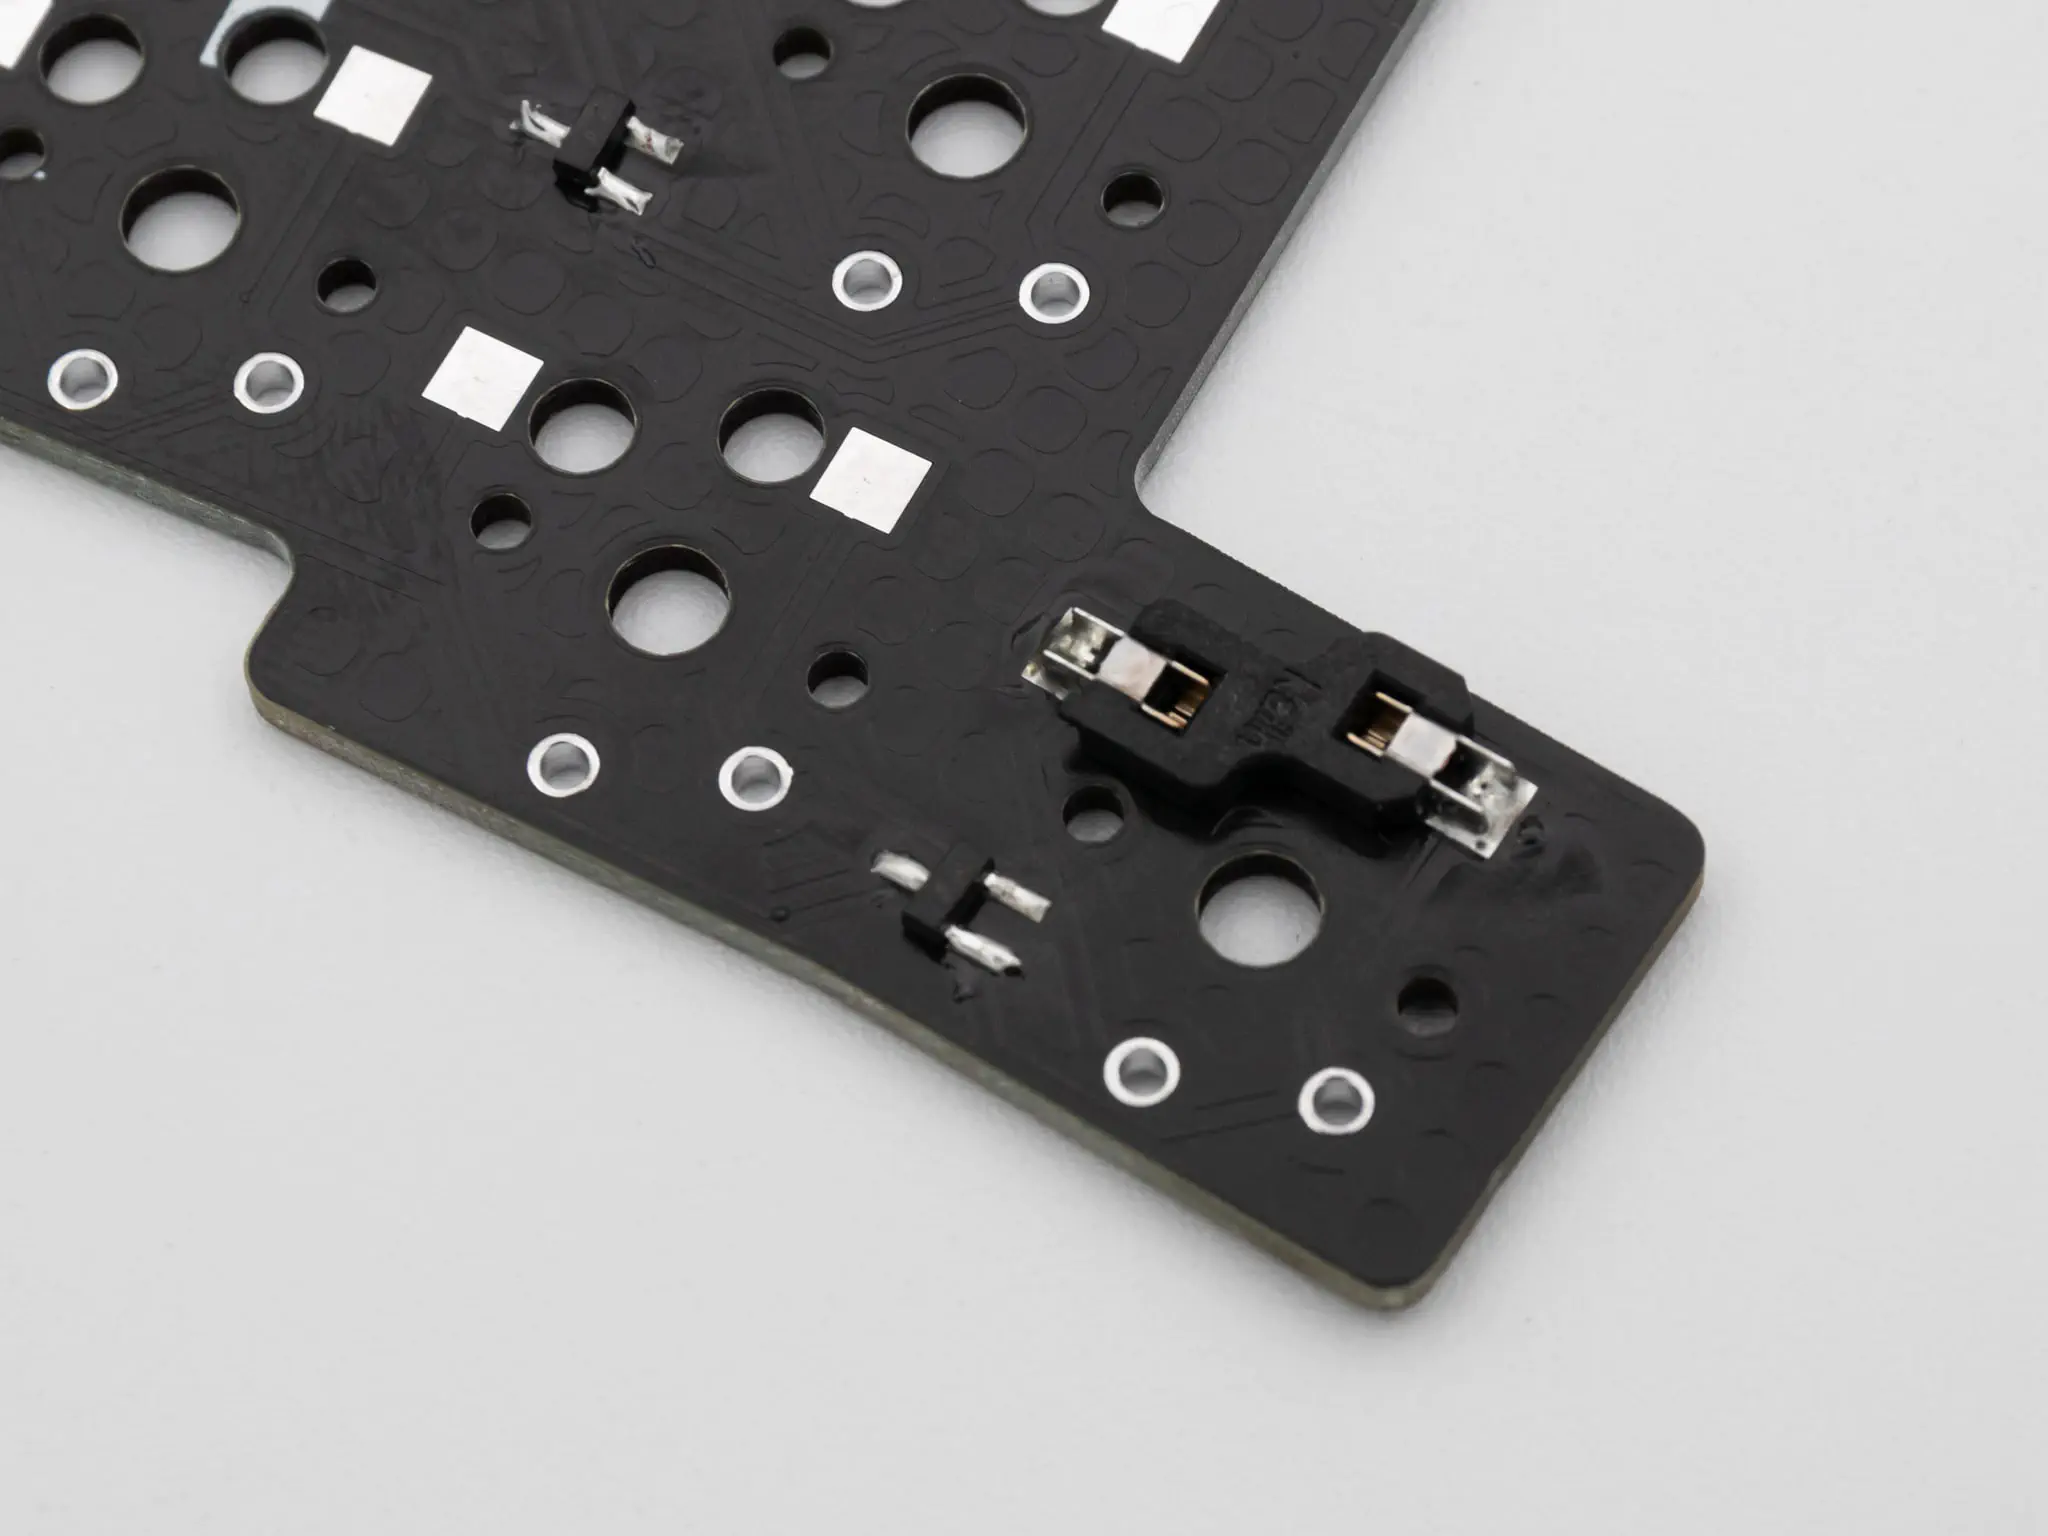
After that you can solder on your hotswap sockets. These are optional, as you can also solder in the switches, but sockets are included in the kit from KeebSupply. You can find Instructions on how to solder hotswap sockets here.
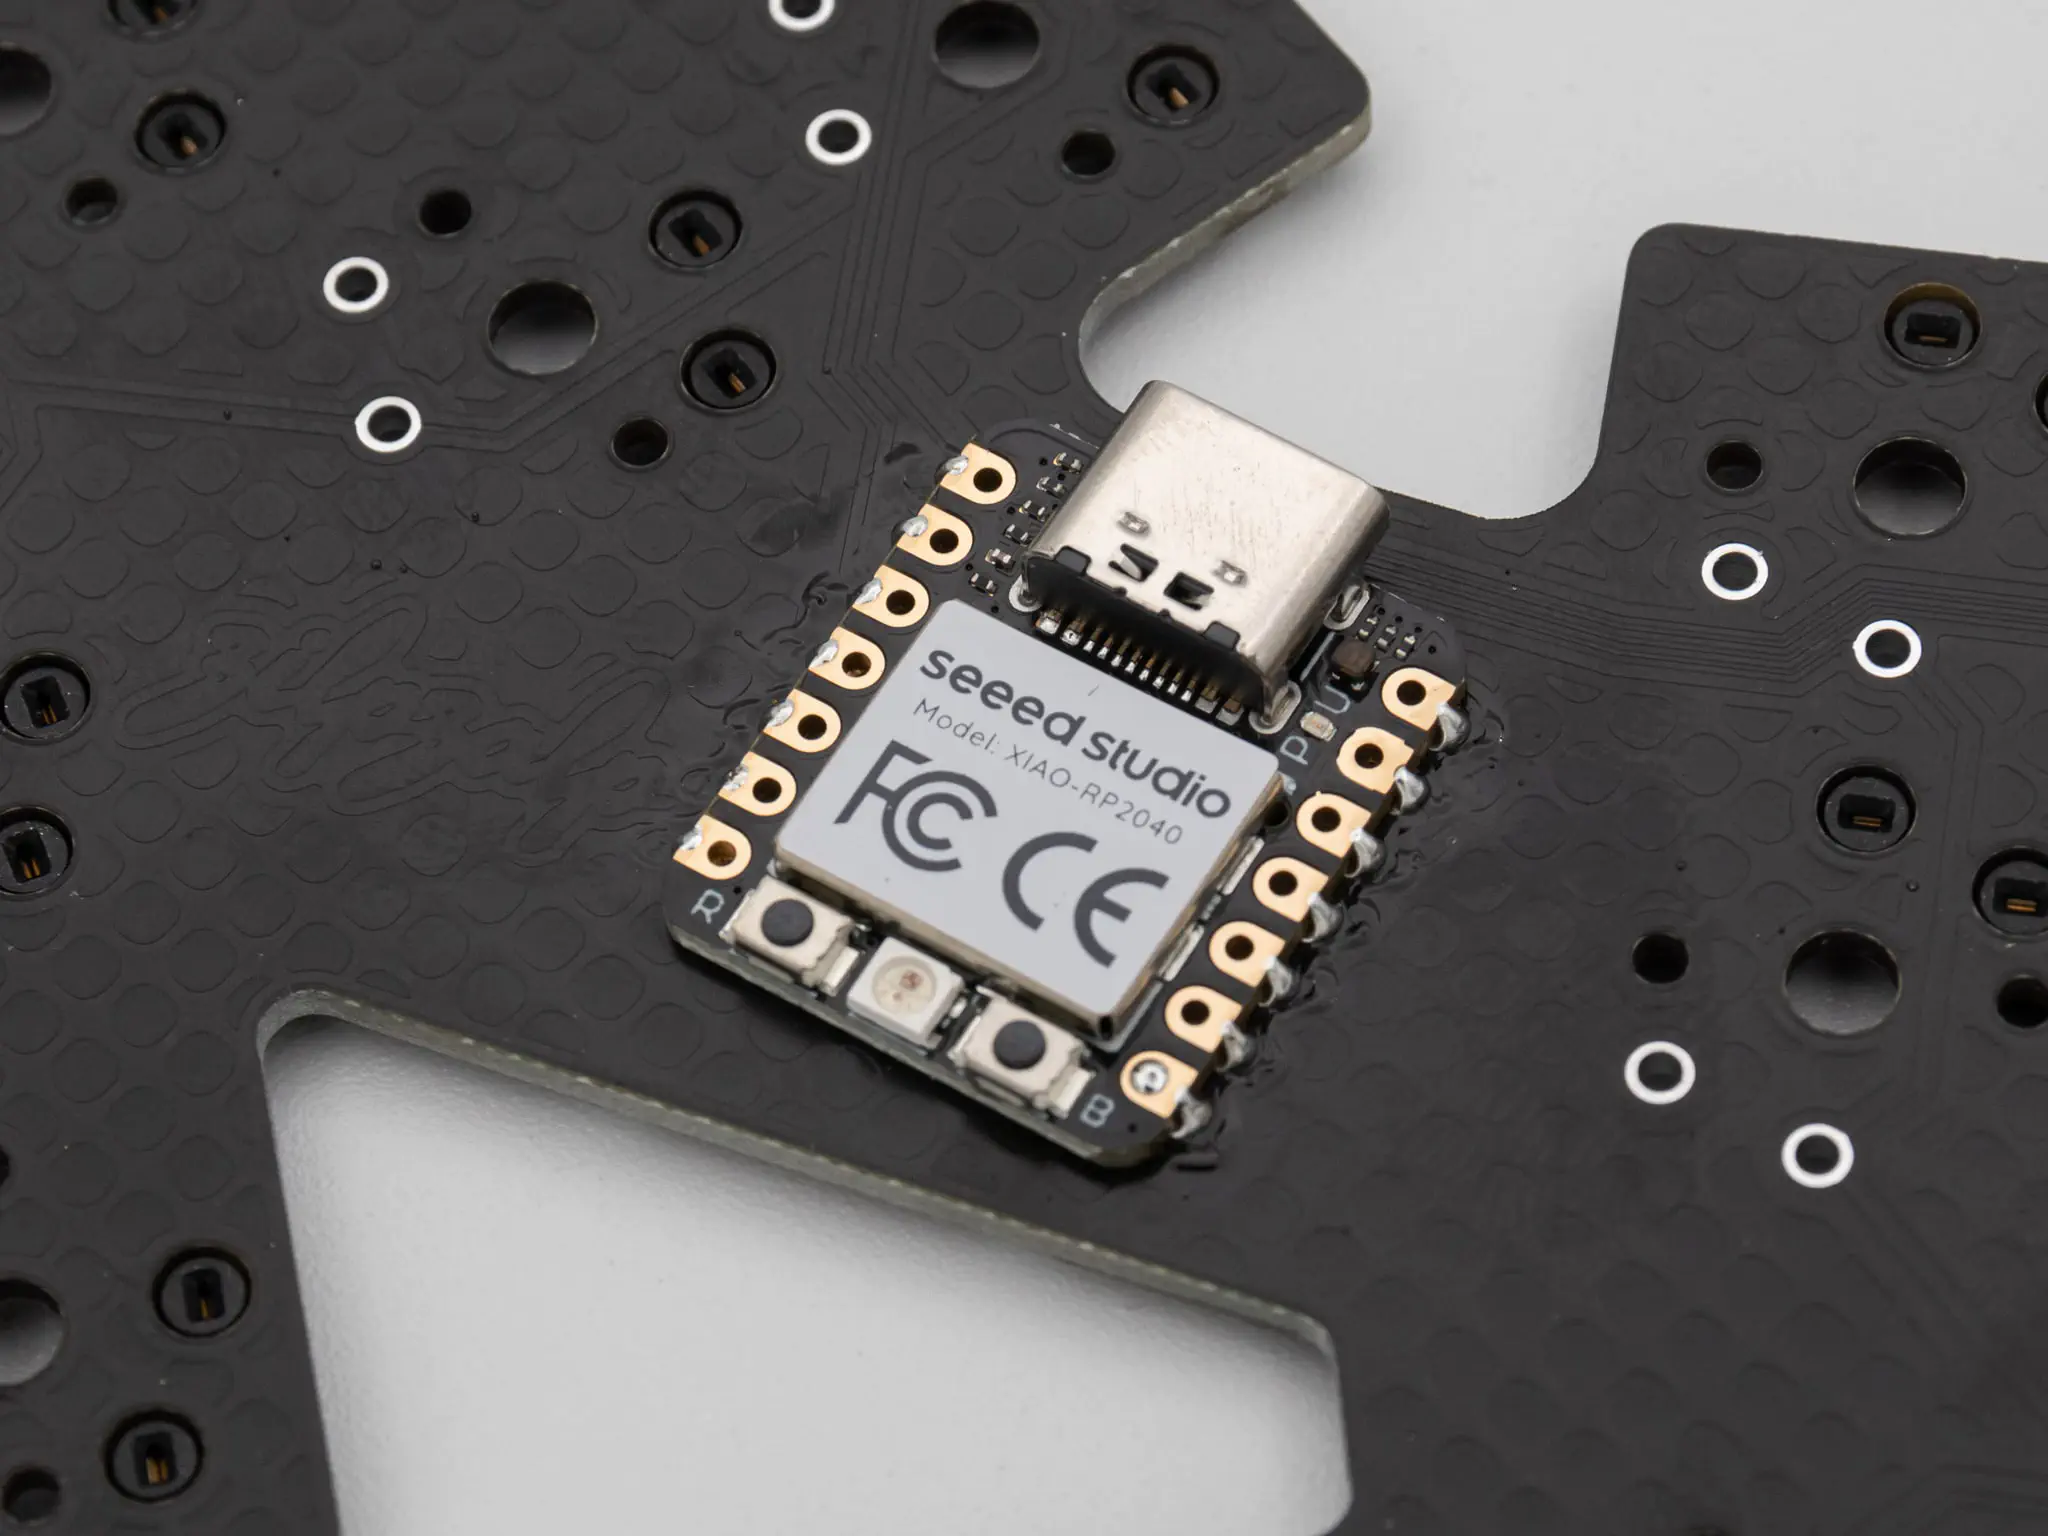
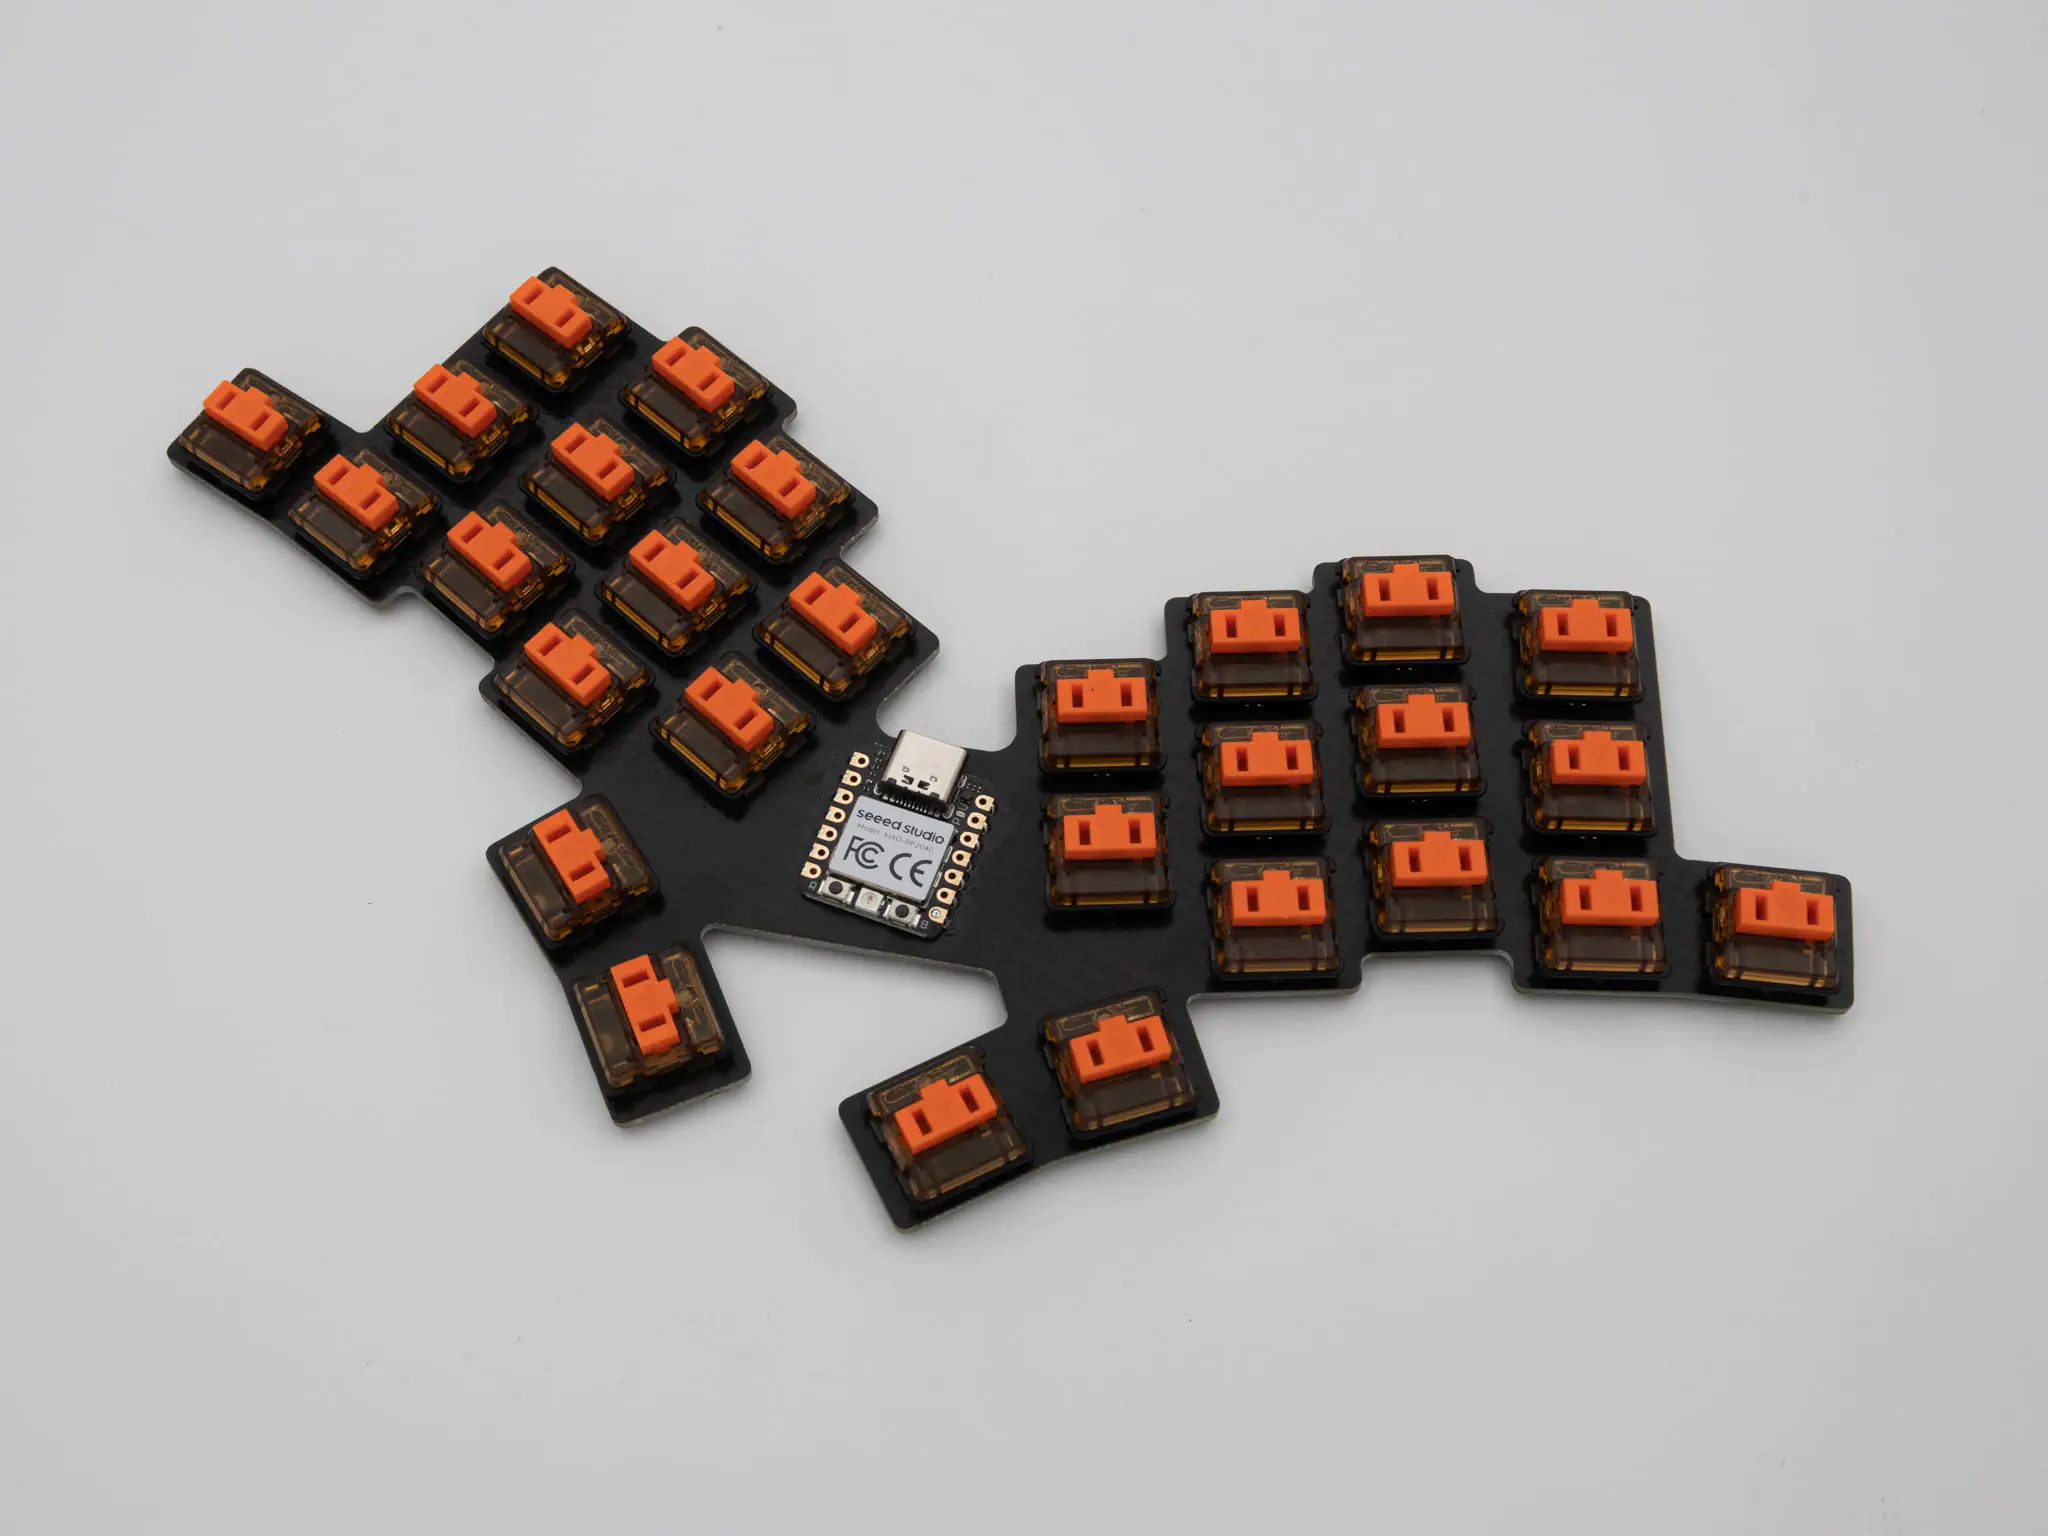
After that you just have to solder on your Controller. You can lay the Seeed XIAO directly onto the PCB and solder it on there. You can find Instructions on how to solder a controller directly onto the PCB here.
If you use the Miao you have to set the lower right pin to RX by bridging the bottom and middle pad on the left jumper pads. See here for the pinout schematics.
You can put on your rubber feet where ever you want on the PCB. You will have to cut the rubber feet to make them fit onto the PCB.
After that put in your switches. If you soldered on the hotswap sockets, you can just push them in, otherwise you will have to solder them in.
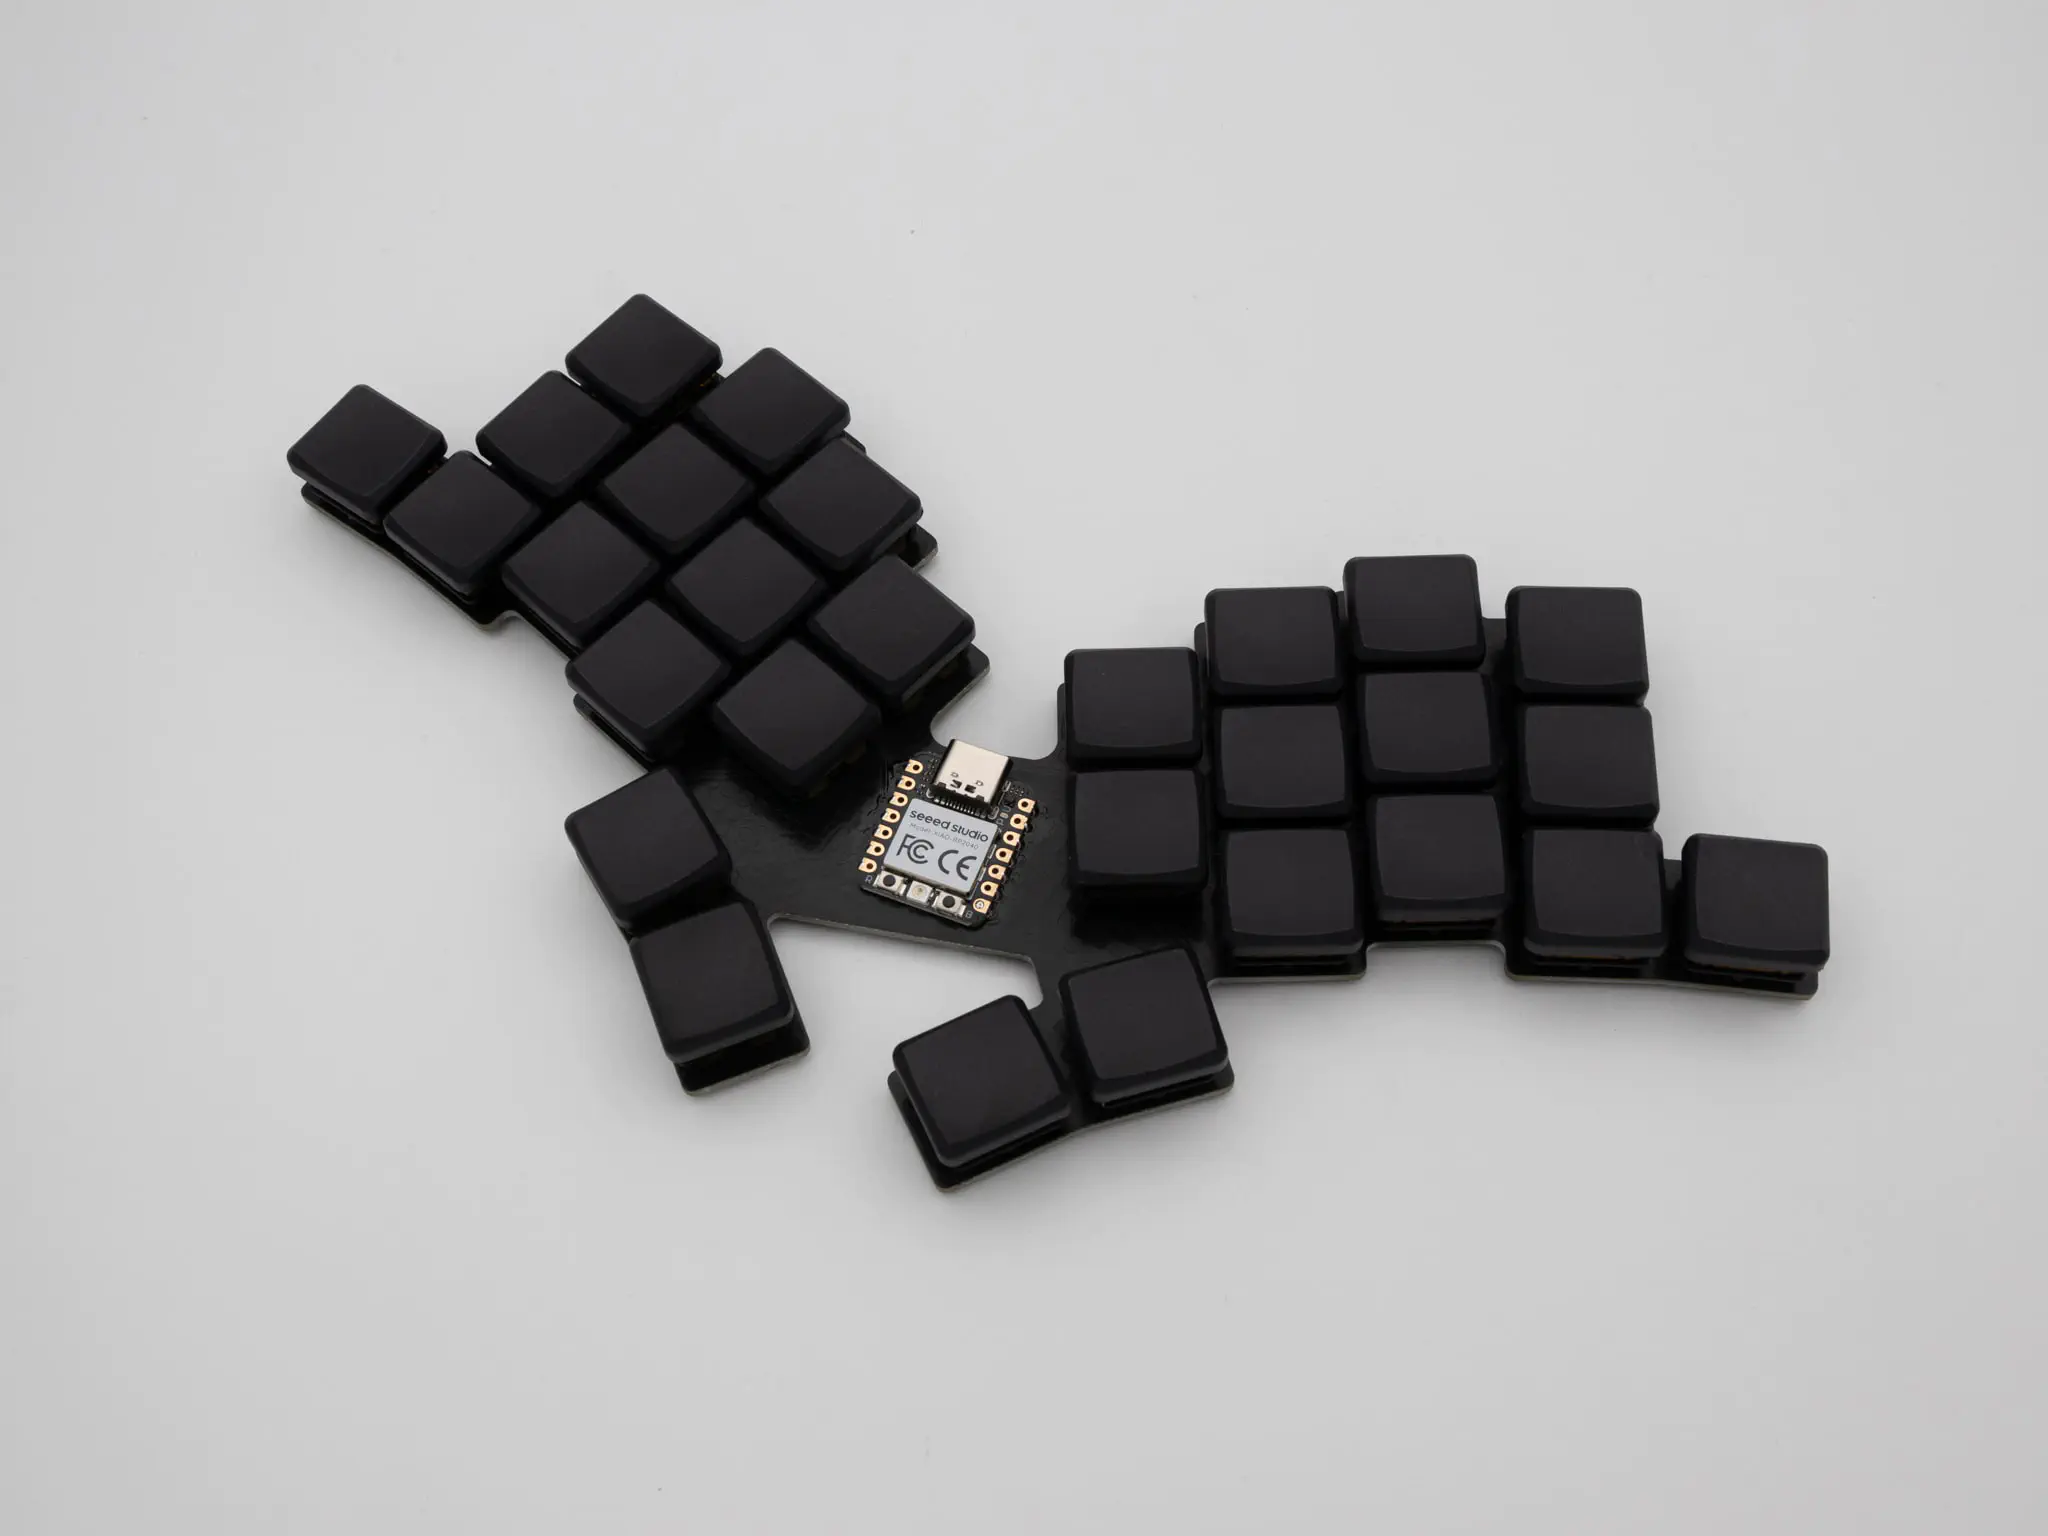
Now just put on your keycaps and you are done with your Zilpzalp!
A VIAL firmware for the Zilpzalp is available here. If you want to dive deaper into the firmware side of things check out the GitHub. Also note our Example Keymaps for getting started. If you want to learn more about small keyboards in general, check out our Intro to Small Keyboards.