Assembly
Soldering
The steps have to be repeated for each keyboard half.
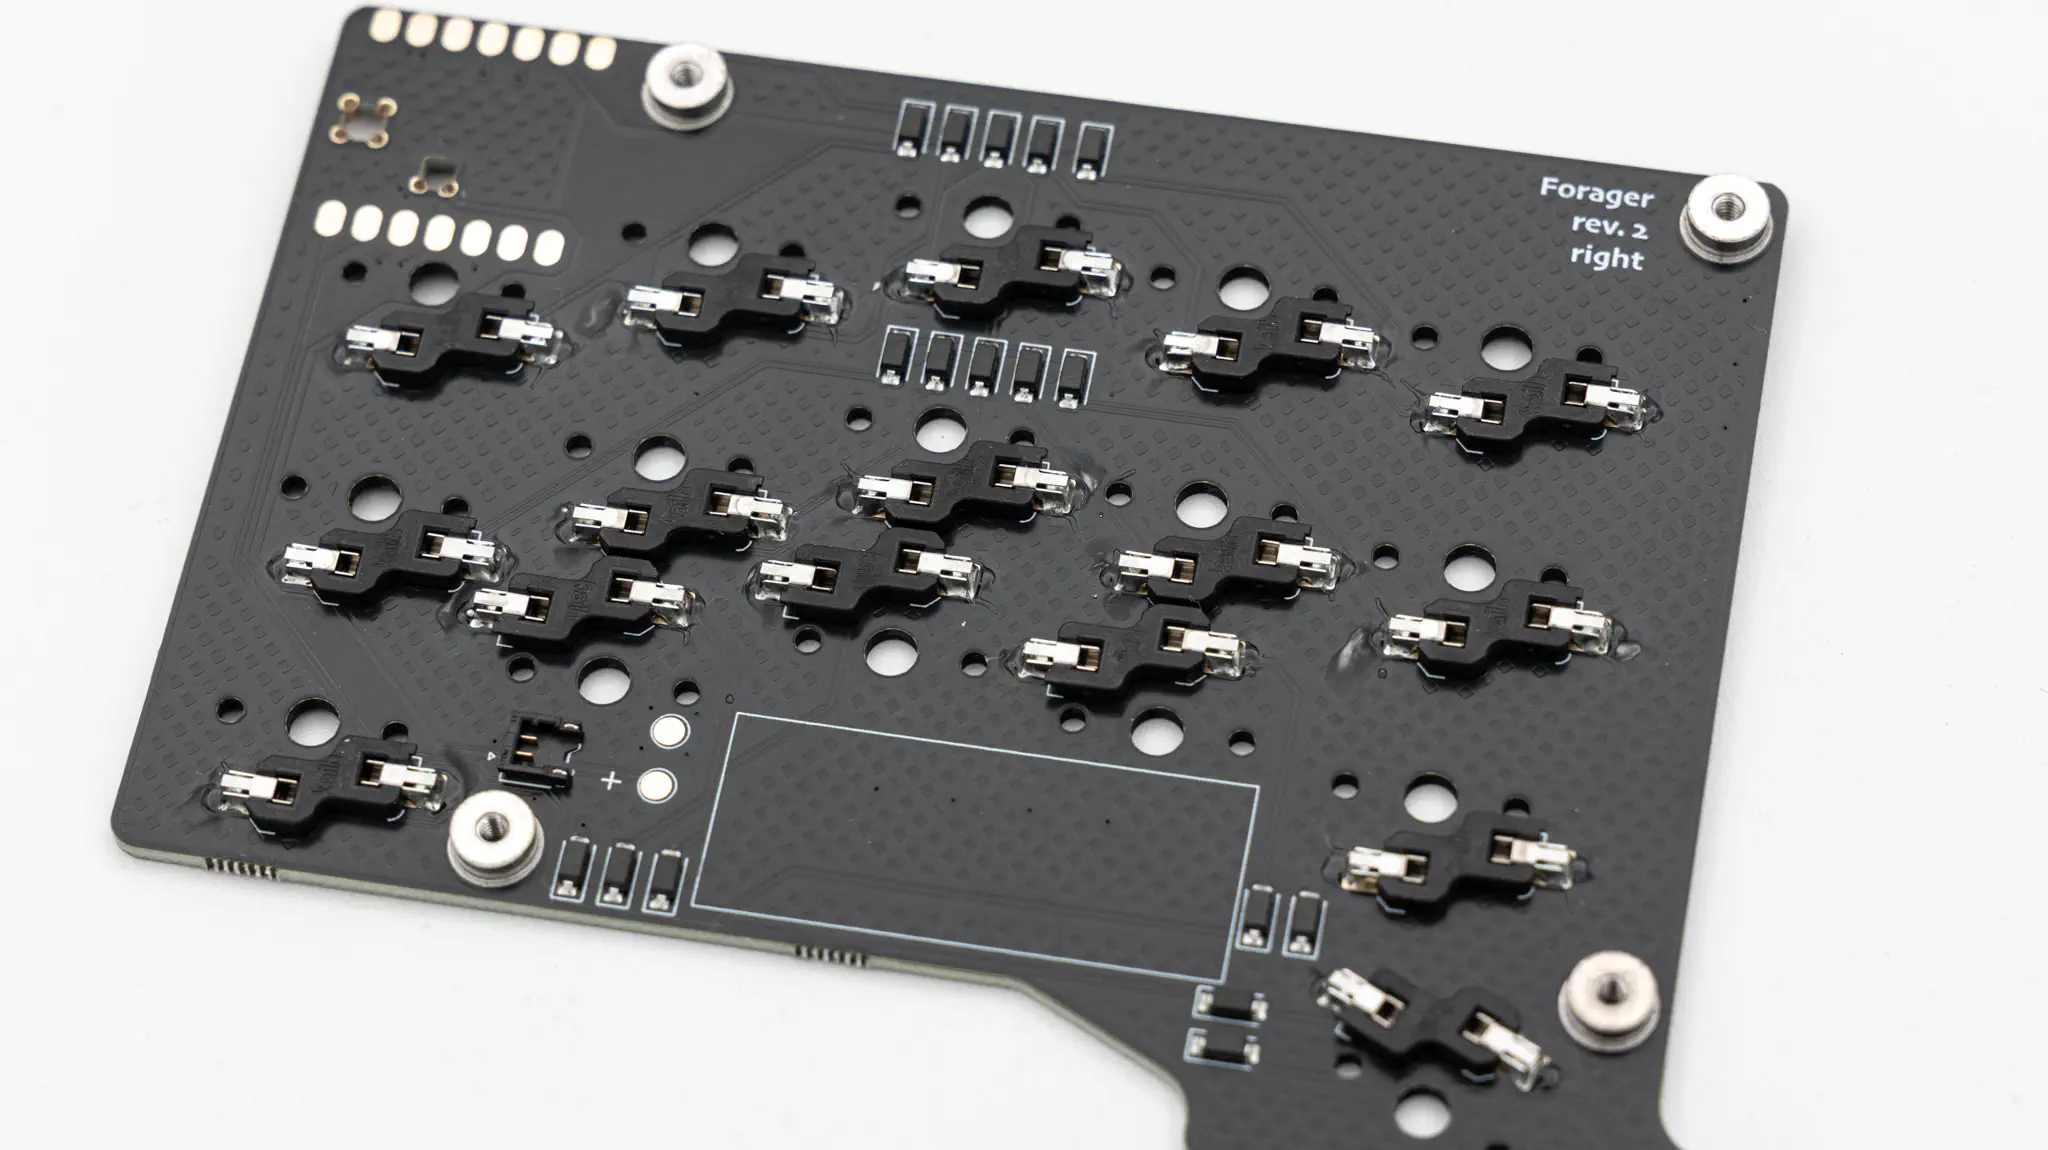
Hotswap Sockets
Solder the hotswap sockets. You can find instructions for that here.
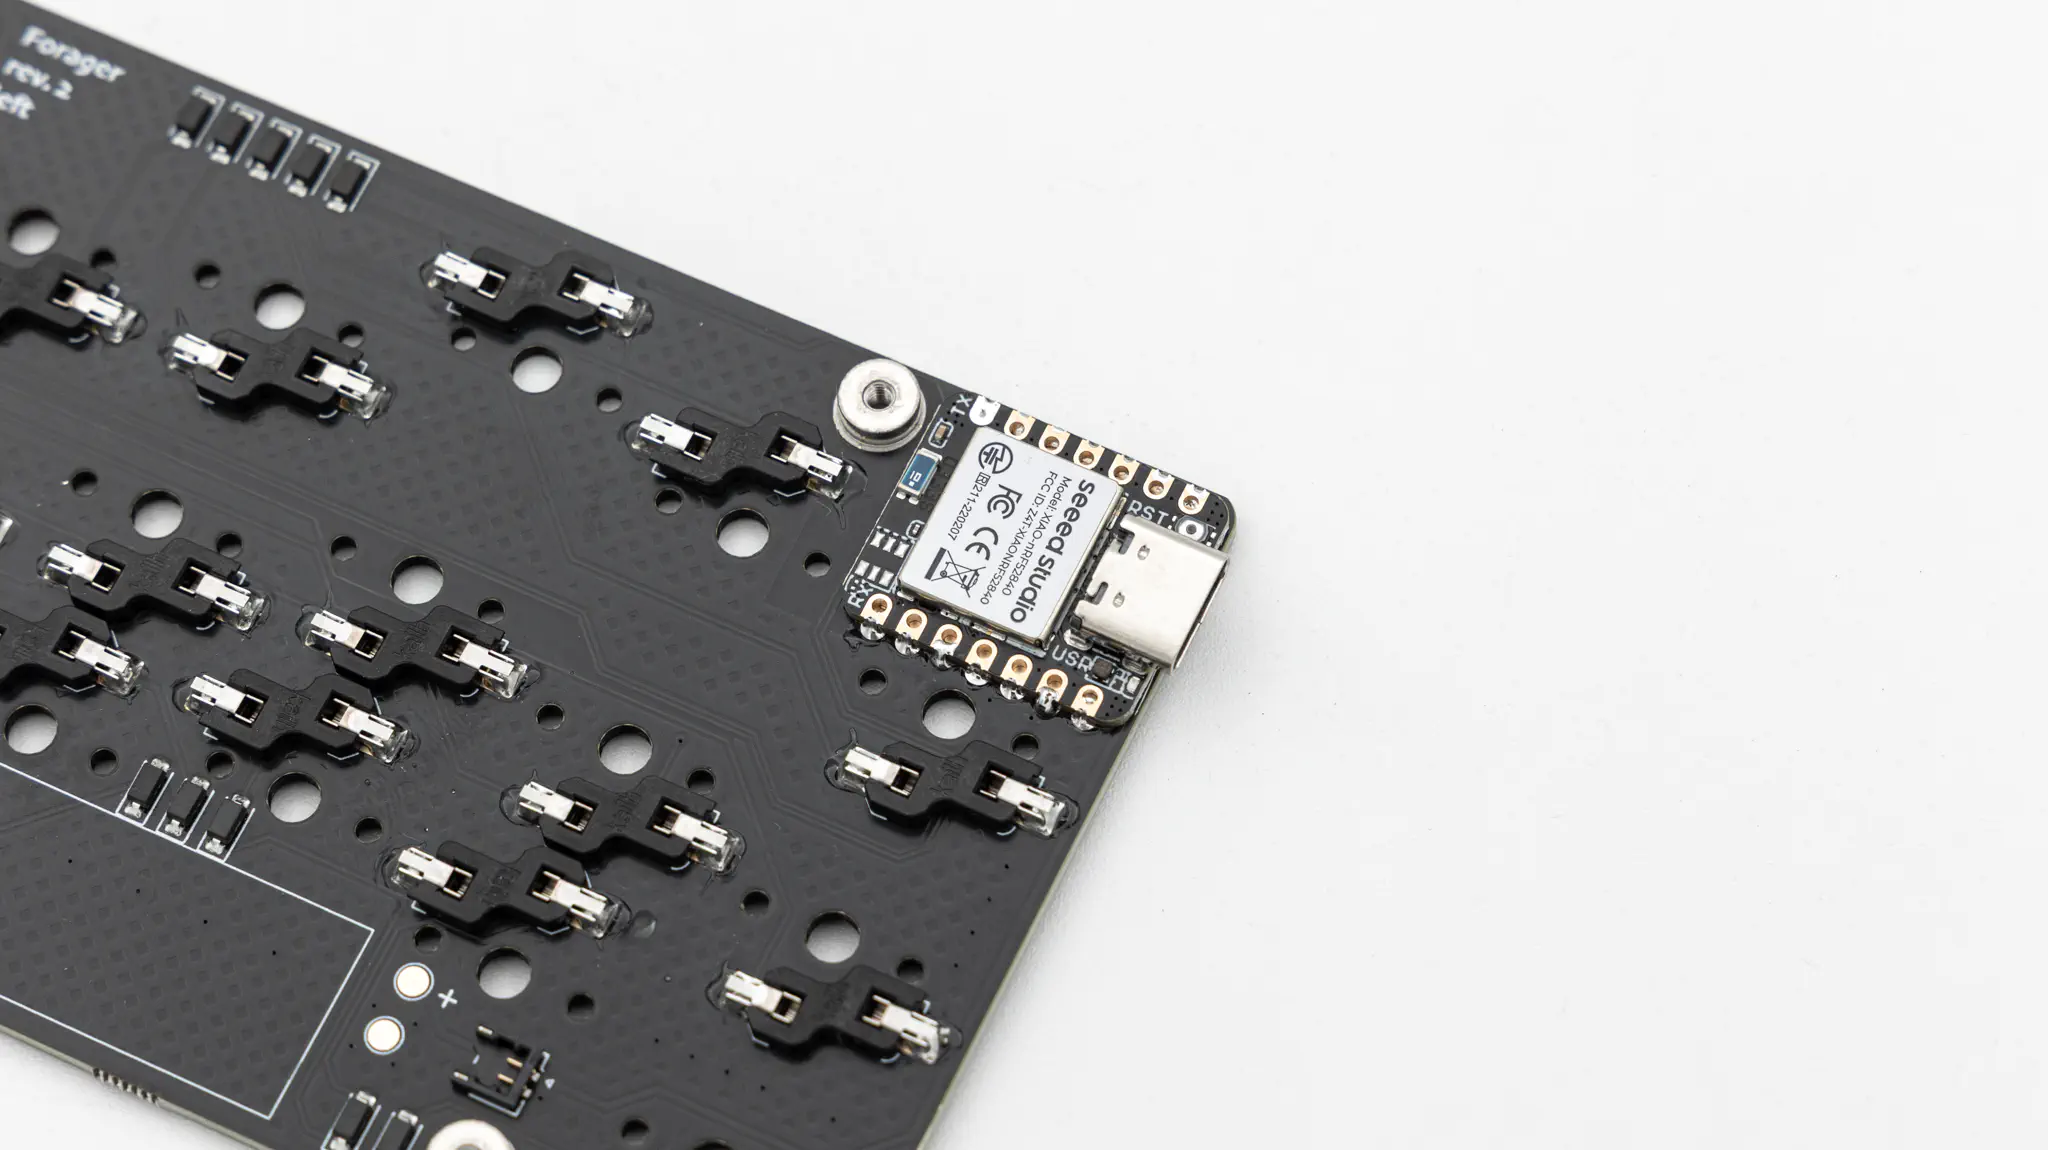
Microcontroller
After that you just have to solder your controller. You can lay the Seeed XIAO directly onto the PCB and solder it on there. You can find instructions on how to solder a controller directly onto the PCB here.
Battery
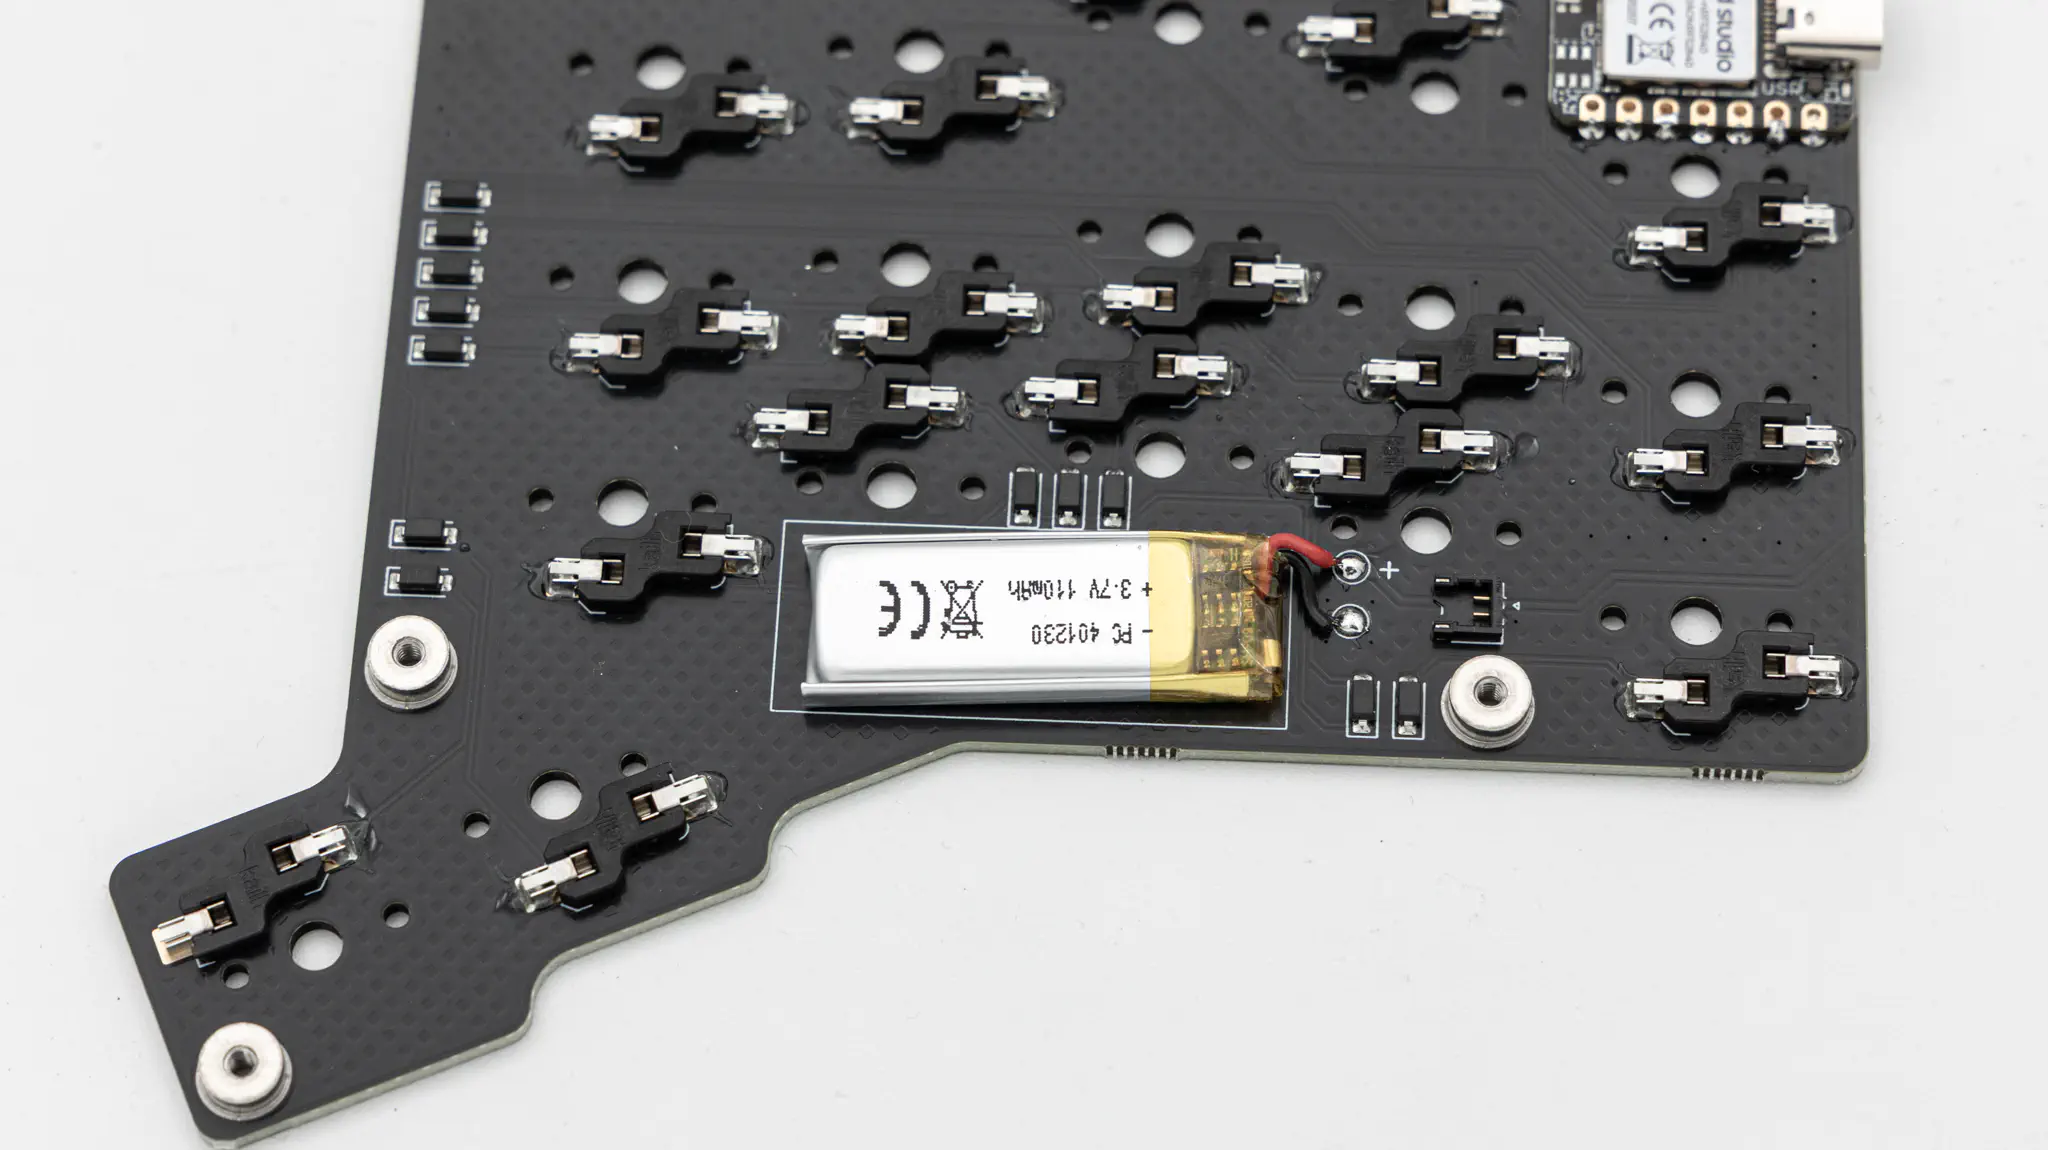
The battery is supposed to fit into the big white rectangle on the silkscreen.
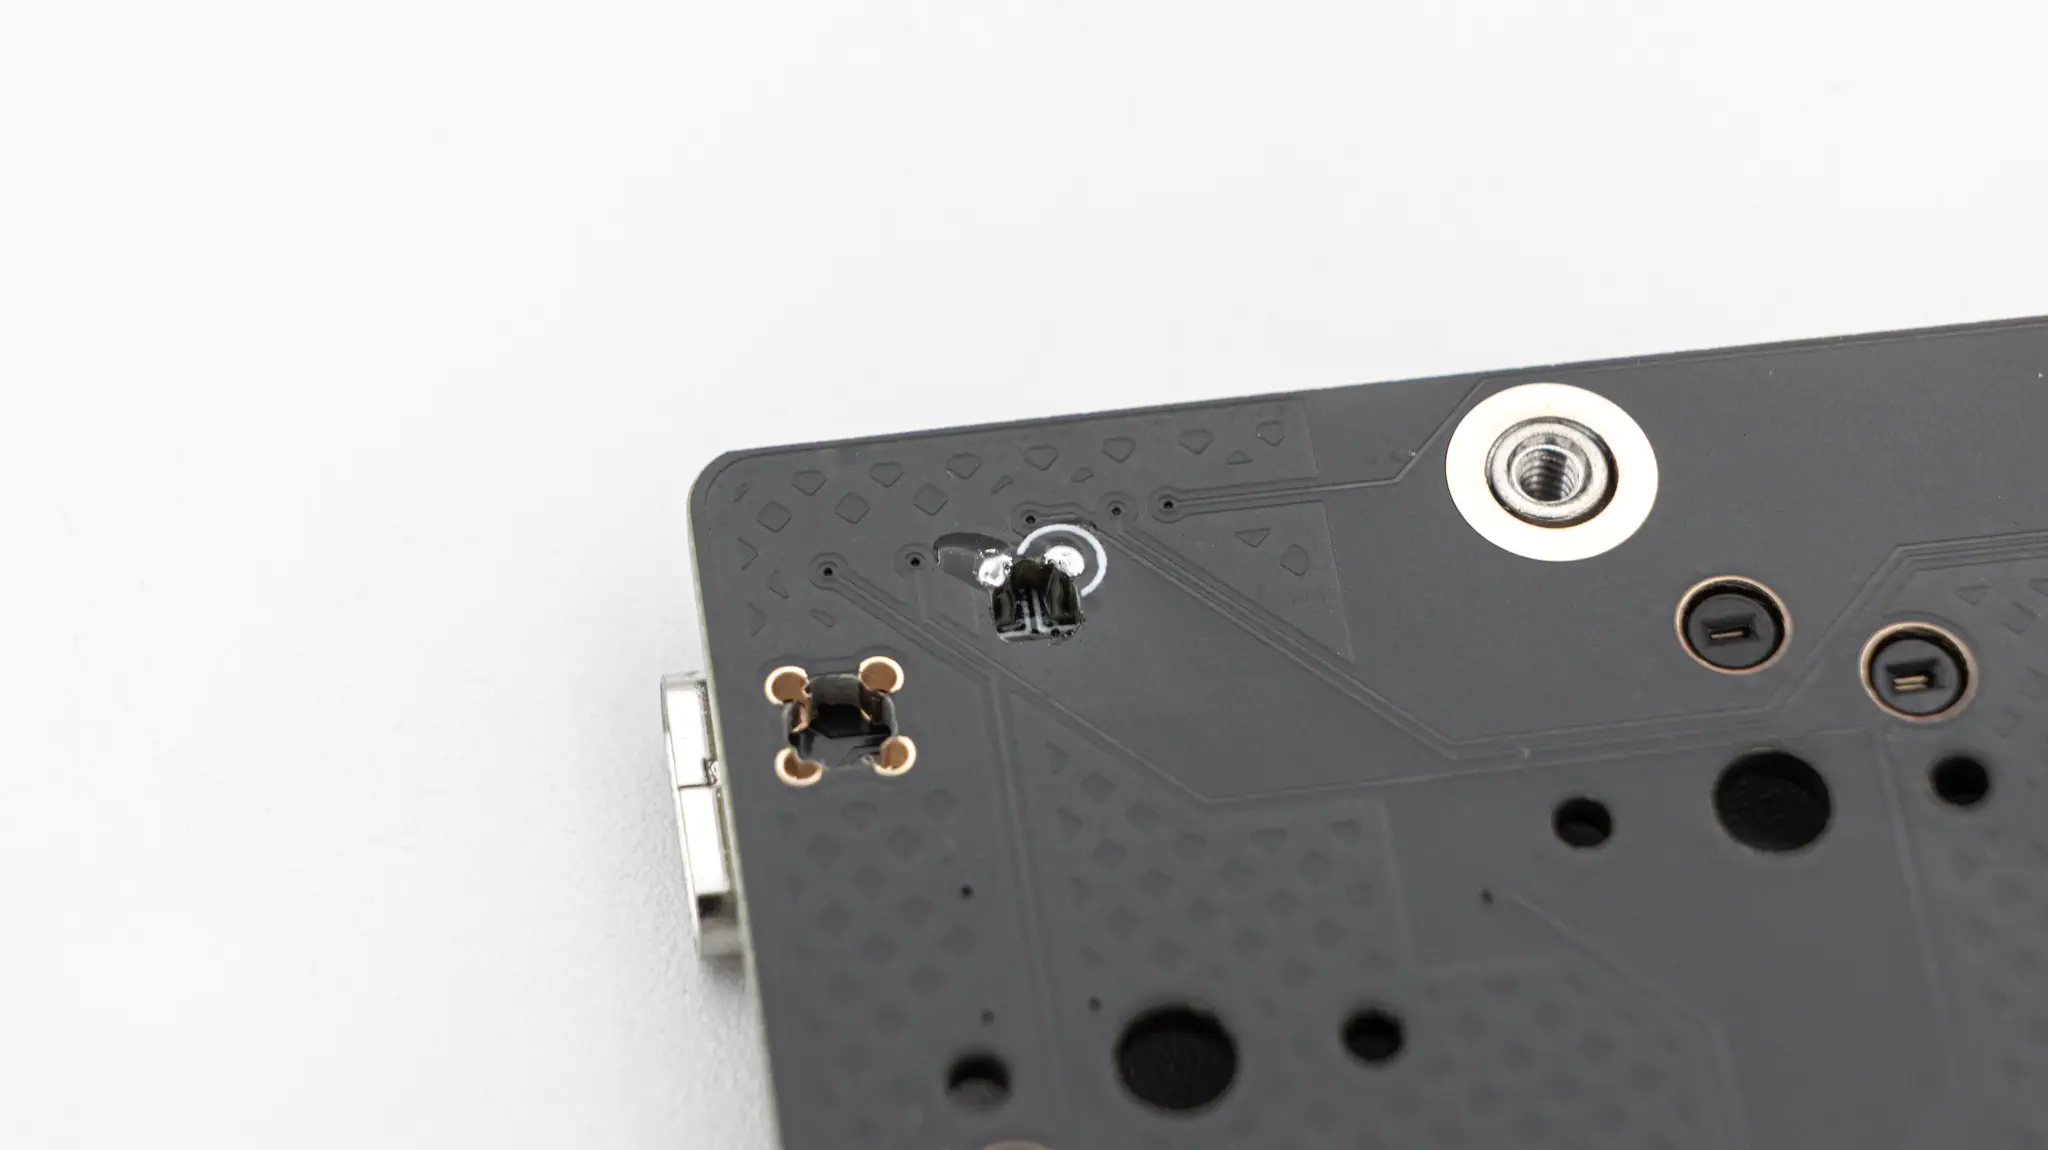
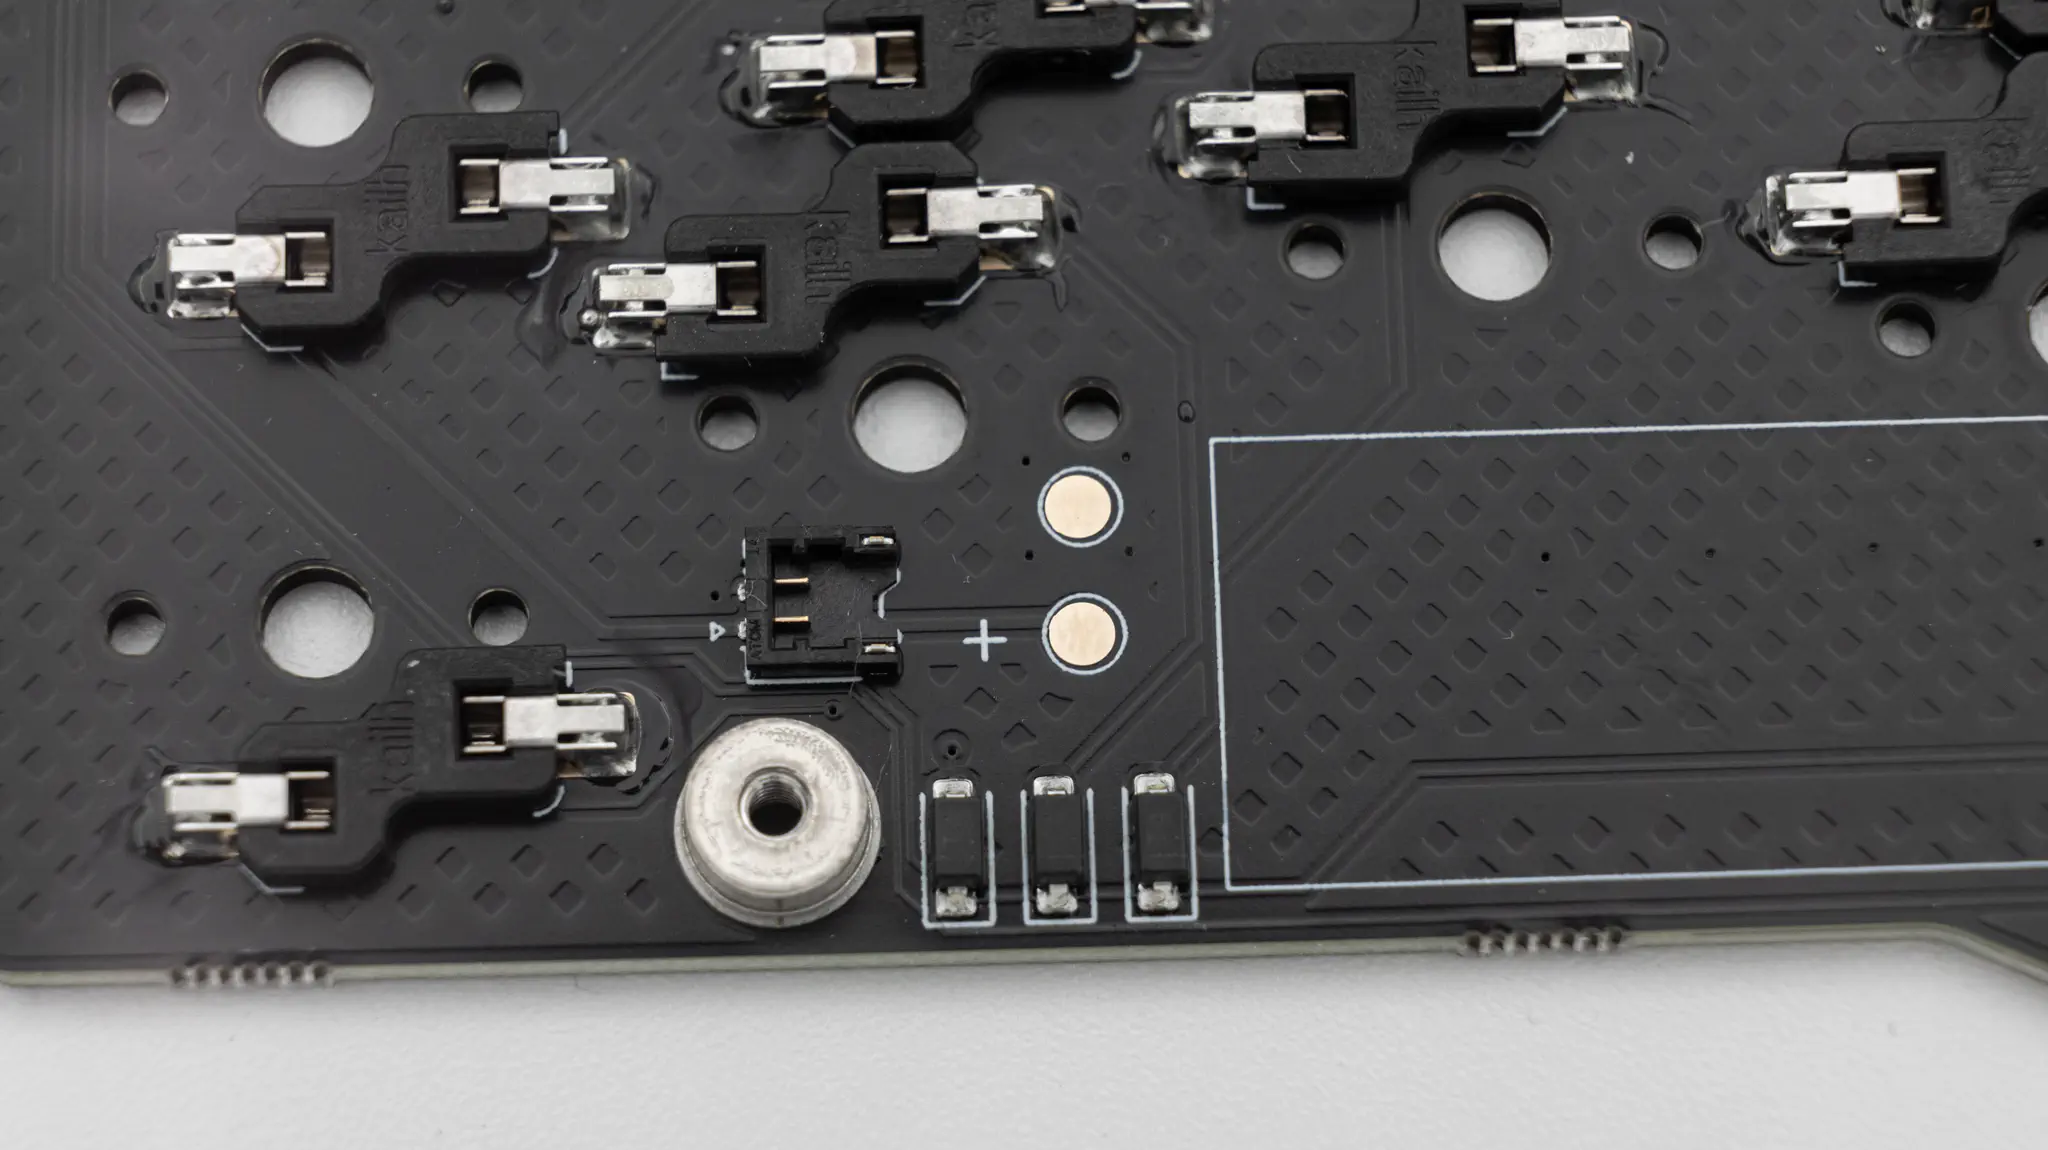
You can either use the EZmate push connector to easily connect the battery without soldering, or solder the battery to the two pads right next to it. If you use the connector, you can skip to the next section.
If you decide to solder the battery, then you probably need to shorten the cables of the 401230 lithium polymer battery and tin them, since the cables need to be pretty short.
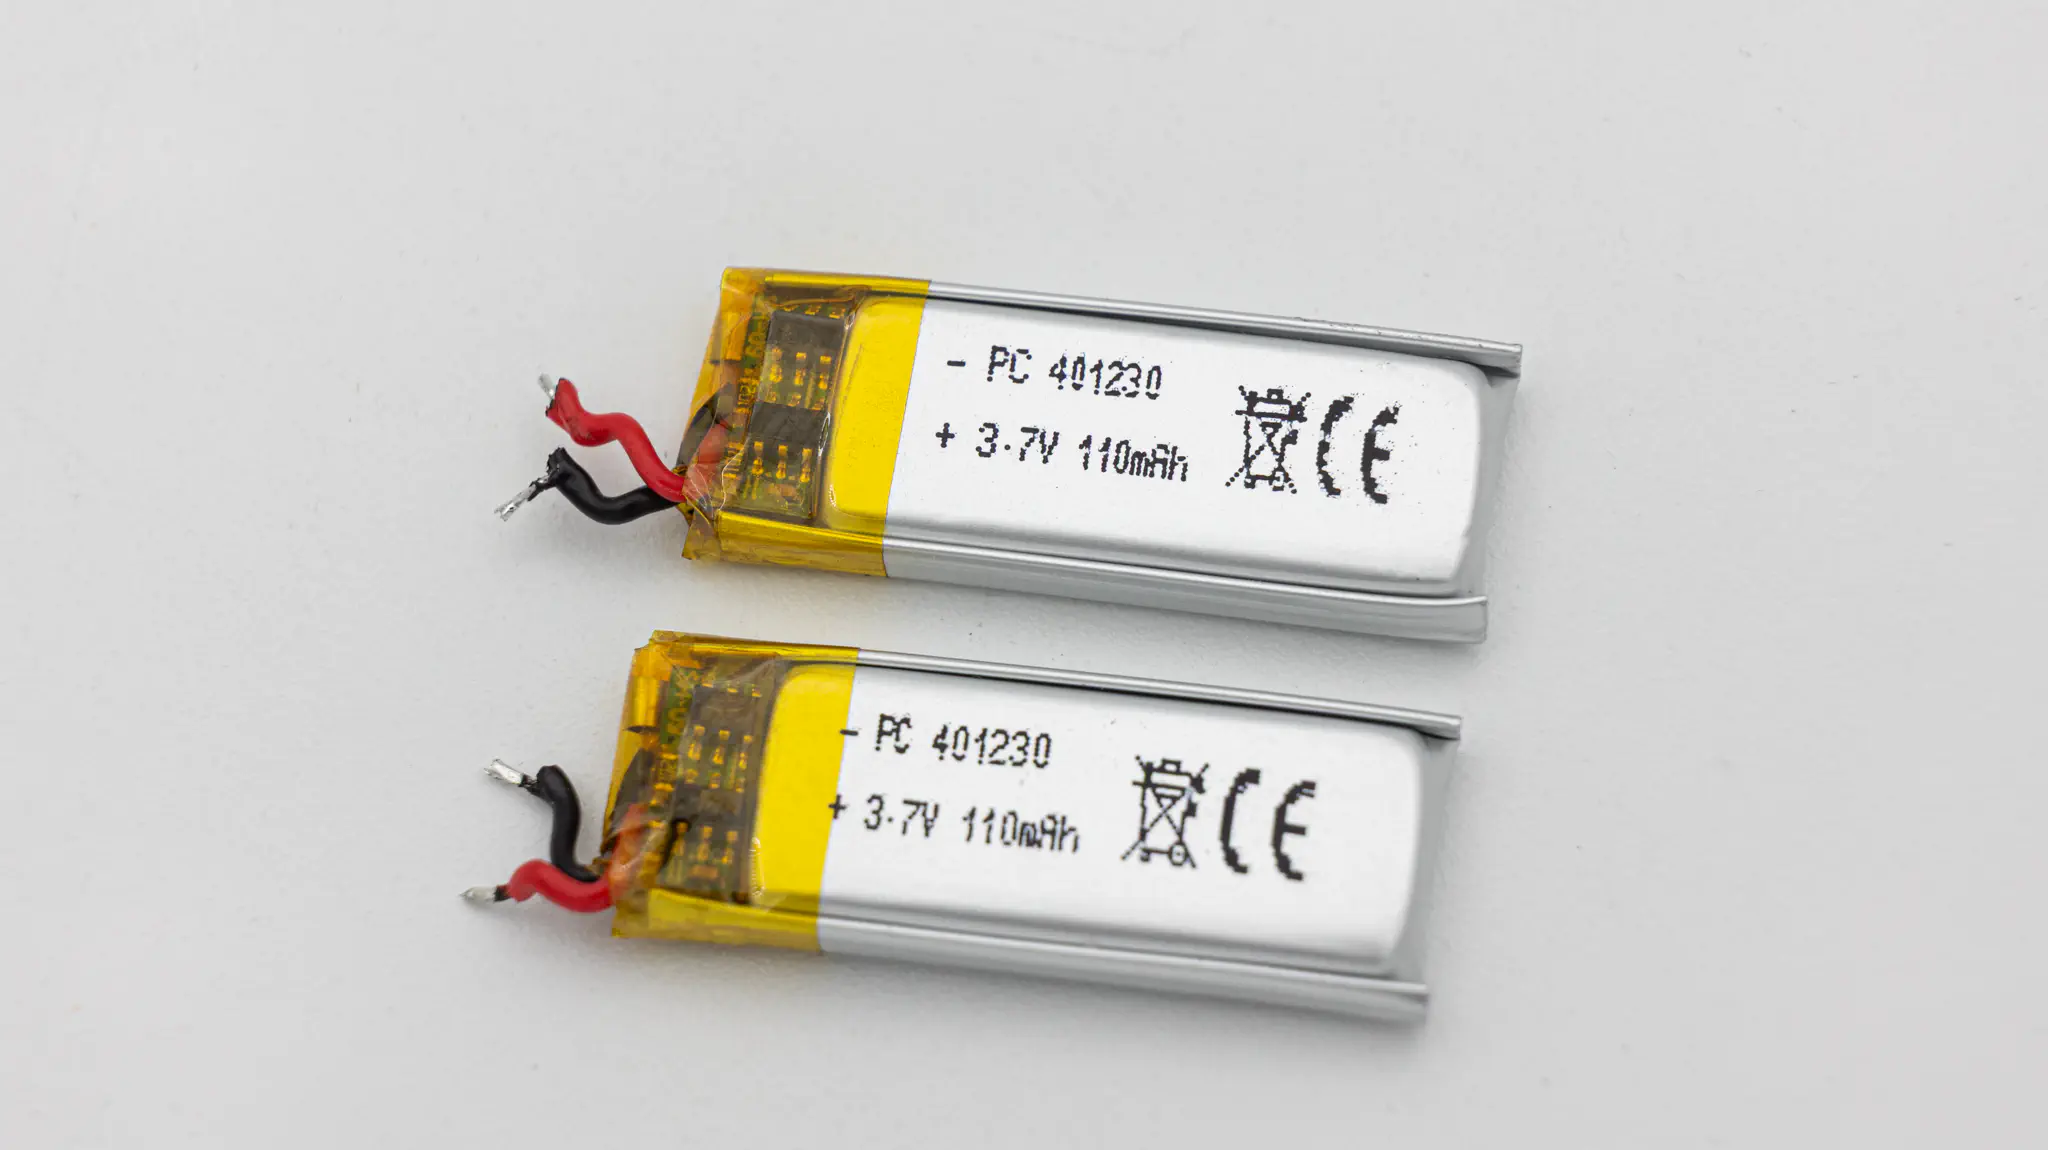
You can see which cable needs to go onto which pad by the silkscreen. Red is + / black is –.
Attach the wires of the battery to the pads and solder them in.
Testing
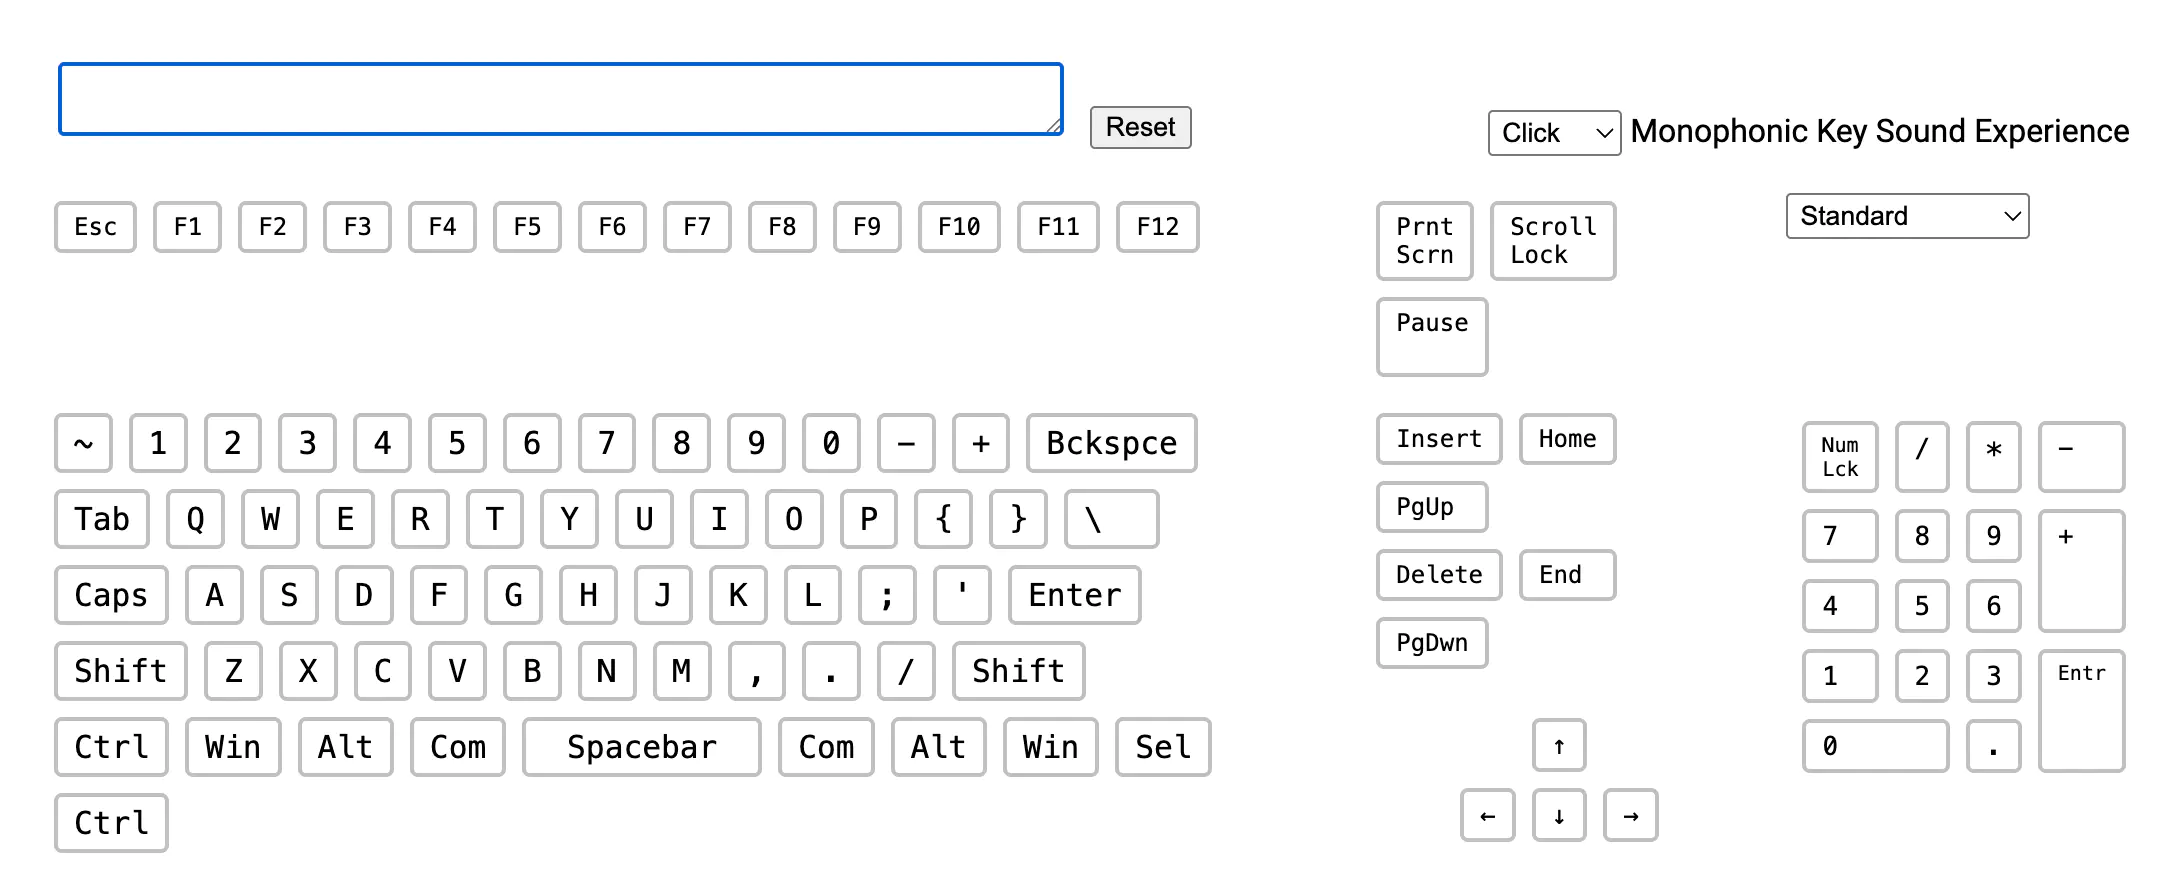
Once you have soldered everything it is good practice to do a matrix test. You can do that here.
Case
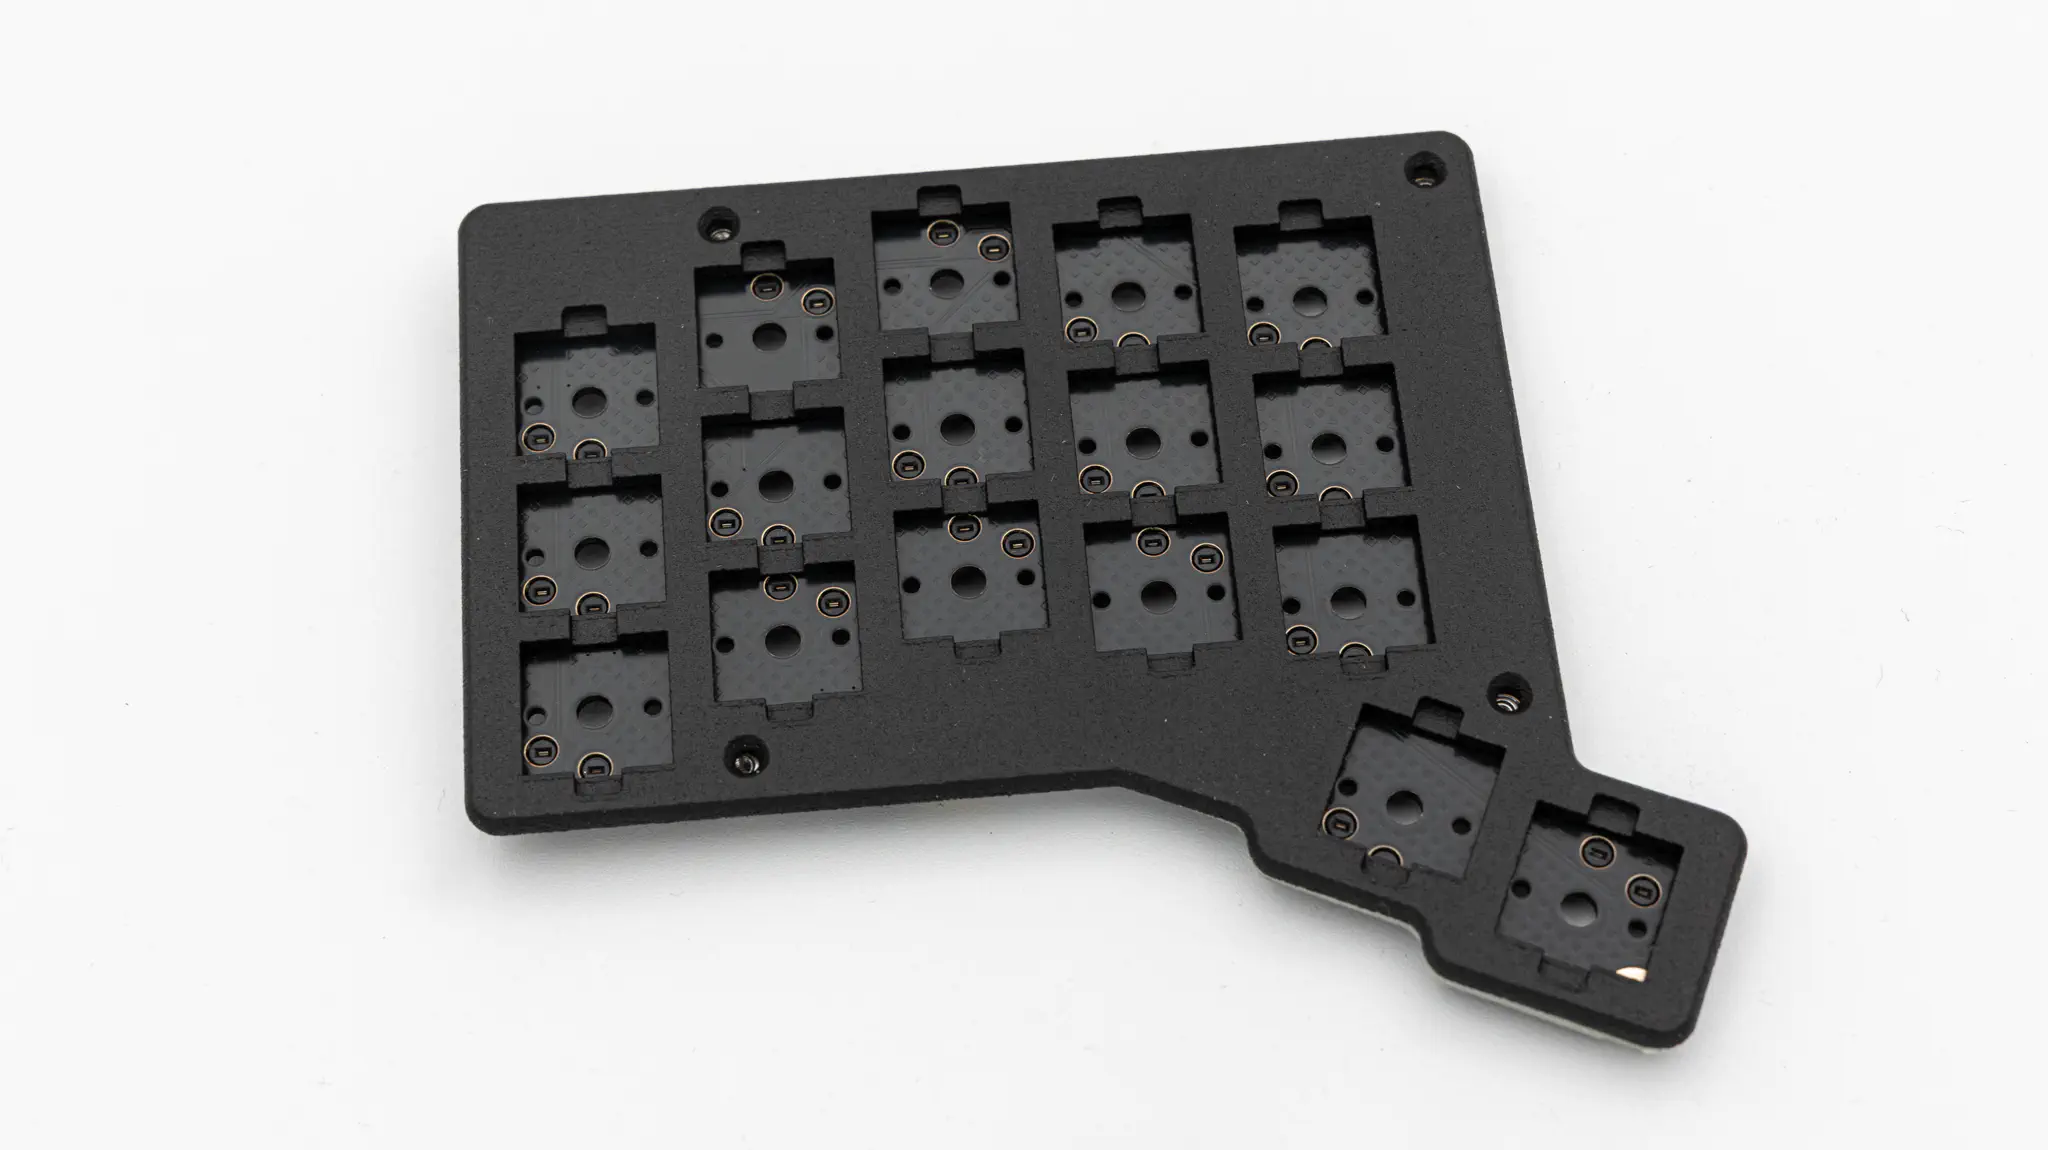
First place the switch plate on top of the side of the PCB without components. Make sure that the countersunk screw holes are at the top.
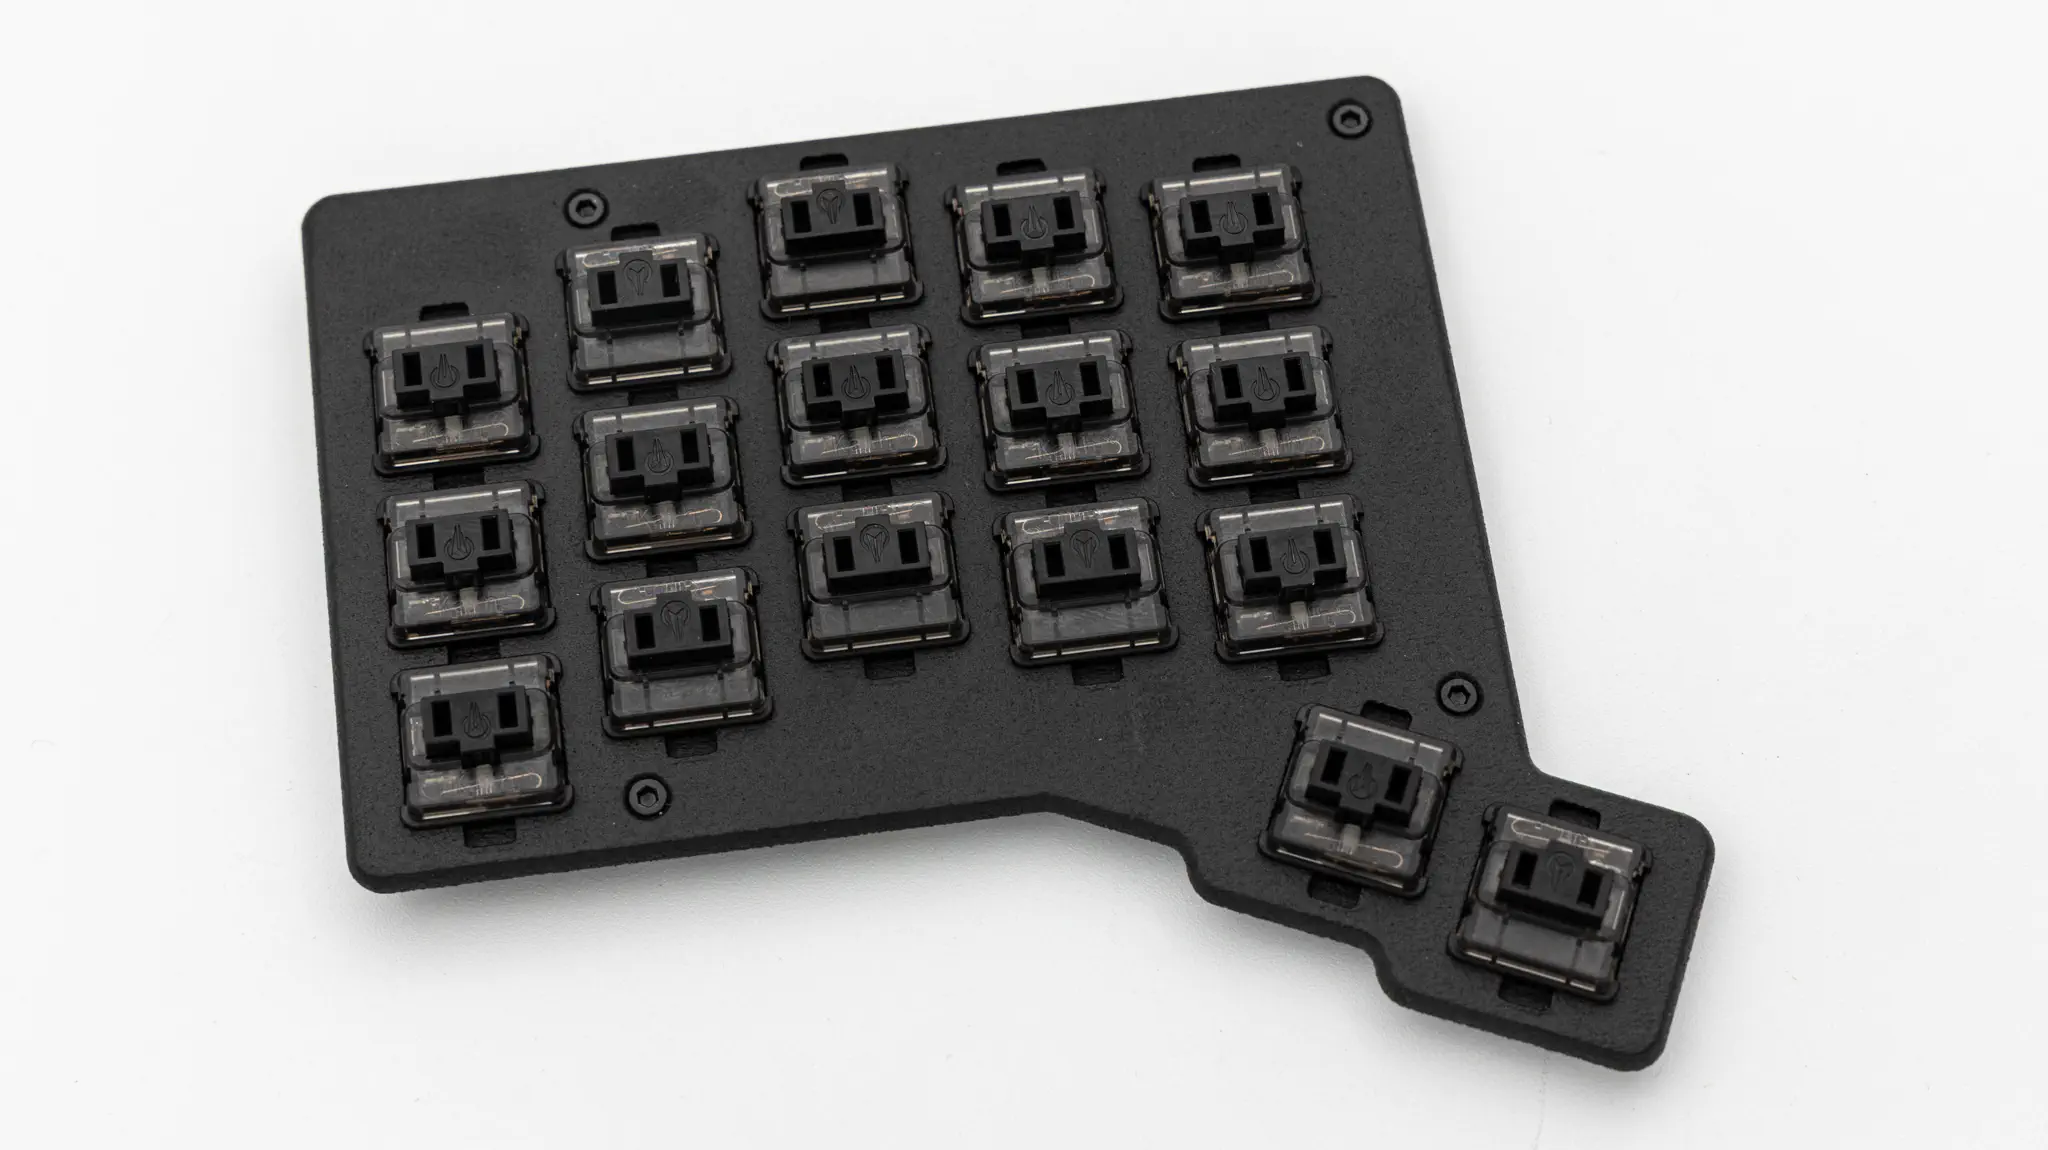
Next push in the switches and screw in the switch plate.
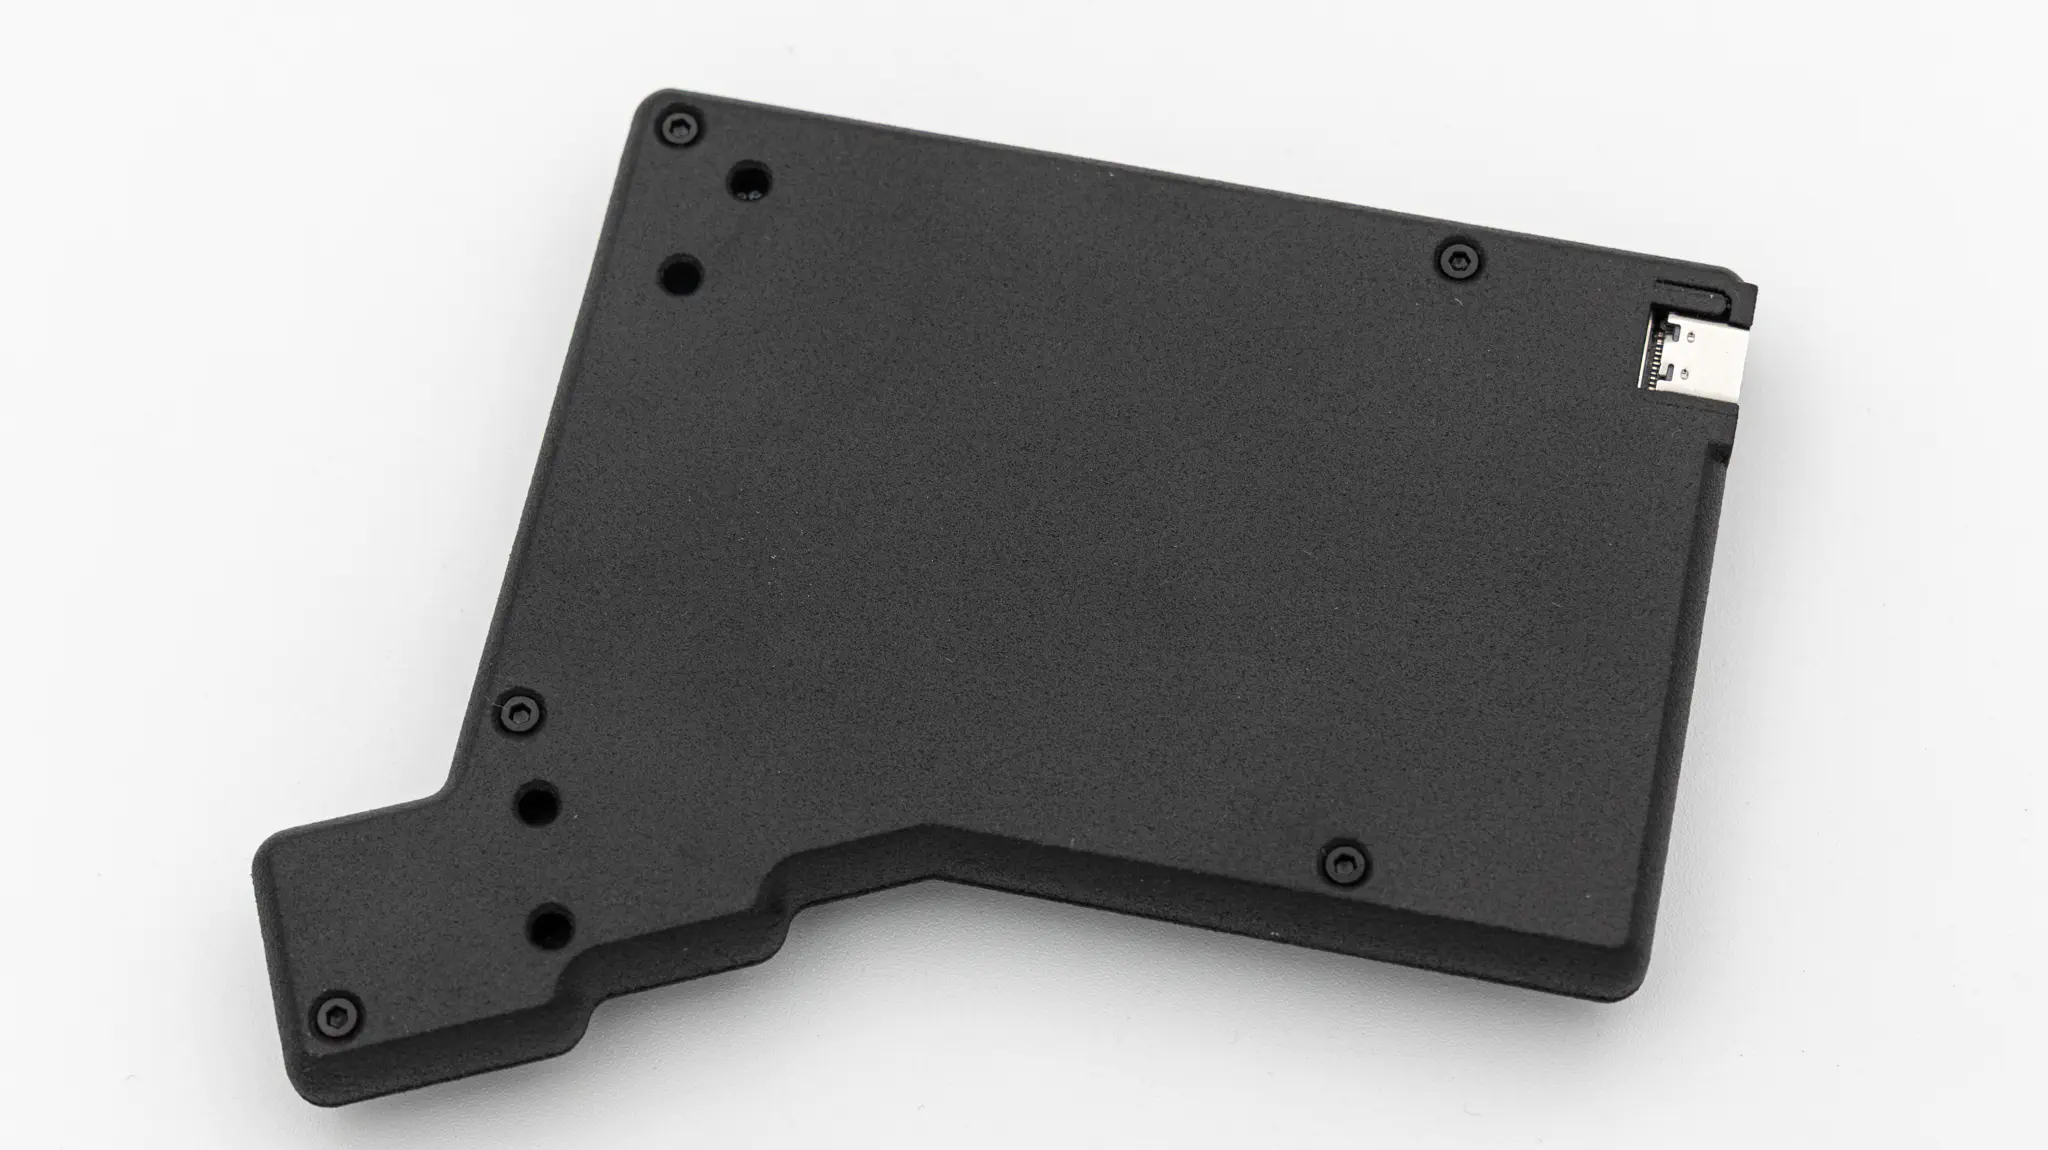
Now put on the bottom piece of the case and screw it in.
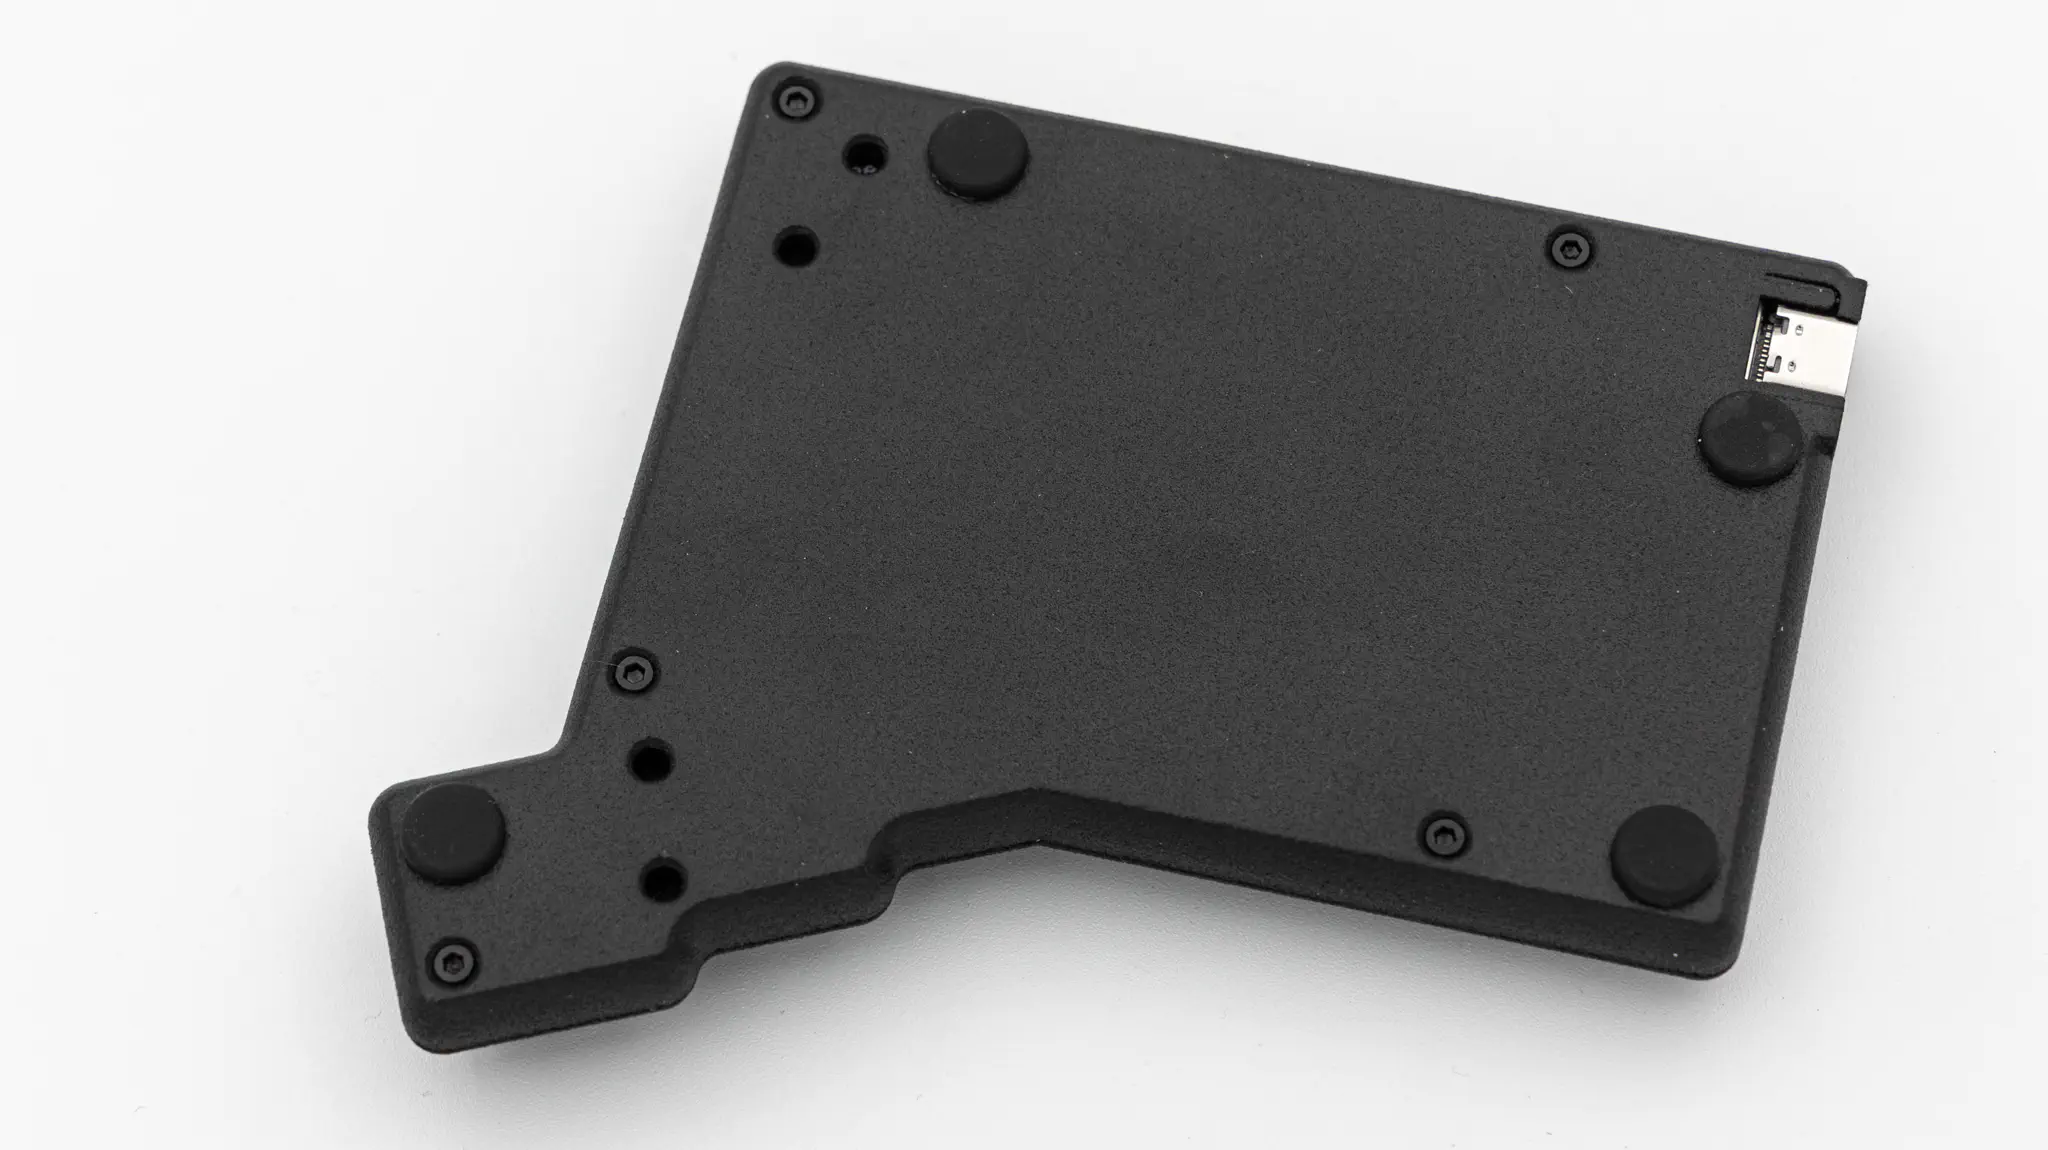
Put in your rubber feet onto the bottom piece. Make sure to leave space for the tenting feet, if you want to use those.
Put on the keycaps you want to use.
Attach the 4 tenting feet if you want to use those.

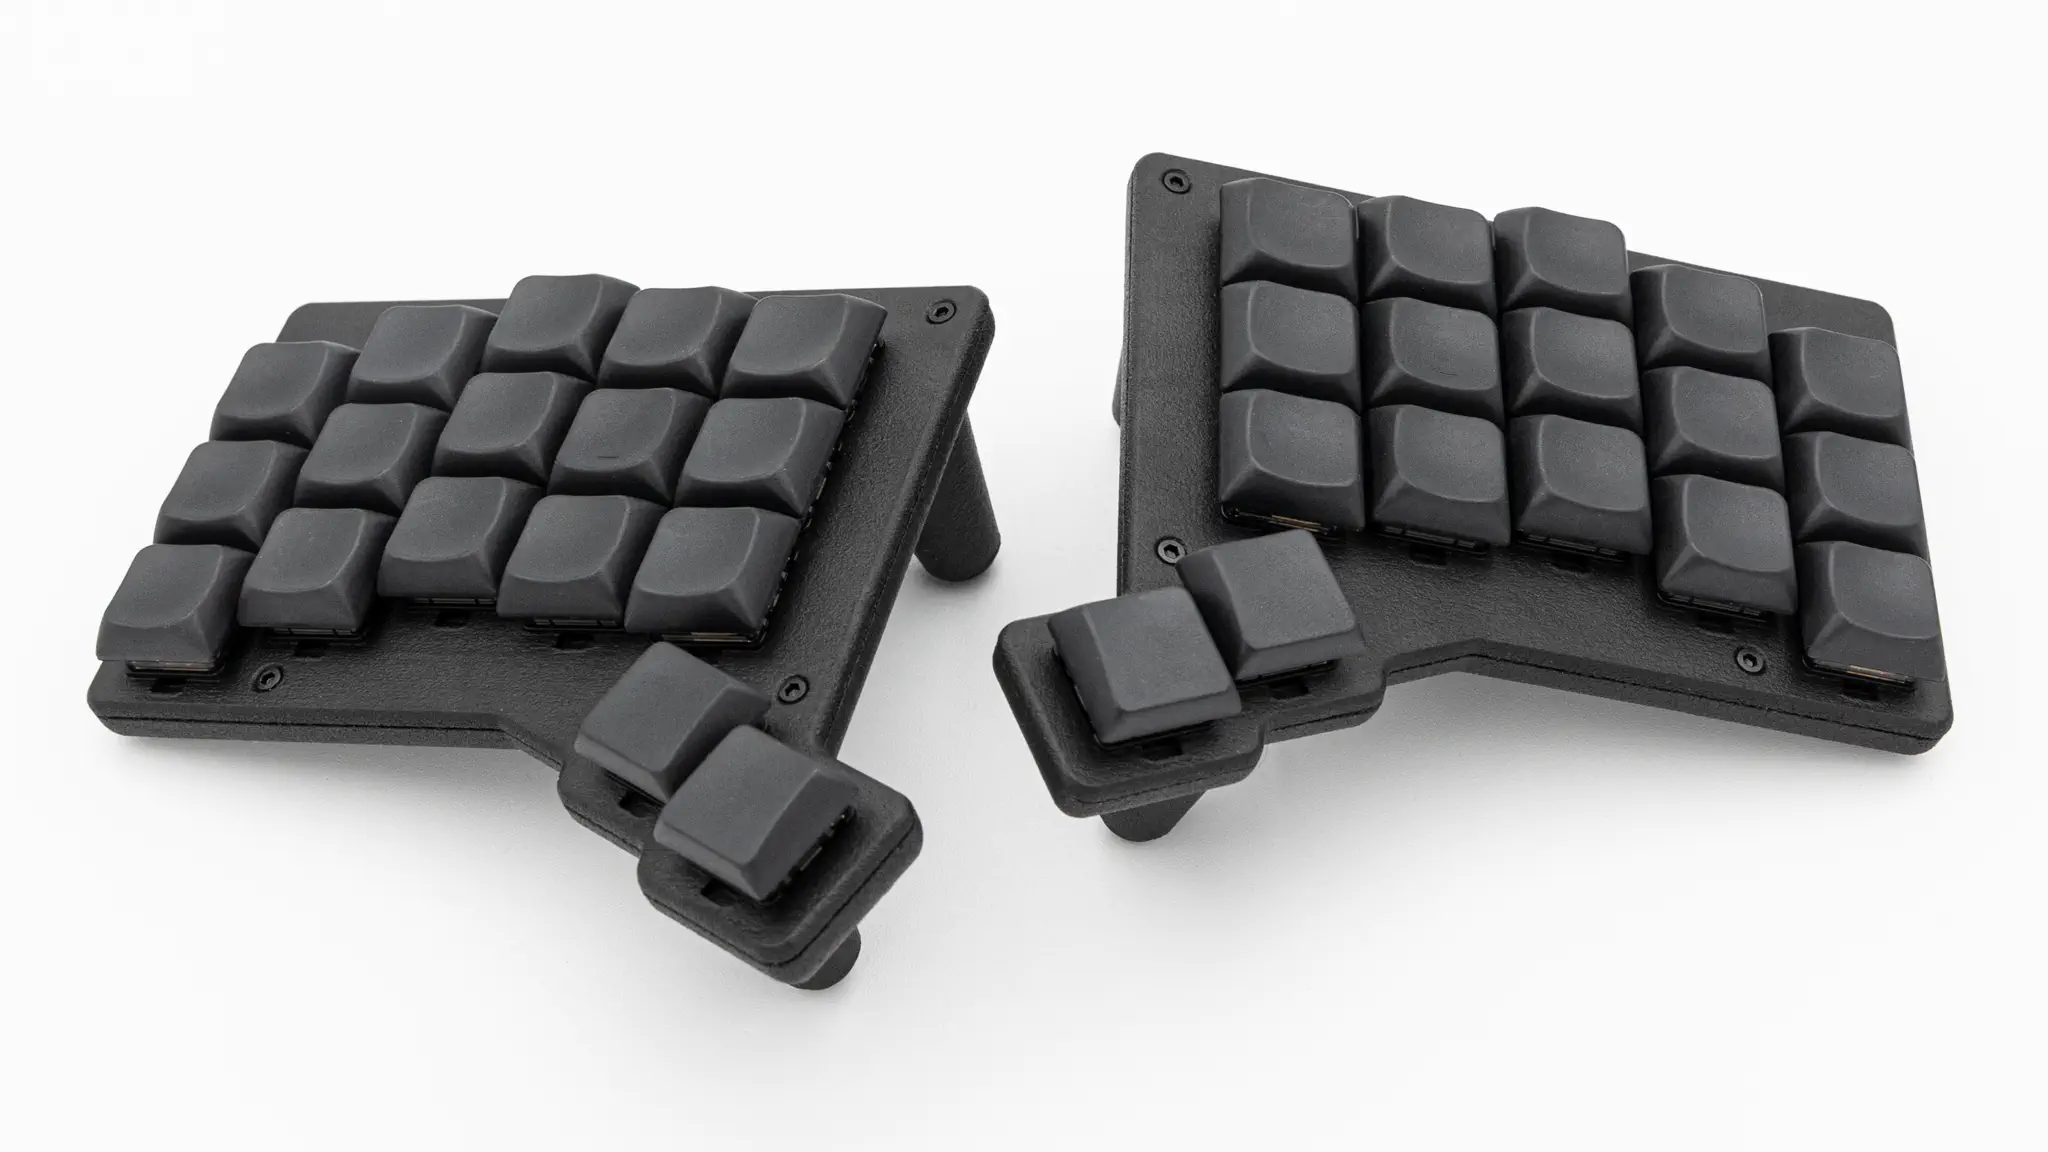
And you are done with your Forager!