Title here
Summary here
Information about our very own stabilizer kit that you can buy here.
The following components will be included in both versions.
| Image | Description | Quantity |
|---|---|---|
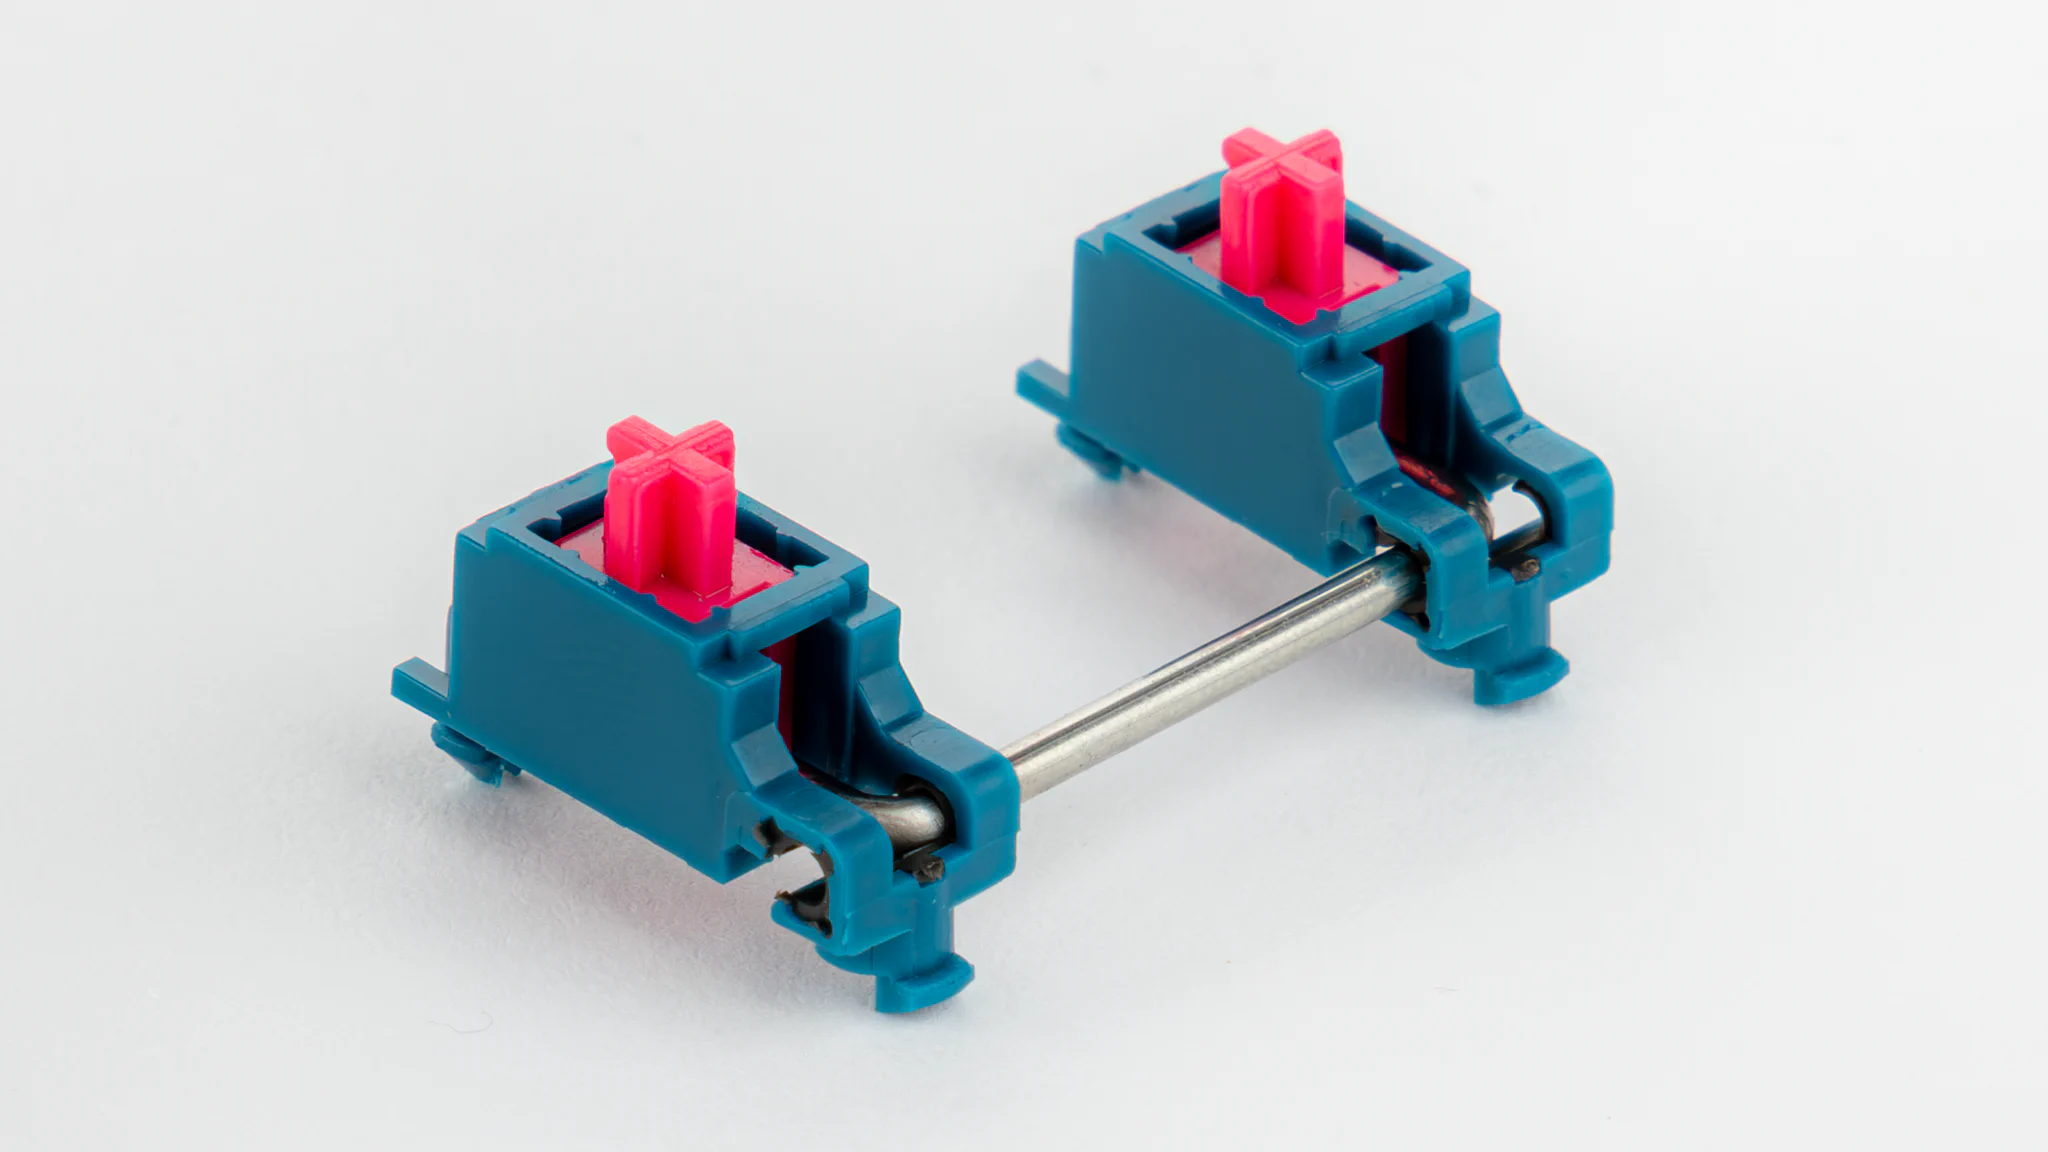 | Stems, housings and 2U wires | 4 sets |
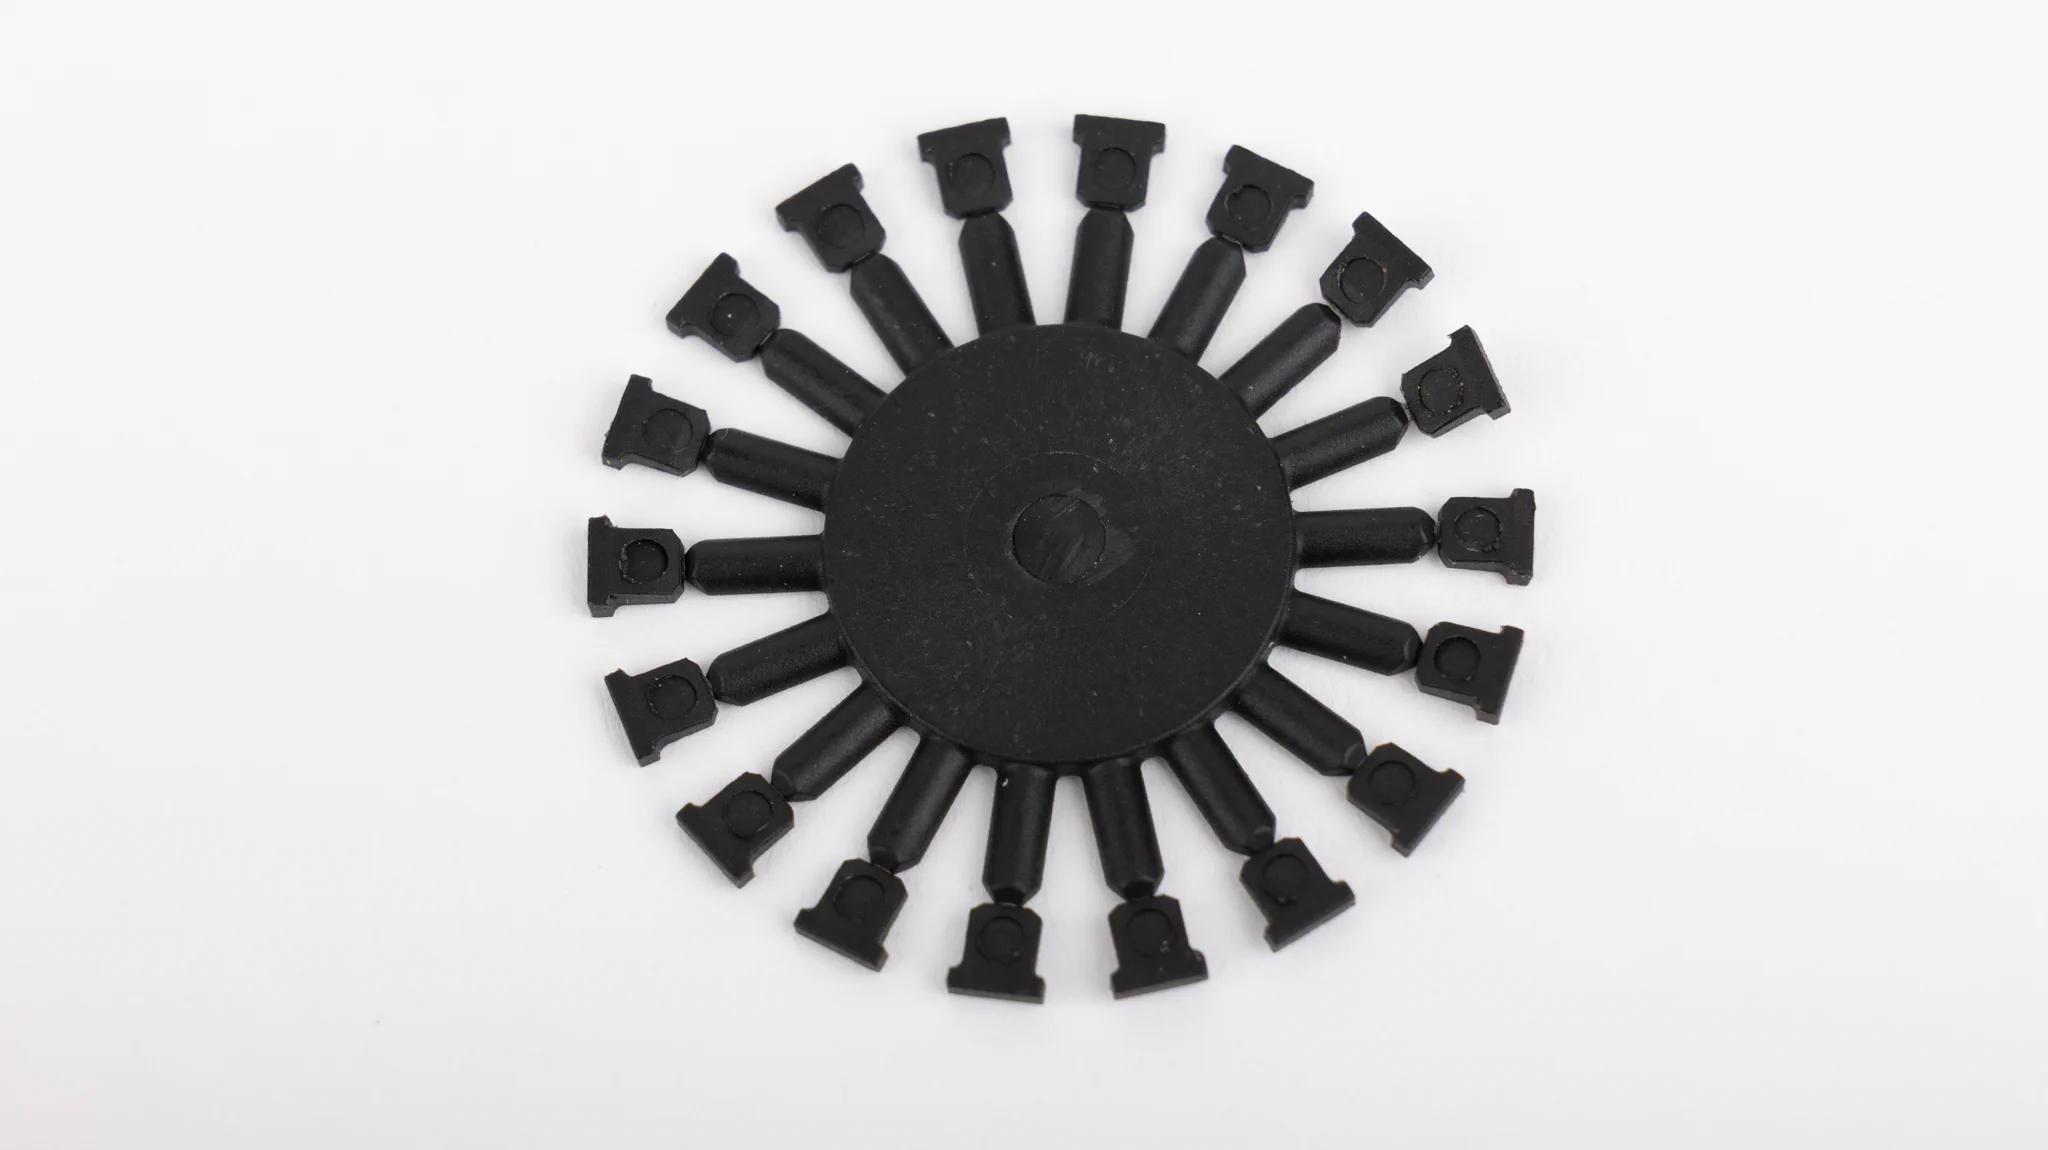 | Clip-In locks | 18 |
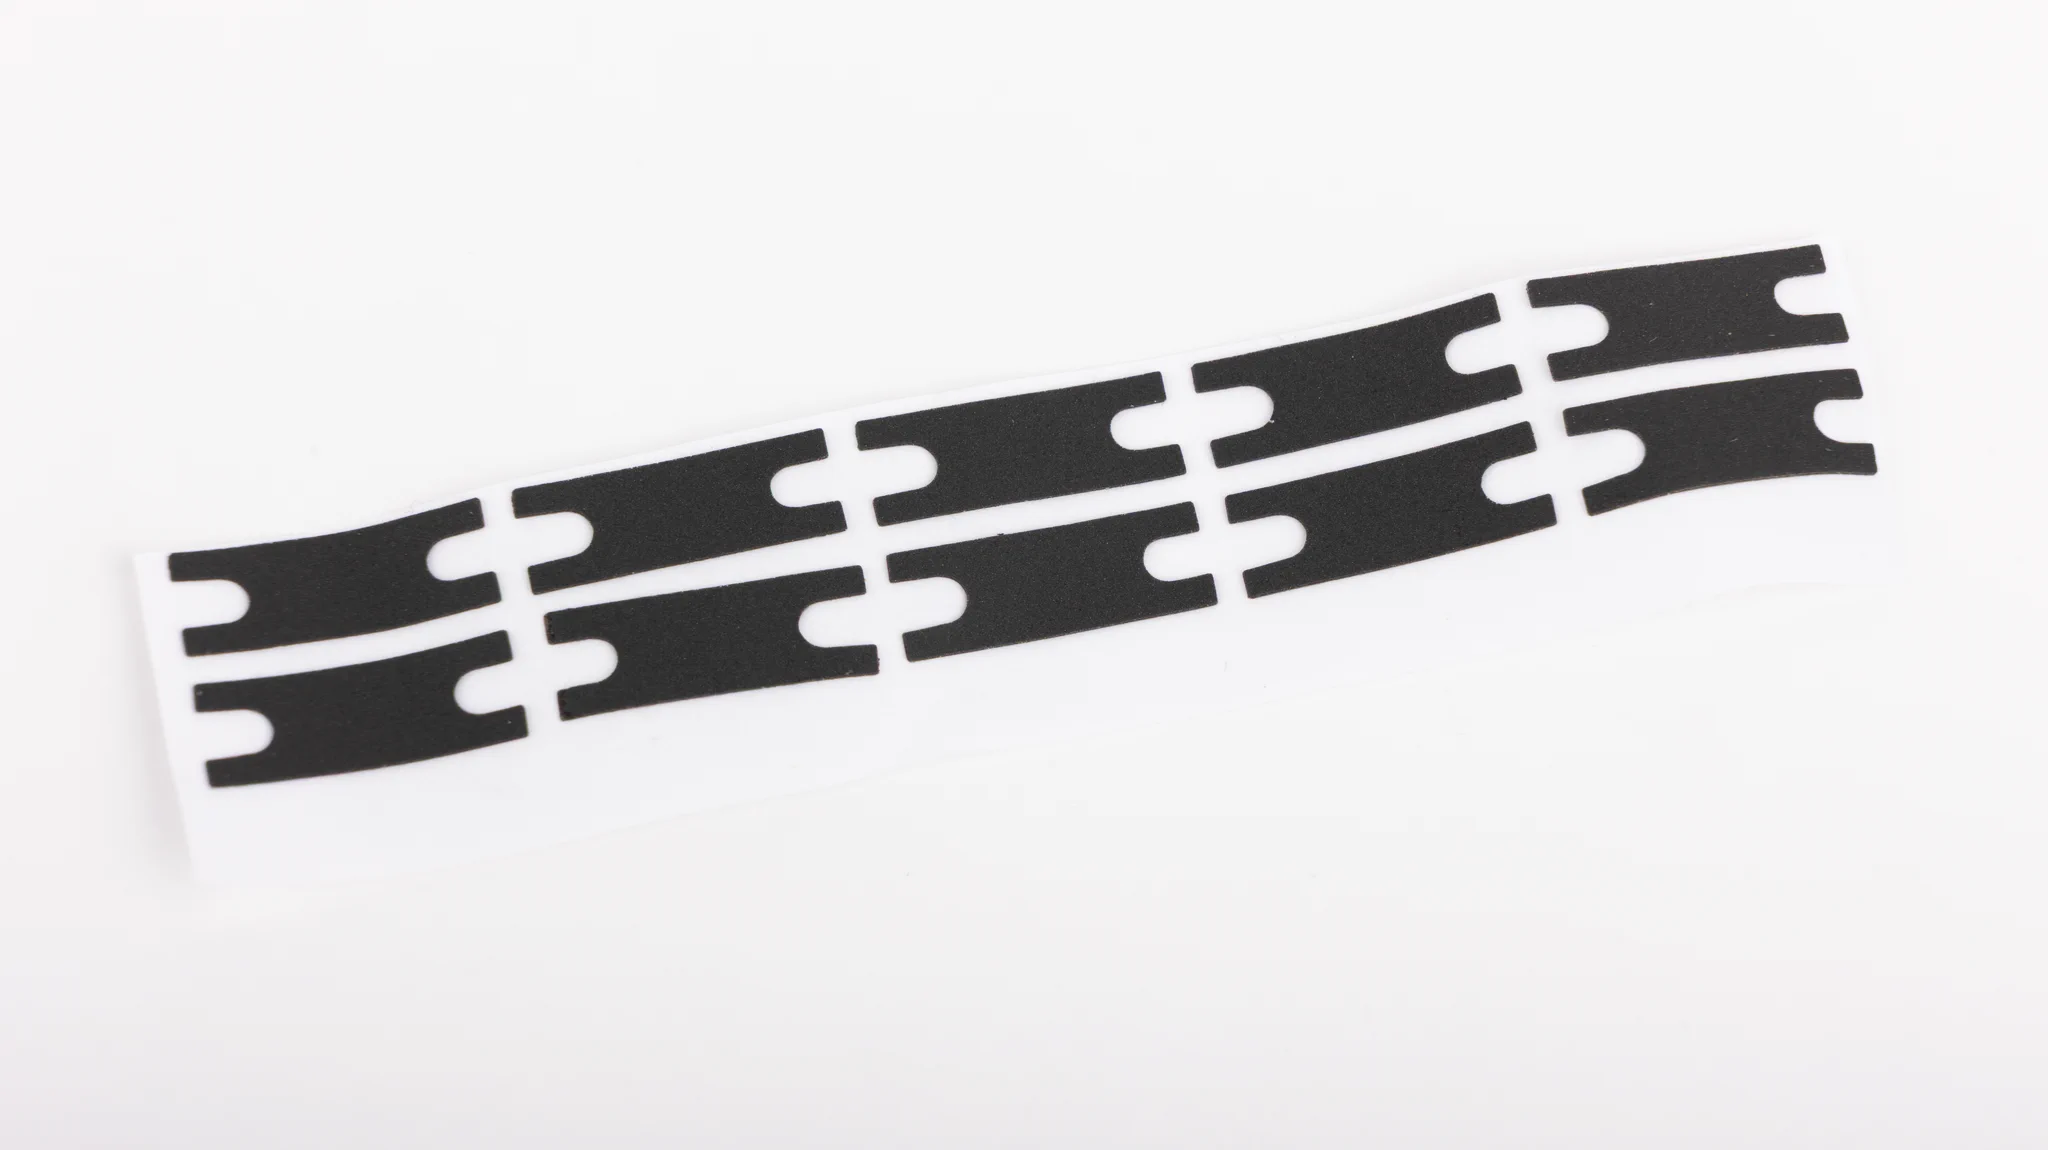 | Dampening pads | 10 |
The following components will be additionally included in the full kit.
| Image | Description | Quantity |
|---|---|---|
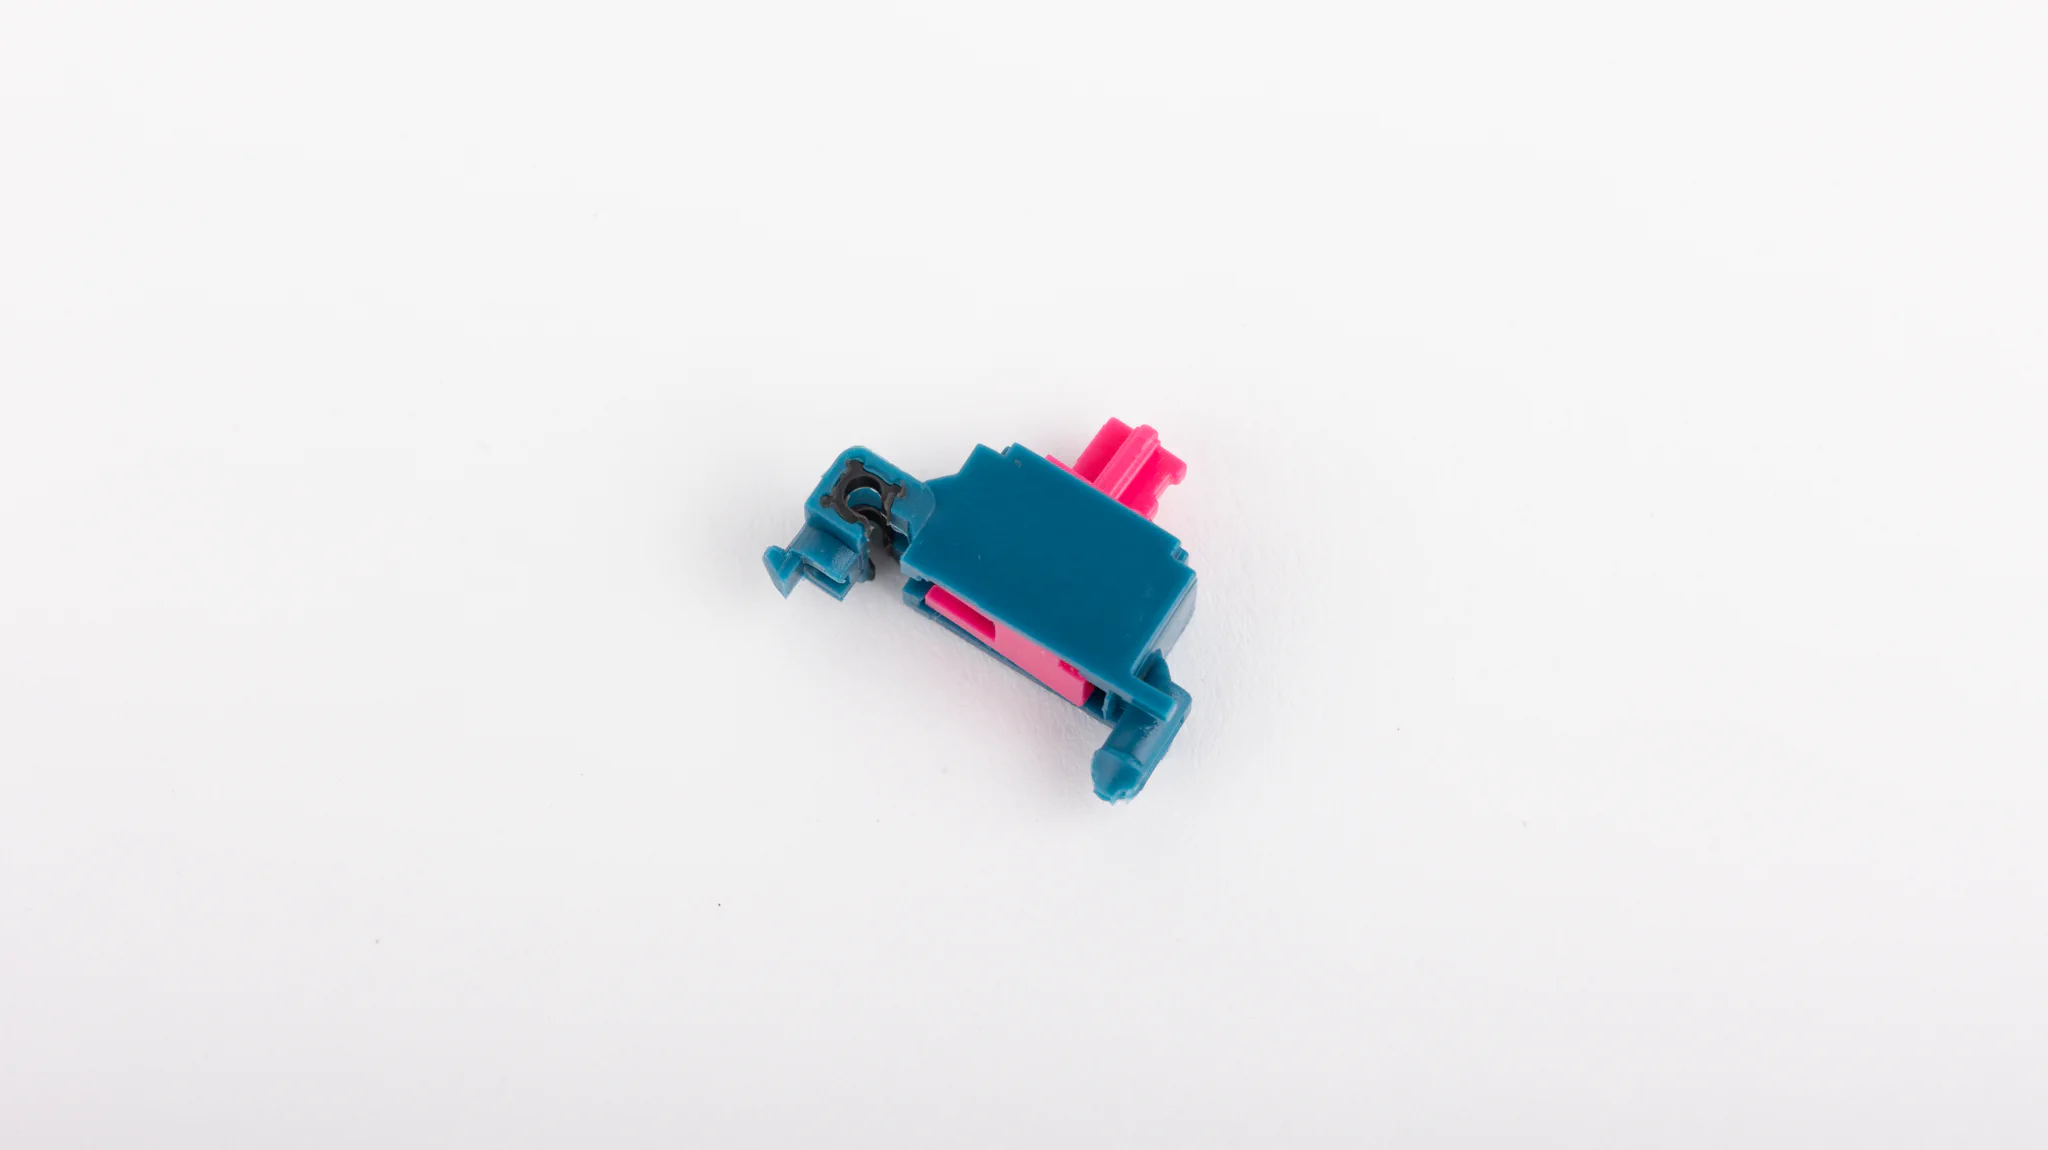 | Stems and housings | 2 |
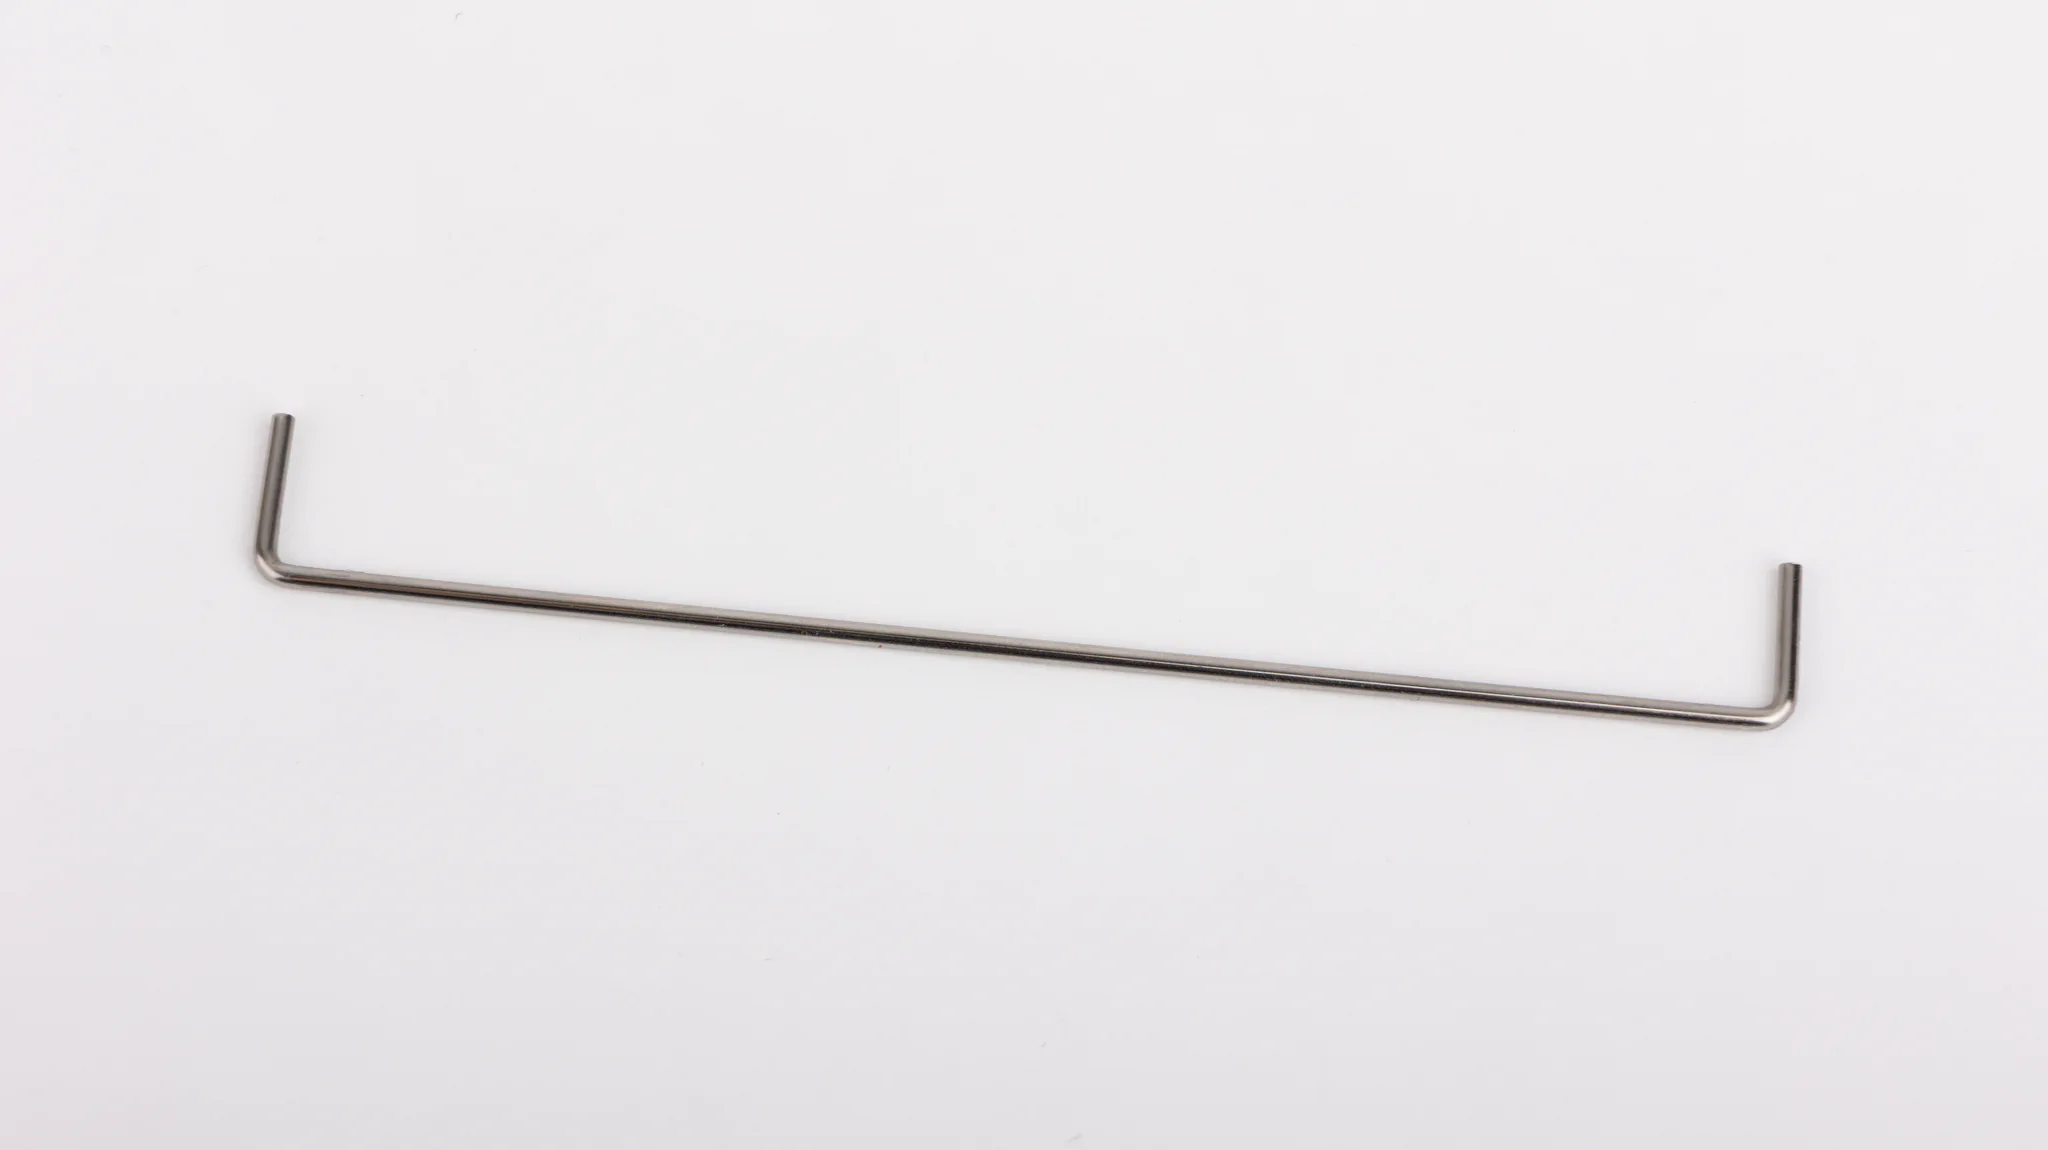 | 6.25U wire | 1 |
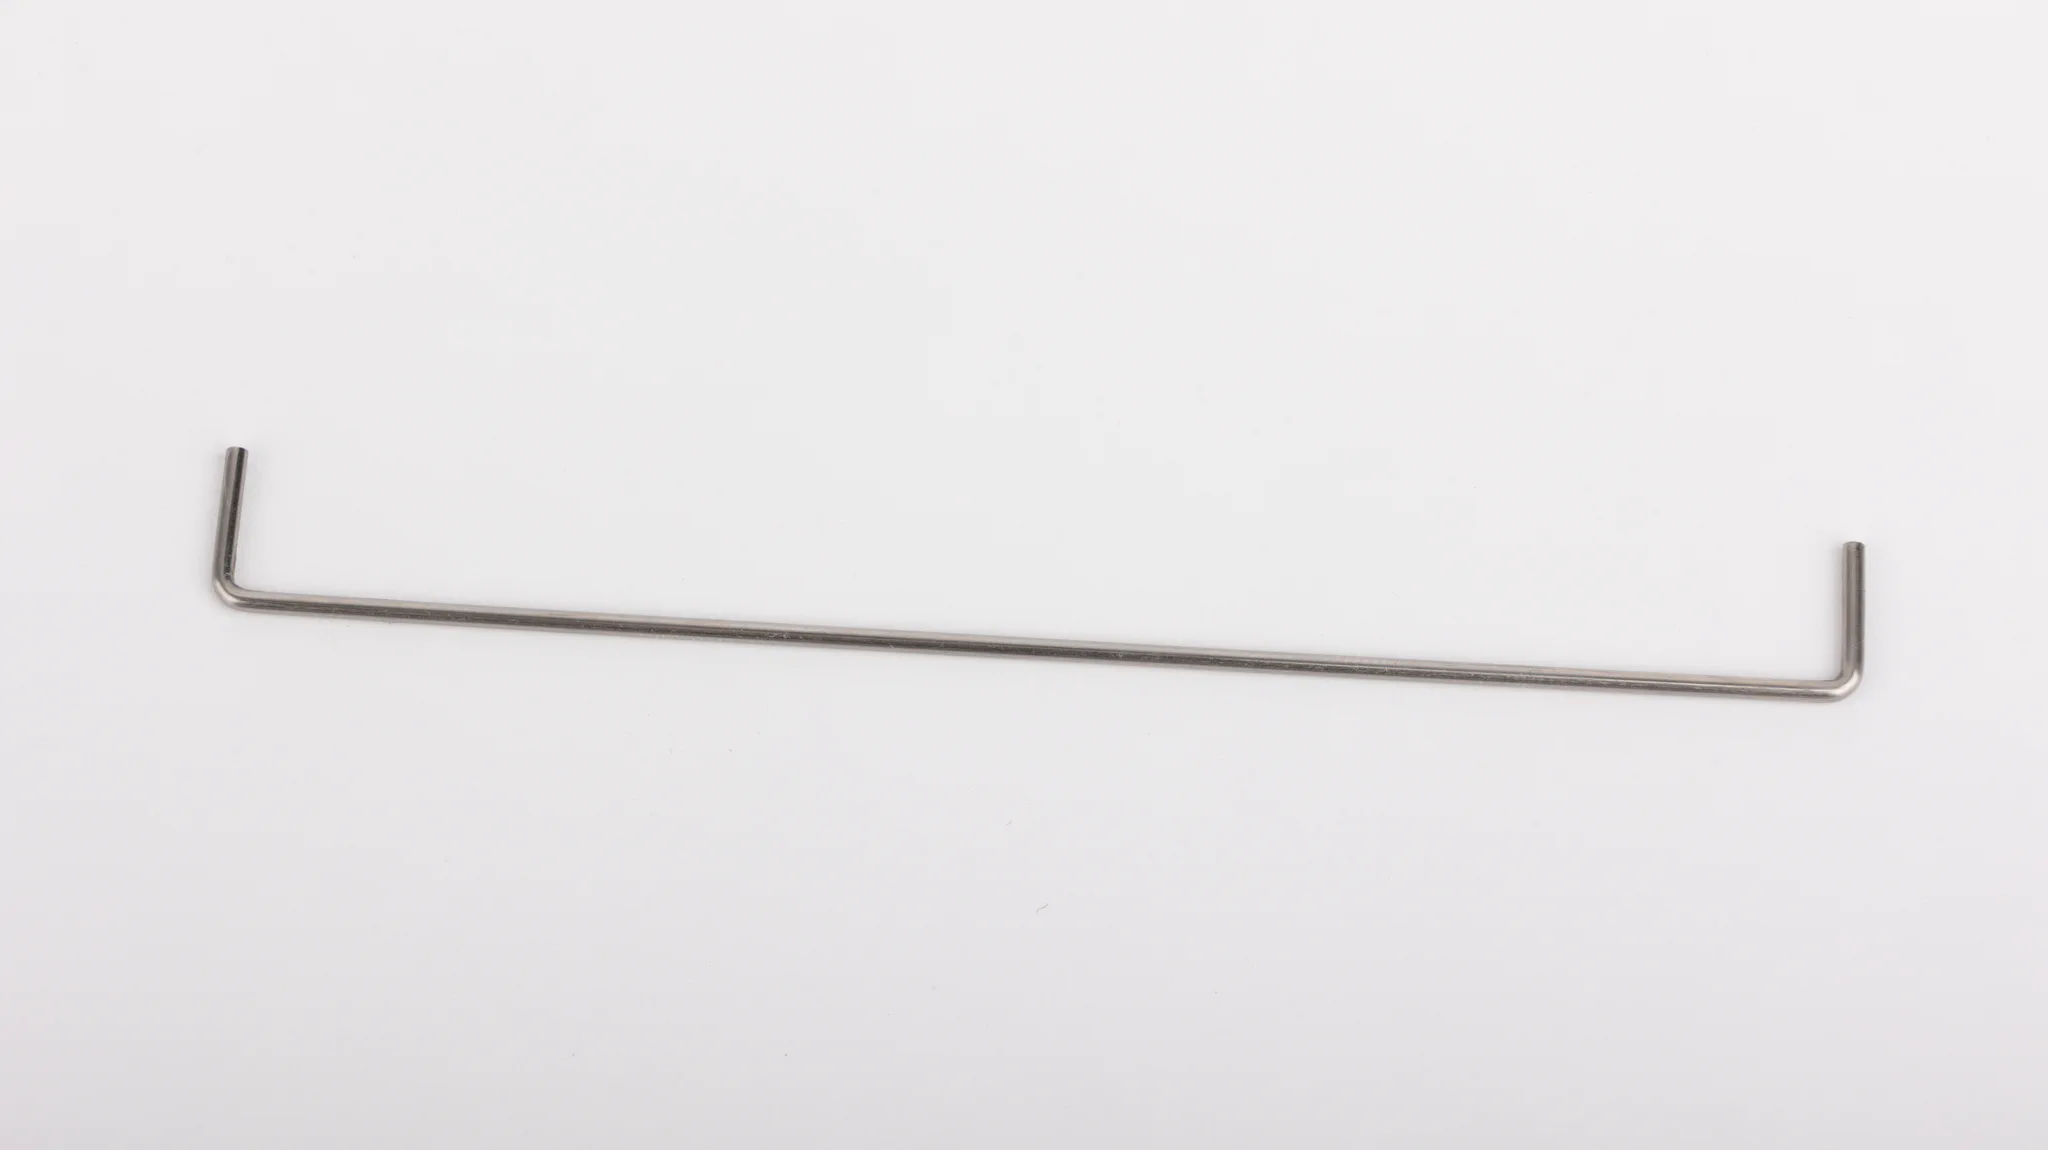 | 7U wire | 1 |
Before installing your stabilizers, make sure to check the PCB and keycap layout that you want to use. Decide where you want to install each type of stabilizer before doing anything else.
The dampening pads are an optional component that you can use on your PCBs. Dampening pads reduce the noise that the stabilizer stem makes when hitting the PCB on the downstroke. They also dampen the feeling of the spacebar.
When you look at the pads, you will notice that they have one large and one small opening. These openings correspond to the large and small leg that you will find on the stabilizer and the large and small holes that you will find on the PCB.
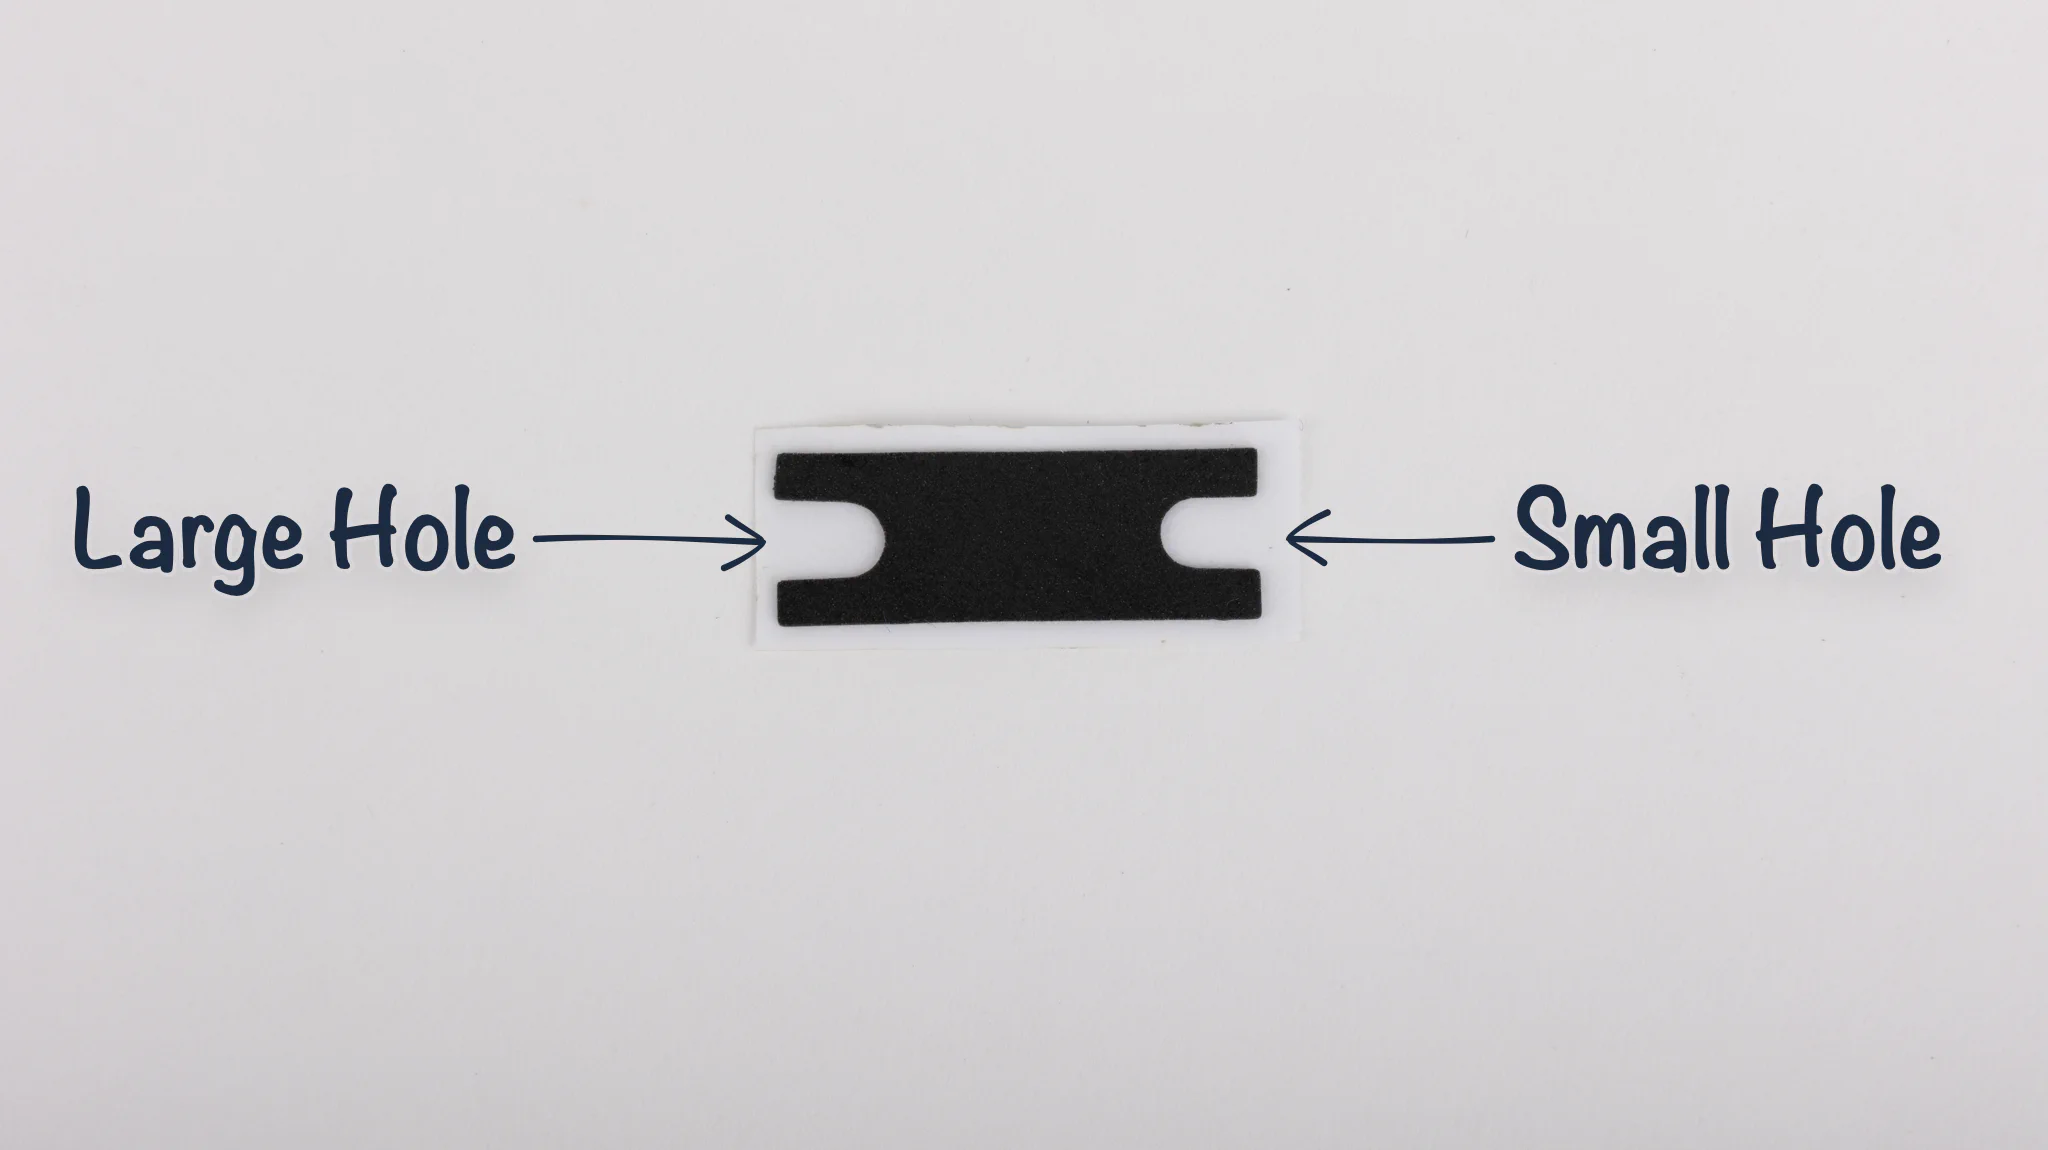
Stick the dampening pads between the two holes of the PCB, while making sure that the large holes overlap each other.
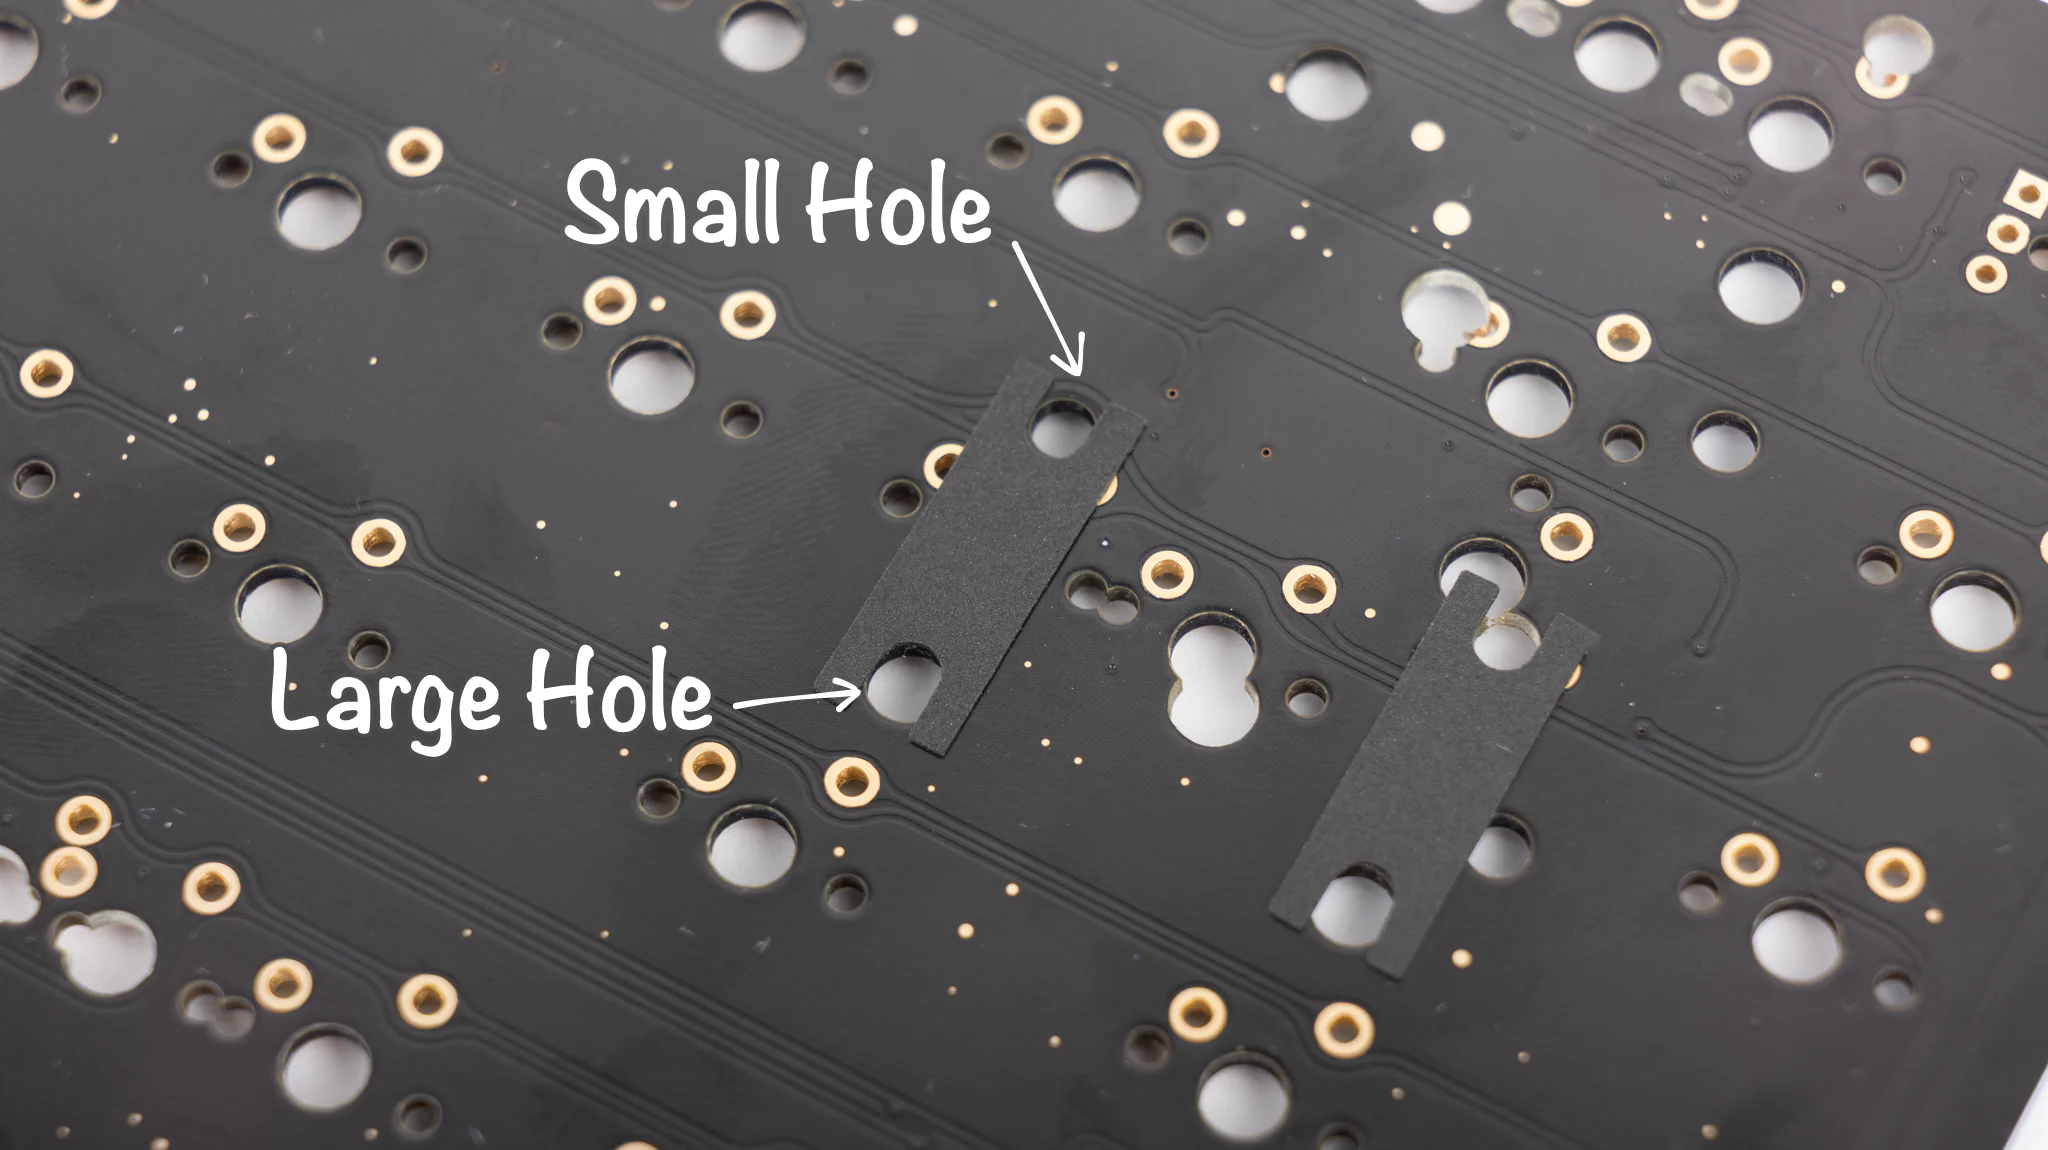
Since our stabilizers come pre-lubricated, there is no need for manual lubrication, saving you lots of time! We can therefore proceed straight to installing the stabilizers. Insert the larger leg of the stabilizer into the large hole in the PCB. You will need to do this at an angle so that you can ‘clip in’ the smaller leg by pressing it down afterwards.
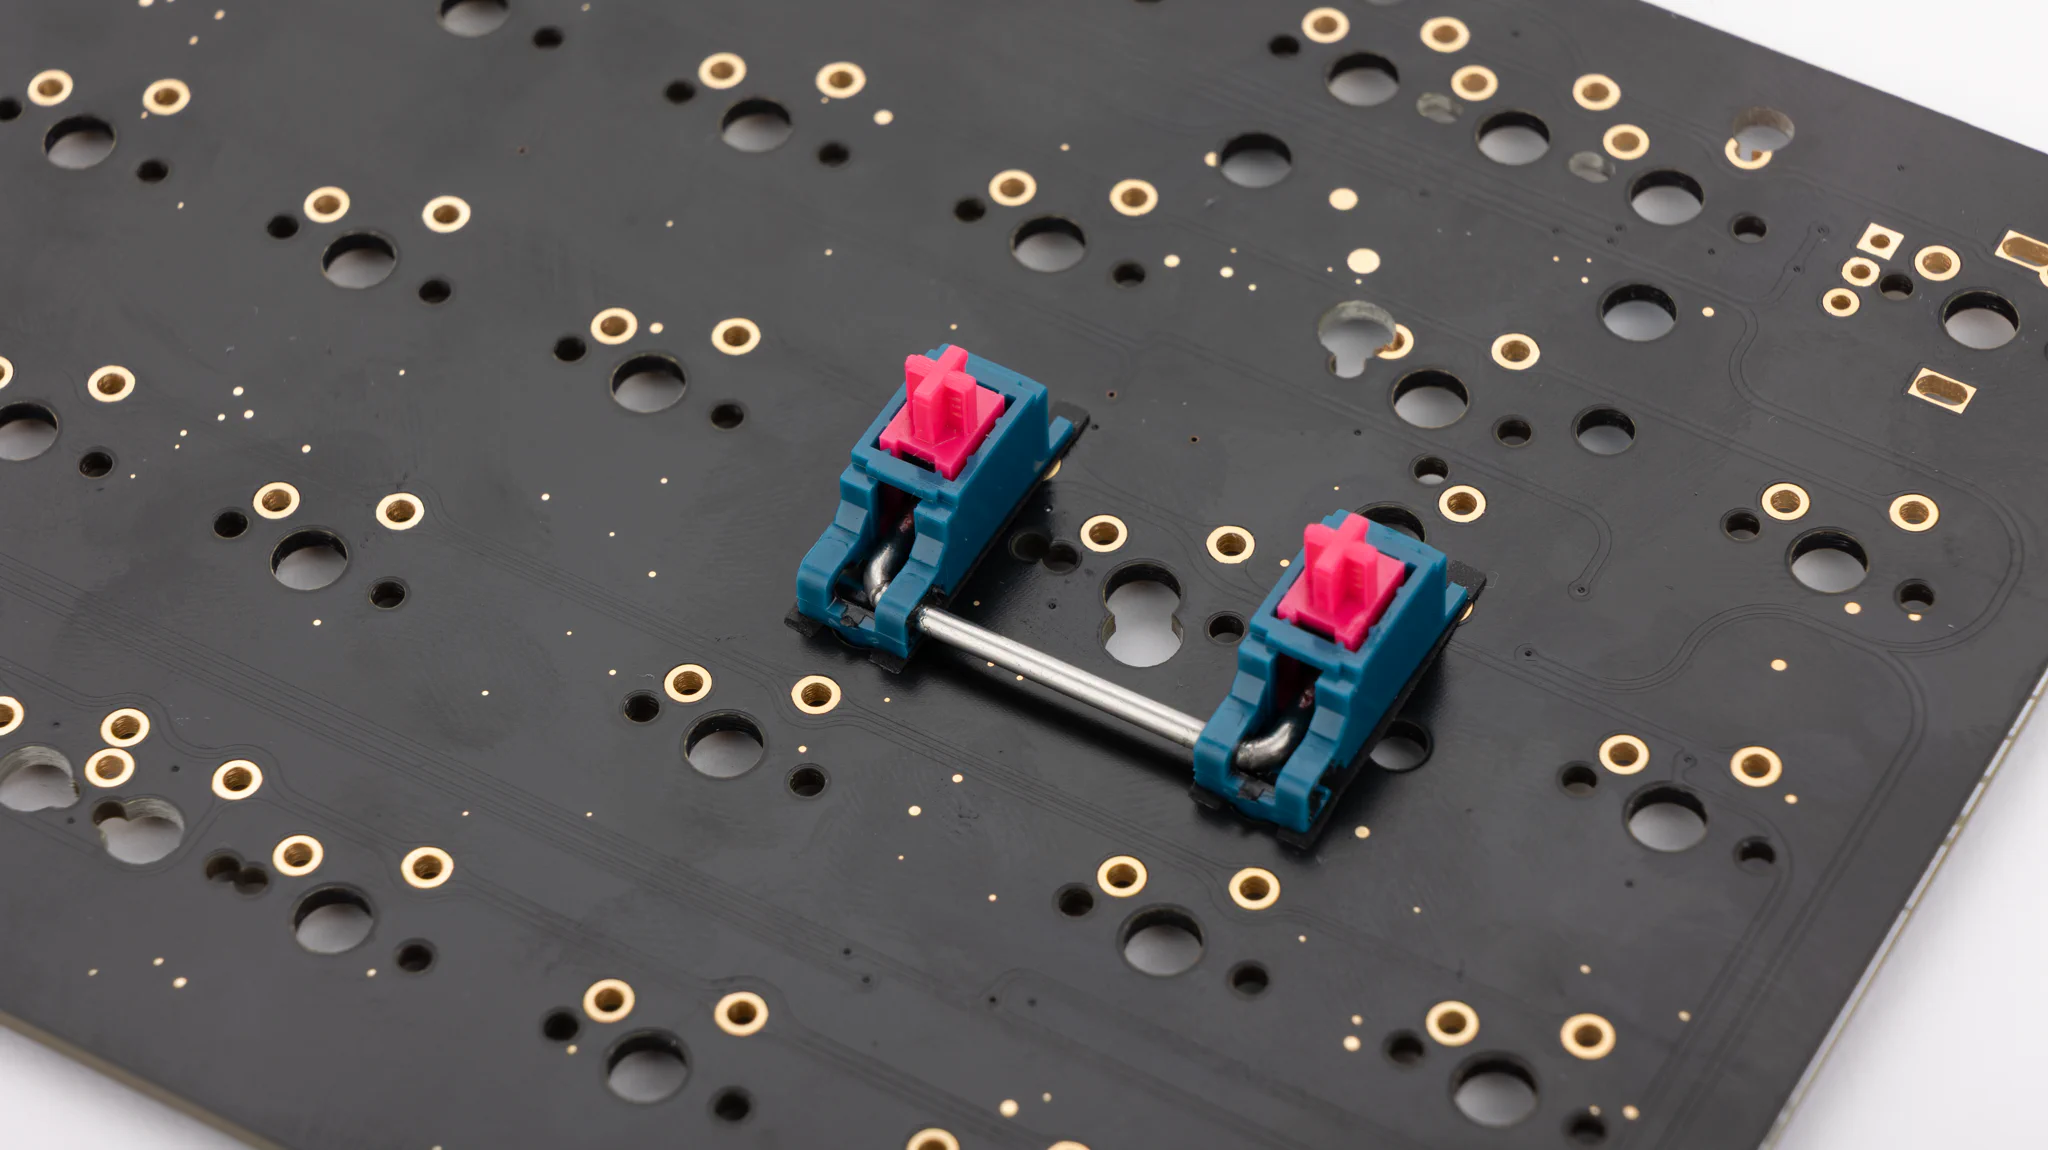
PCBs can vary a tiny bit in thickness, sometimes resulting in a bit of wobble in the whole stab housing. If that is the case, you can go ahead and install the clip-in locks.
Note
Do not install these if your stabilizers fit snugly into the PCB. Depending on the tolerances of the PCB and keycap, the keys may bind or fail to return when pressed down. If this happens and you have already installed the locks, try removing them to see if this resolves the issue.
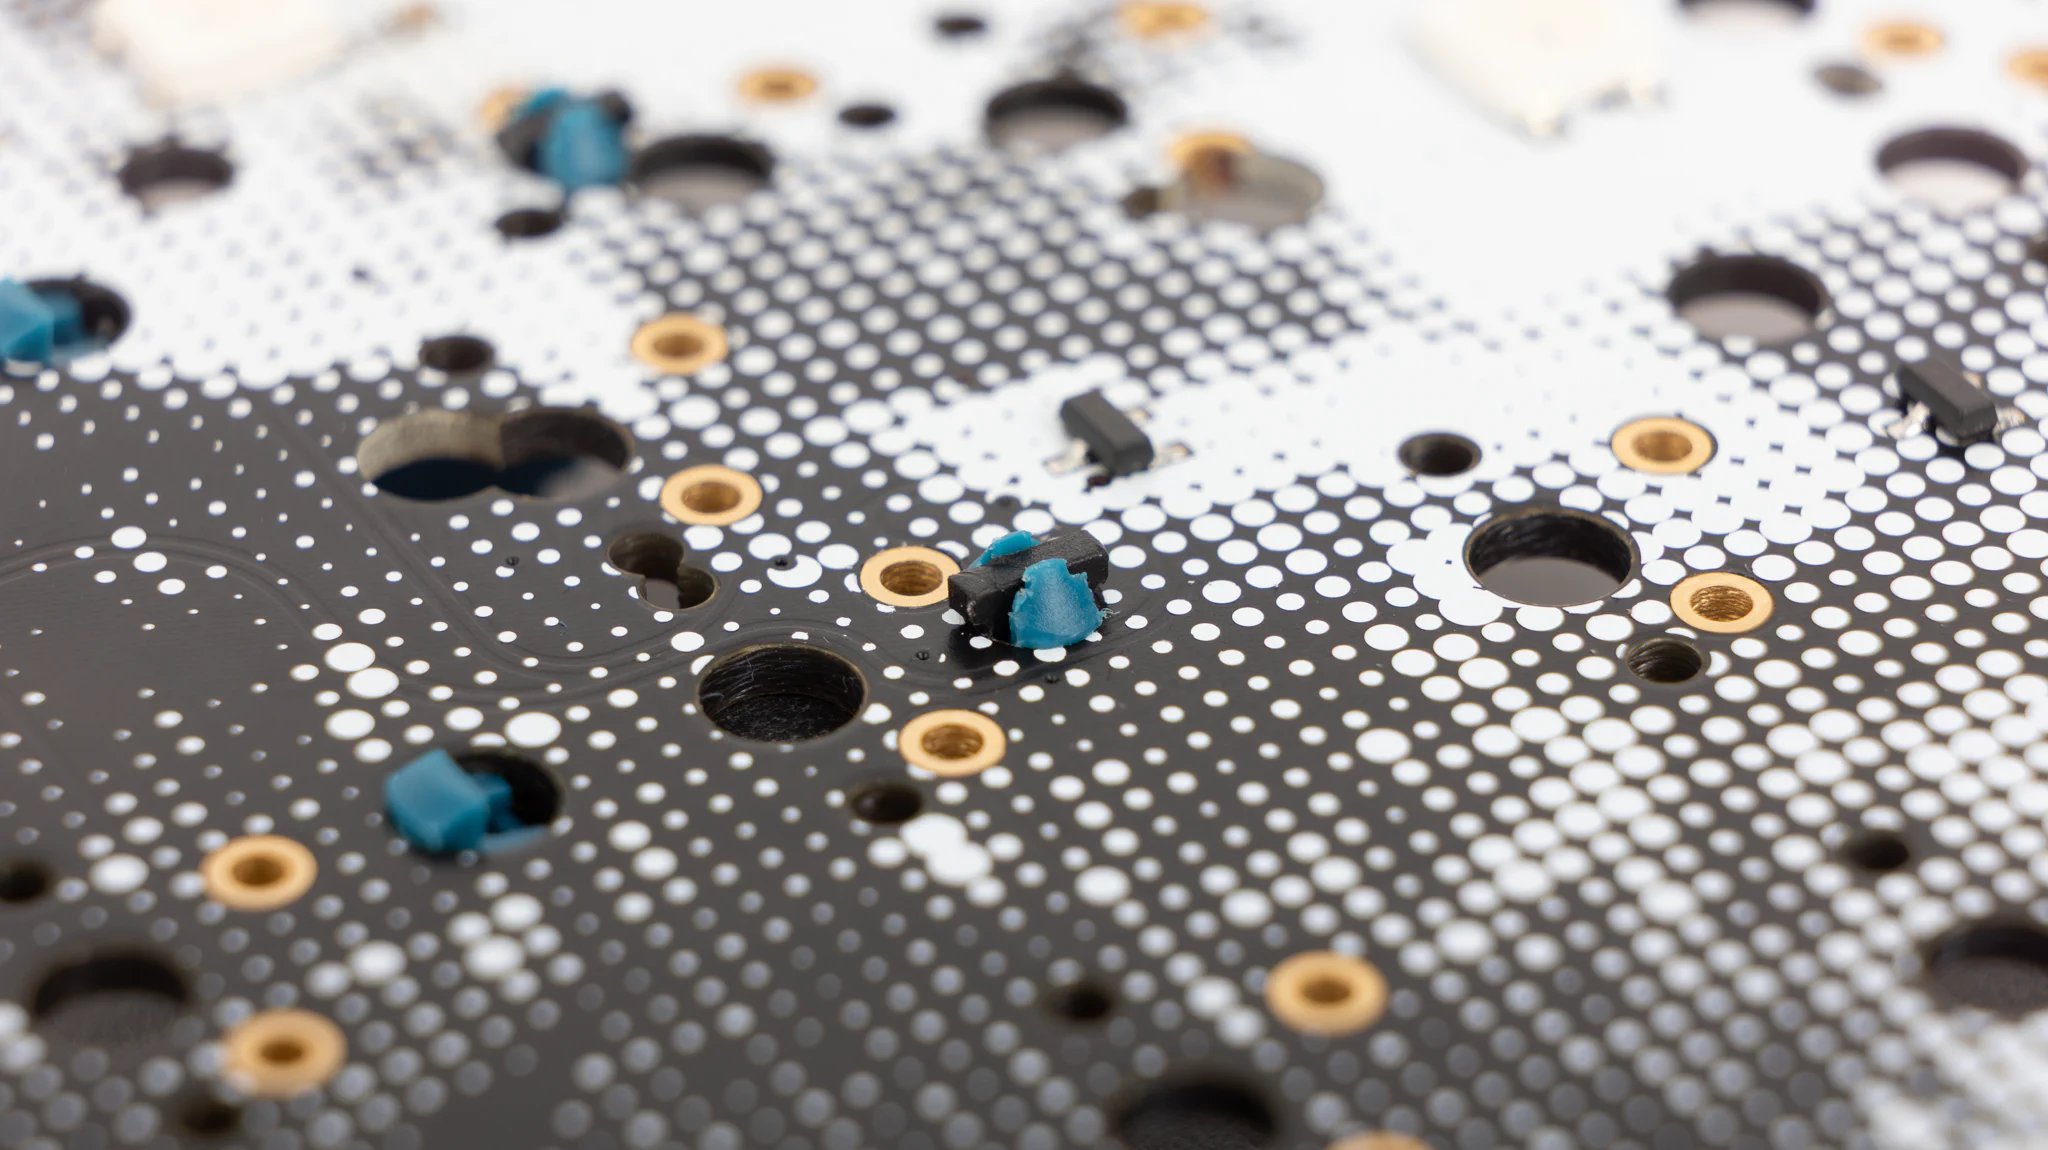
For this you can flip the PCB over and detach one of the clip-in locks from the wheel. After that, just insert one lock between each prong of each housing to make it more stable. You will notice that the clip-in locks feature a wider part at the bottom. Insert the smaller part into the stab, so that the wider part sticks out the bottom.